
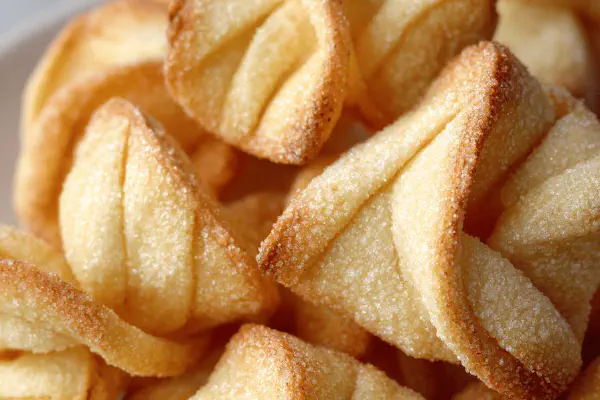
Featured Recipe
Almond Slice and Bake Cookies

By Kate
"
Butter and sugar creamed till soft. Egg, vanilla, almond extract folded in. Flour and salt added last. Dough divided, wrapped, and chilled till firm enough to slice. Logs rolled, coated with colorful nonpareils for crunch and surprise. Thin slices baked until edges show a faint gold glow. Cool on sheet before moving to rack. Store airtight at room temp or freeze. Substitutions and timing tips help avoid dry or crumbly batches.
"
Prep:
30 min
Cook:
15 min
Total:
4h 45min
Serves:
36 servings
cookies
baking
almond
desserts
Introduction
Soft butter creamed with sugar until you hear that quiet hum of well-aerated dough. Egg and extracts join the mix — vanilla’s warm, almond’s a touch sharp but balanced. Flour and salt sift in, and the dough pulls together soft but not sticky. Divide roughly. Shape into logs — messy work but no one’s judging — plastic wrap’s magic here. Cold rest helps it settle, firms it up so slicing’s cleaner, crisper edges unfold later. Roll in sparklers if mood strikes. Slice thin, lay out evenly, smell that oven shift as golden edges appear. Cool. Store right, or stash frozen. This method’s straight to what works. No fluff.
Ingredients
In The Same Category · Sweet Treats
Explore all →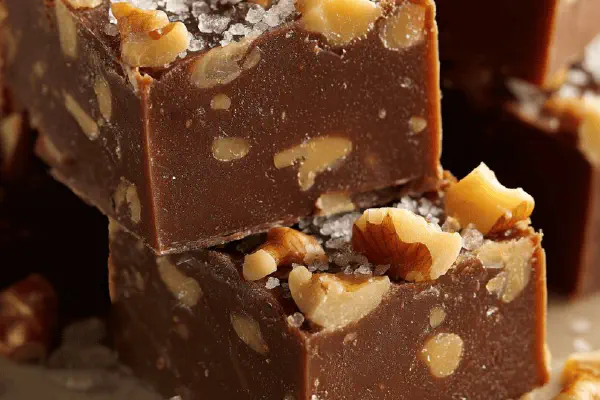
Nutty Caramel Fudge

Gender Reveal Cupcakes
Tangy Cream Cheese Frosting
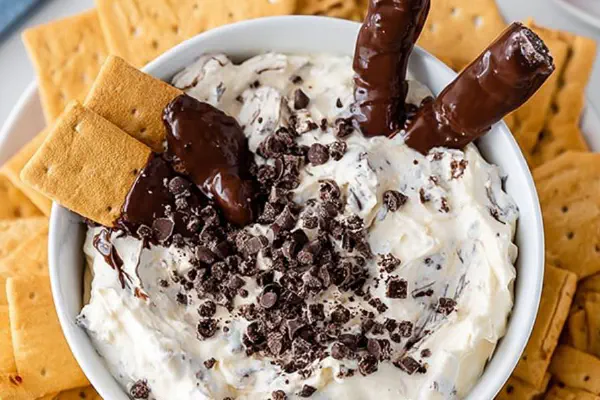
Cannoli Dip Remix
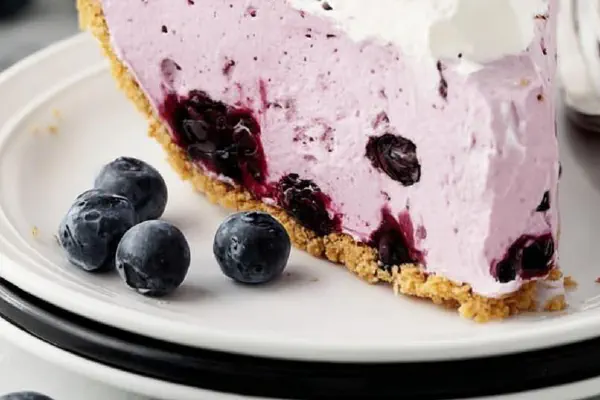
No Bake Berry Cream Pie
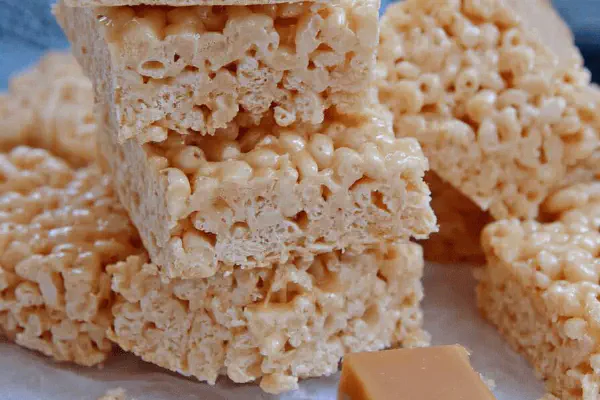
Salted Caramel Crispy Treats
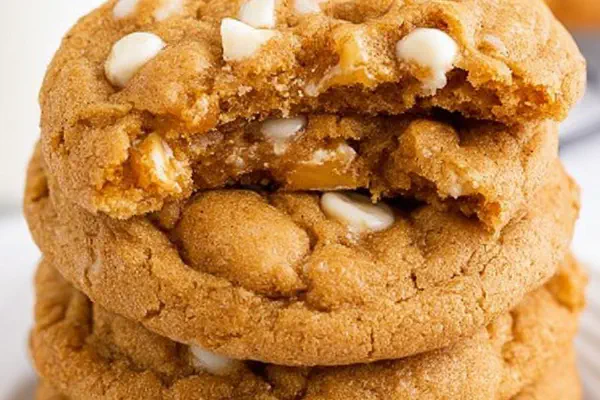
Spiced Pumpkin White Chocolate Cookies

Spiced Eggnog Pudding Remix
Grilled Pound Cake Twist
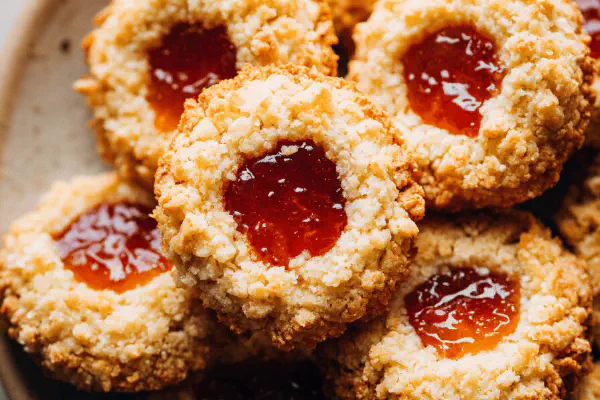
Jam Coconut Crunch Cookies
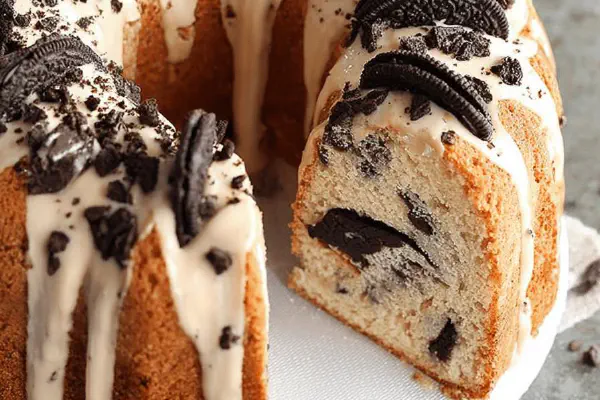
Oreo Cream Cheese Pound Cake

St Patrick Clover Cookies
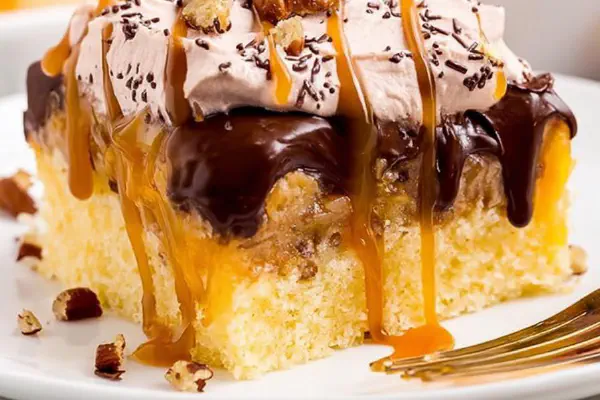
Turtle Poke Cake Twist
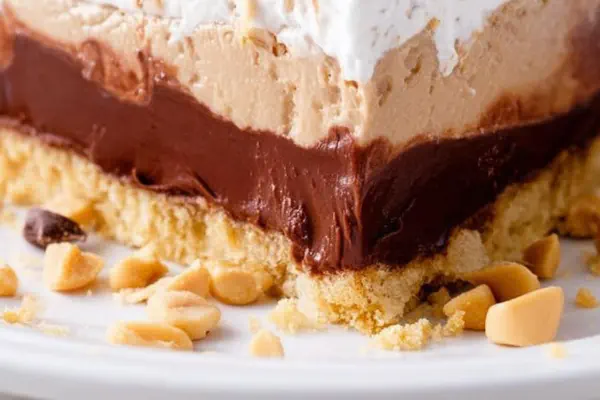
Choco-Peanut Lasagna Remix
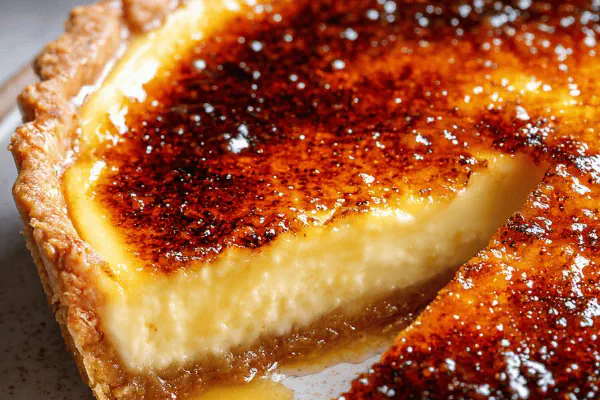
Vanilla-Coconut Flan Parisien
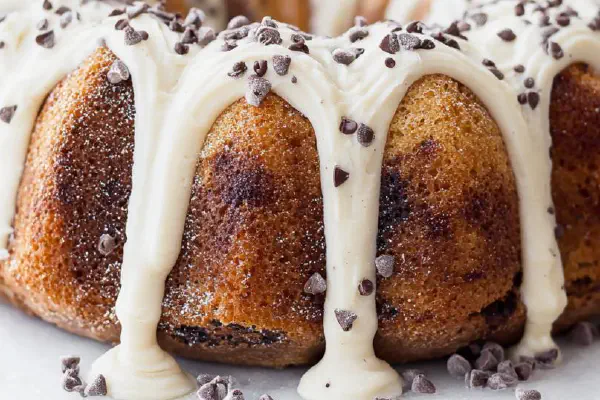
Chocolate Chip Swirl Bundt Cake
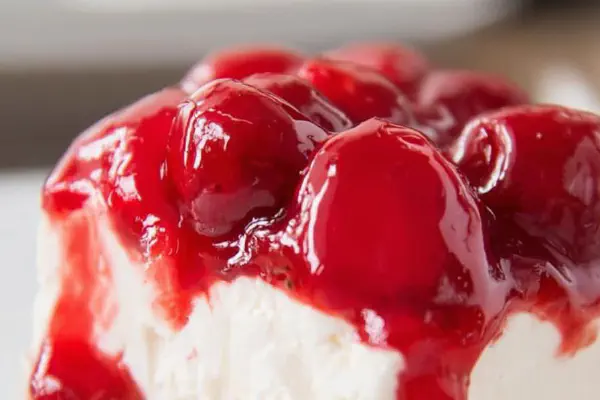
No Bake Cherry Cheesecake Bars
Québec Color Cake Remix
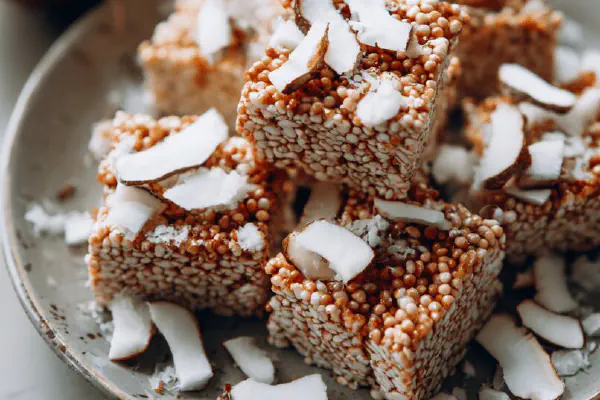
Marshmallow Rice Crispy Bars Twist
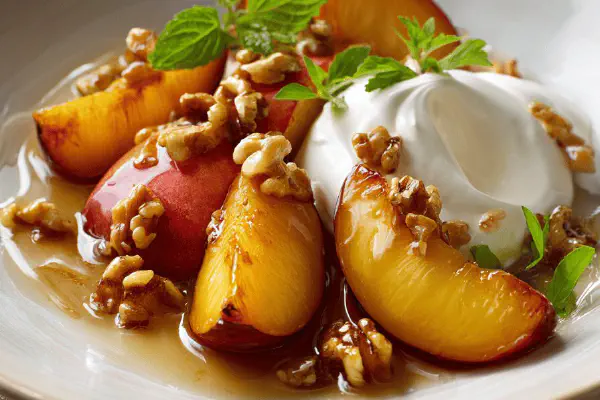
Caramelized Peaches Maple Chantilly

Apple Butter Spice Cake
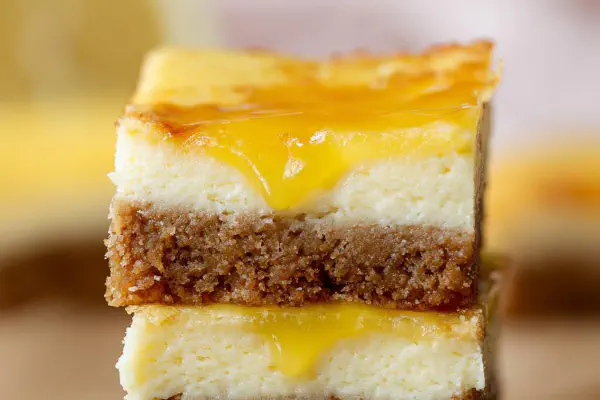
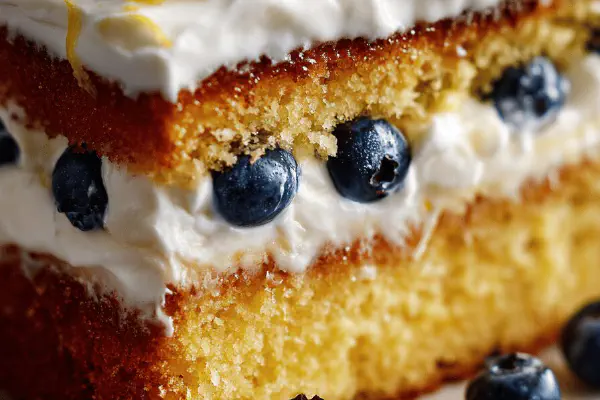
Lemon Cream Cheese Bars
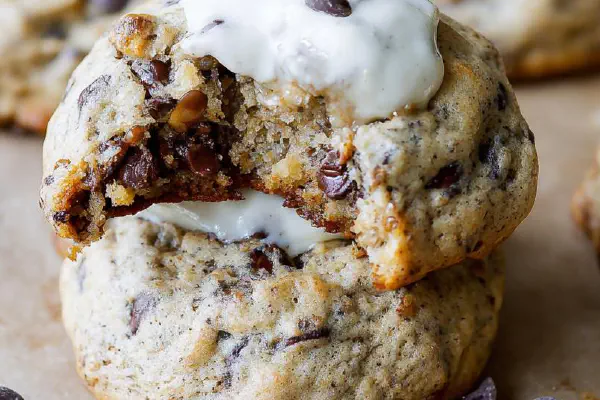
Banana Bread Chocolate Chip Cookies
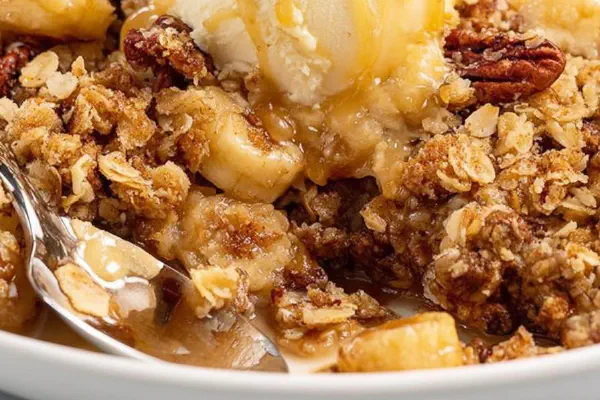
Banana Crisp Bake
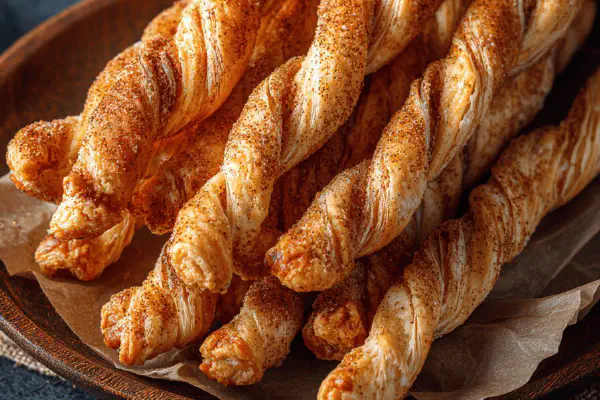
Cinnamon Twisted Pastry Sticks
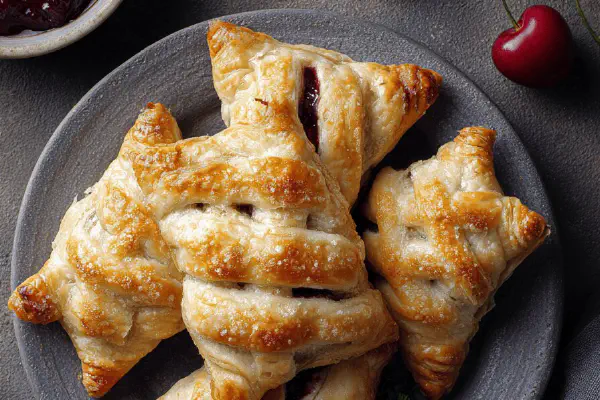
Cherry Cheese Pockets
Fluffy Whipped Pudding Frosting
Angel Food Cake Remix
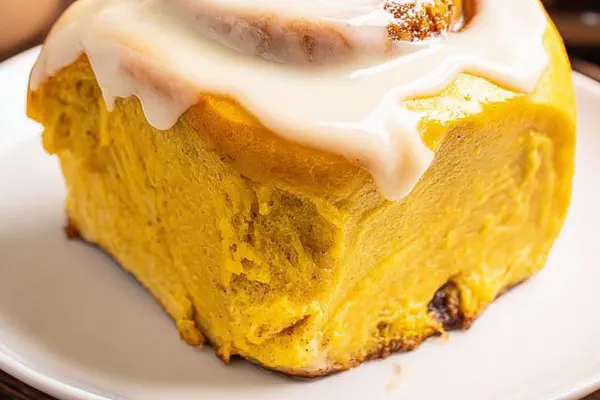
Pumpkin Spice Rolls Remix
About the ingredients
Butter matters; softened but not melted. If fridge chill isn’t an option, keep dough cold by resting in chunks direct on ice packs before shaping. Granulated sugar creaming creates air pockets, key for cookie lift. Almond extract is a simple punch — swap for citrus zest for brightness or leave out entirely if nuts aren’t your thing. Salt is small but vital — highlights sweetness, balances fat. Flour binds, but measure carefully—too much means hard dry husks. Sprinkles? Optional flair that also adds texture contrast. For gluten-free switch, experiment with cup-for-cup blends but expect a crumblier finish.
Method
Dough Preparation
- Cream softened butter with granulated sugar using a mixer on medium speed until mixture lightens in color and softens, about 2 to 3 minutes. Avoid overbeating — you want just fluffy, not greasy.
- Beat in egg, vanilla extract, and almond extract thoroughly. Scrape bowl edges to ensure even incorporation. Aroma should be sweet with faint almond notes.
- Add salt, then sift in flour all at once. Lower mixer speed or use paddle attachment and mix until just combined. Overmixing develops gluten, toughening cookies. Dough should feel soft but hold shape when pinched.
- Divide dough roughly in half—doesn't need to be perfect. Place each half on a double layer of plastic wrap.
- Use the plastic wrap to shape dough into a firm log around 2 1/2 inches wide. Dough will be soft, slightly sticky; don’t fuss too much here — final shaping happens later.
- Wrap tightly, twisting ends of plastic wrap to seal air out. Refrigerate dough logs for at least 4 hours or overnight. This firms dough, making slicing manageable and improving texture.
- If in a hurry, place logs in freezer for about 1 hour but watch closely so dough doesn’t freeze solid.
- Preheat oven to 345°F for a gentler bake, promoting even cook and color.
- Line baking sheet with parchment paper or a silicone mat. Prevents bottoms from browning too fast or sticking.
- Remove one dough log from fridge. Keep plastic wrap on and roll dough on countertop to perfect round shape. This step firms edges without warming dough too much.
- If desired, unwrap and roll log on plate of sprinkles or nonpareils, pressing lightly to coat exterior. This adds texture and visual pop. Skip if you prefer plain.
- Slice log into 1/4-inch discs with a sharp knife. Wipe blade between cuts if dough sticks. Thinner slices yield crispier cookies; thicker slices bring chew.
- Arrange slices spaced about 1 inch apart on prepared sheet. Gently reshape with fingers to perfect rounds — dough softens quickly but holds form when chilled.
- Bake 10 to 15 minutes, watching closely. Edges should just turn pale golden brown — watch for tiny bubbles and firm feel.
- Longer baking gives crispier texture; shorter keeps softness. I prefer around 12 minutes here.
- Remove tray from oven. Let cookies rest on sheet for about 5 minutes to set up; they'll firm as they cool without breaking apart.
- Transfer to wire rack to cool completely for ideal crunch and avoid condensation.
- Store in airtight container at room temp up to two weeks. Freeze up to 1 year tightly wrapped or in rigid container.
- Butter can swap with equal part margarine but expect slightly different flavor and texture.
- Try coconut oil for richer aroma but reduce other fats slightly.
- Vanilla extract can be replaced with maple syrup for twist; skip almond extract if undesired, or use orange zest for citrus notes.
- If dough too sticky to slice, chill longer or briefly freeze. Avoid microwaving — ruins texture.
- Use sharp serrated knife for clean cuts, wipe blade to keep slices neat.
- Watch oven closely; thin cookies brown quickly. Rotate tray halfway for even bake.
- Add finely chopped nuts or mini chocolate chips folded into dough before shaping for variation.
Shaping and Chilling
Baking Preparation
Final Shaping and Baking
Cooling and Storing
Substitutions and Tips
Technique Tips
Cream butter and sugar until mixture lightens in color and feels weightless against the beaters — usually 2 to 3 minutes on medium speed. Overcreaming or warming dough risks greasy cookies. Add eggs and flavor extracts off-mix to prevent overbeating and texture loss. Fold in dry ingredients gently; mix too long and toughness kicks in from gluten overdevelopment. Chilling is mandatory — skip, and dough is a nightmare to slice. Use plastic to shape and firm logs, prevents sticking. Roll logs before slicing for uniform shapes, especially if dough feels soft. Bake at slightly lower temps for even heat and to prevent burnt edges. Watch for just golden edges with subtle crackle on surface; that’s your cue. Let cookies rest on baking sheet post-bake — they solidify and firm but avoid steaming wet bottoms by transferring to racks after 5 minutes. Store airtight or freeze to preserve crispness. Problems like spreading? Chill longer or add more flour slightly.
Chef's Notes
- 💡 Use cold butter. Softened but not melted. Too heavy? Cookies won’t lift. Watch out. Always cream till light.
- 💡 Eggs add moisture, but room temp is key. Cold eggs? Dough won’t incorporate right. Make sure to beat in well.
- 💡 Experiment with flours. Whole wheat? Add a bit more. Gluten-free flours? Sifting helps. Expect a crumbly finish.
- 💡 Watch ovens. Temp varies; check cookies closely. Edges should show faint gold. Small bubbles mean done.
- 💡 Storage matters; airtight for up to two weeks. Freezing works, keep logs wrapped tight; thaw before slicing.
Kitchen Wisdom
How to slice dough properly?
Use a sharp knife. Wipe between cuts; warm dough sticks. Thinner yields crispier cookies.
What if the dough is too sticky?
Chill longer or freeze briefly. Avoid microwaving, ruins texture. Stickiness affects slicing.
What's the best way to coat cookies?
Roll in sprinkles lightly. Press down gently. Too much? Dough softens; rolls break.
Can I add mix-ins?
Yes, nuts or chips work well. Just fold in before shaping dough. Keep texture in mind.
You’ll Love These Too
Explore all →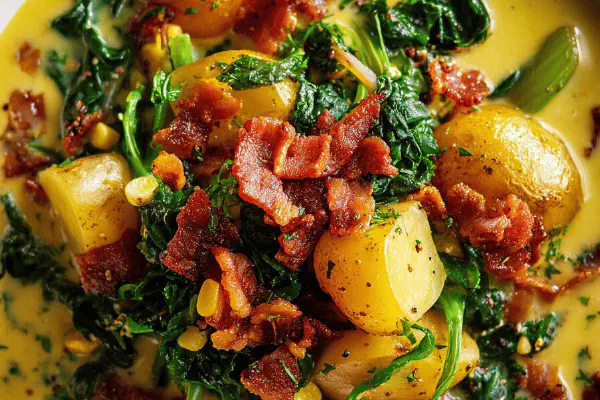
Potato Leek Corn Soup
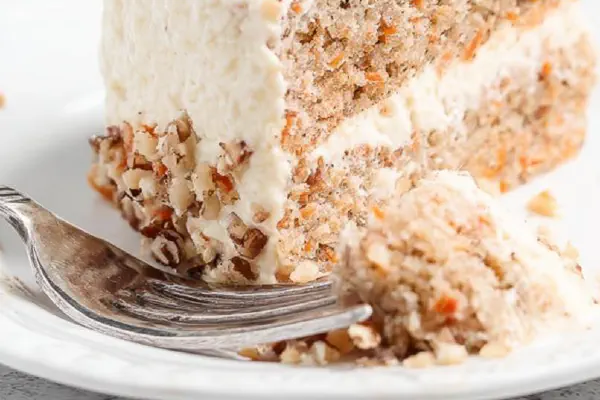
Carrot Cake Cheesecake Hybrid

Spiced Beef Tortilla Salad
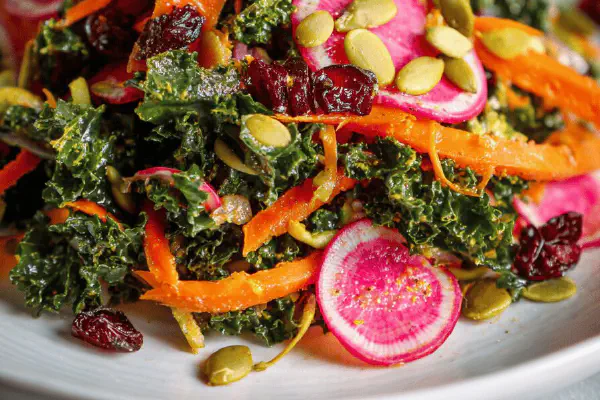
Crunchy Veggie Salad

Strawberry Rhubarb Rosé Punch
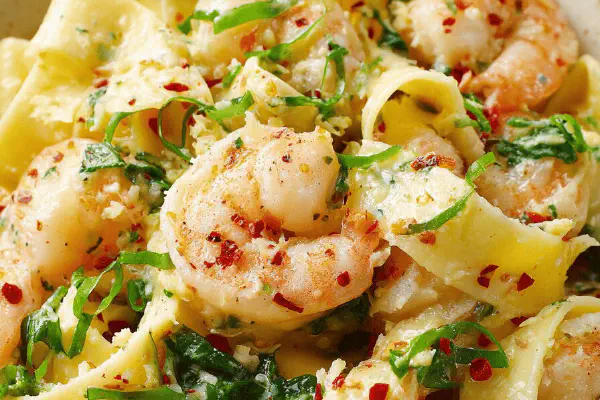
Lemon Shrimp Pappardelle Twist
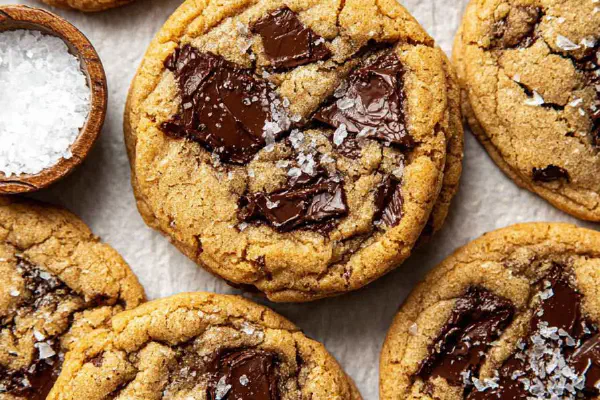
Brown Butter Almond Cookies
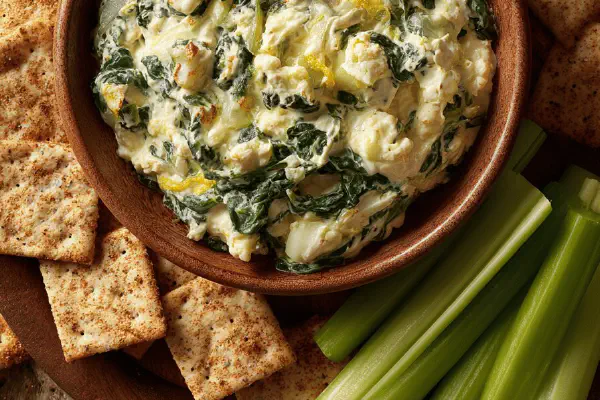
Warm Broccoli Cheddar Dip

Maple Bacon-Wrapped Smokies
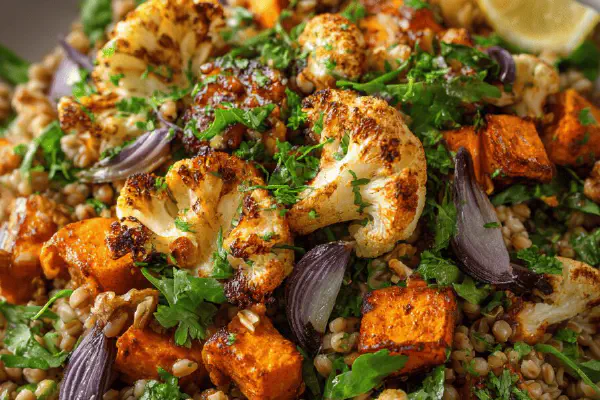
Barley Cauliflower Sweet Potato Salad
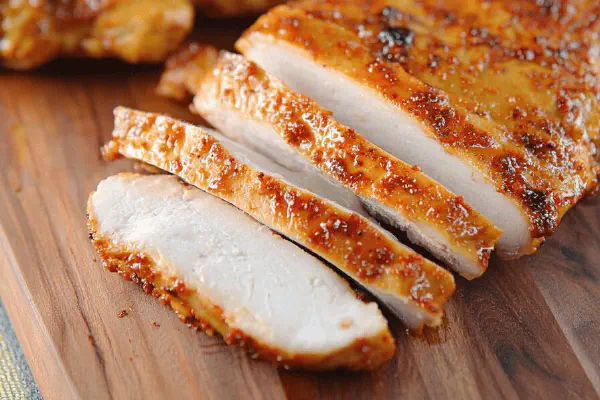
Spiced Honey Grilled Turkey

Mint Lime Margarita Twist
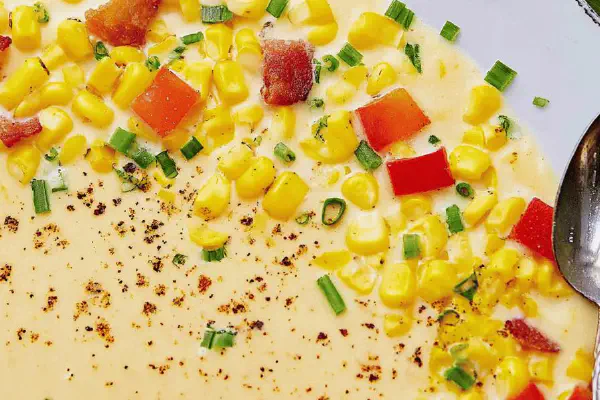
Pressure Cooker Corn Chowder

Grapefruit Ginger Syrup Twist

Green Bean Tot Casserole
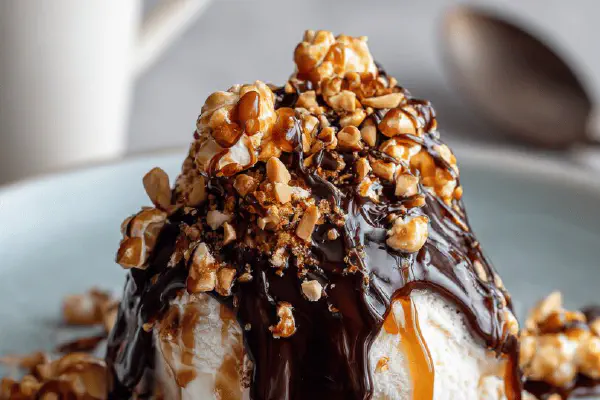
Fudge Popcorn Sundaes
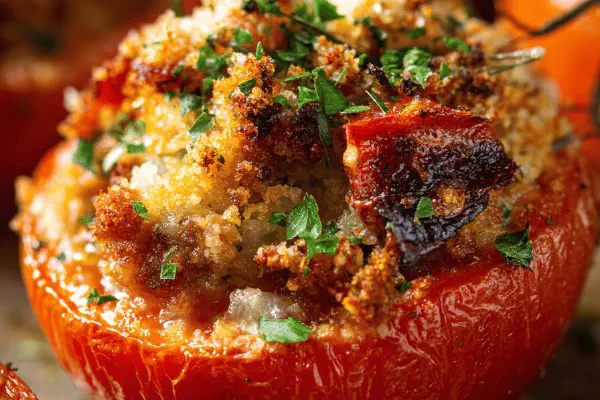
Sausage-Stuffed Roasted Tomatoes
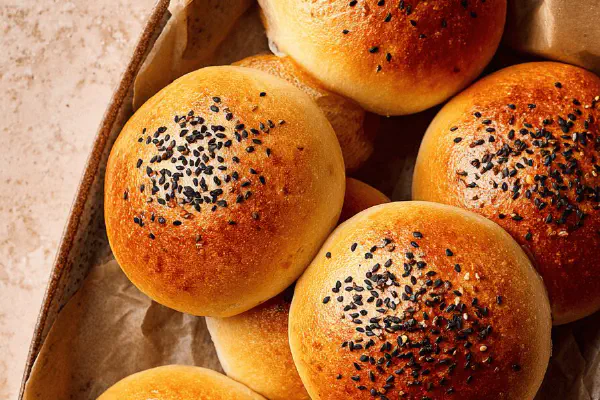
Homemade Burger Buns

Twisted Corned Beef Hash

Copycat Olive Garden Alfredo

Grilled Mussels Salsa Verde Twist
Twisted Fortune Crisps
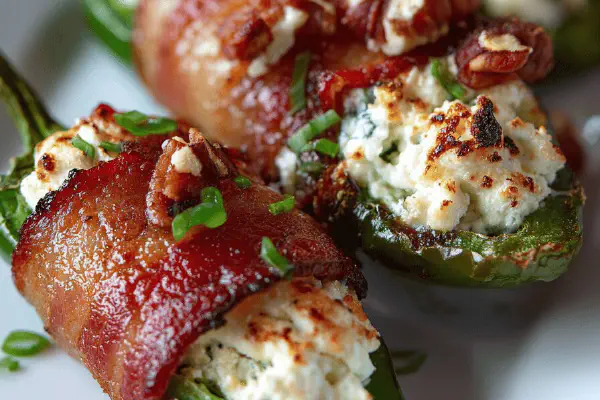
Stuffed Fire Rockets
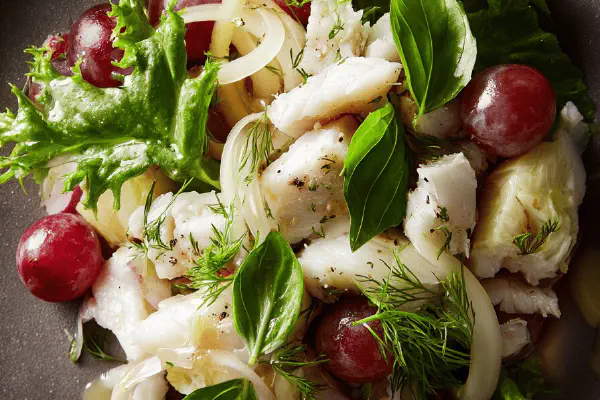
Warm Fennel Grape Fish Salad
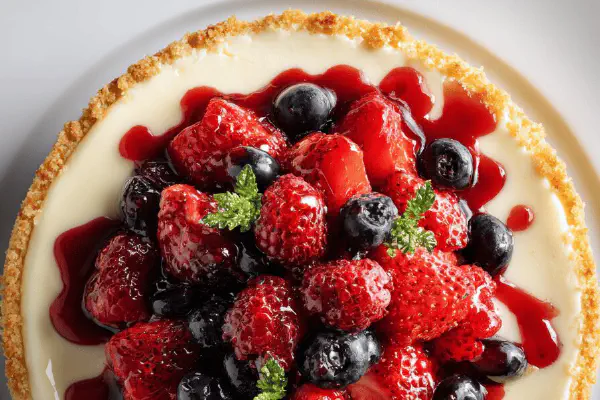
Lower Fat Cheesecake with Almond Crust
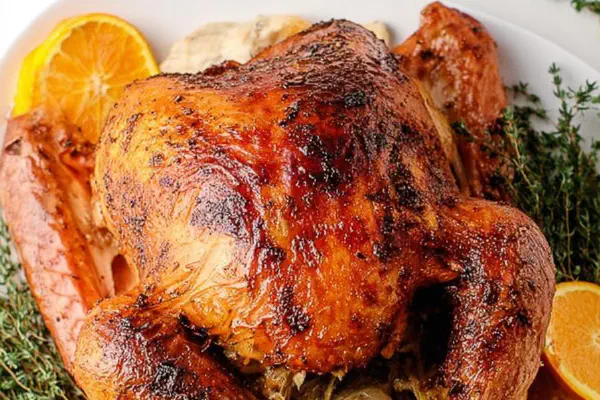
Orange Anise Thyme Turkey
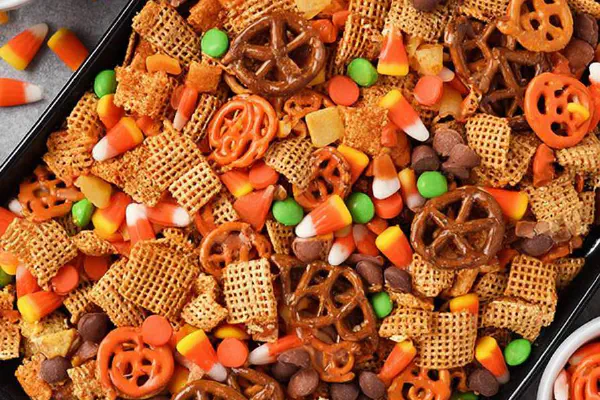
Honey Nut Snack Mix

Veal Roast with Peppers and Sage
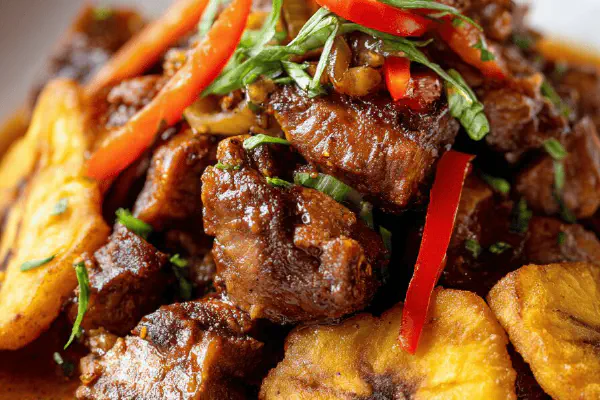
Twisted Griot du Agrikol