Featured Recipe
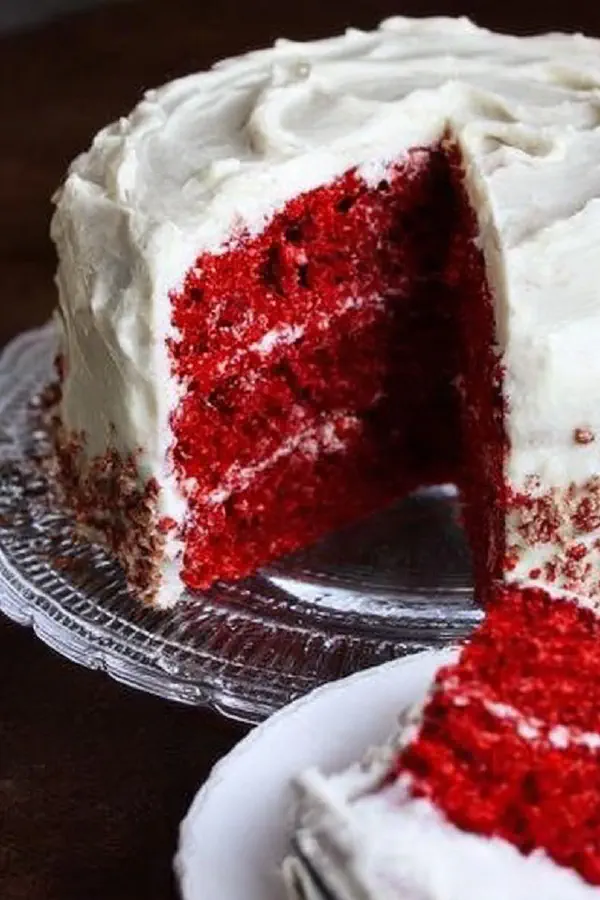
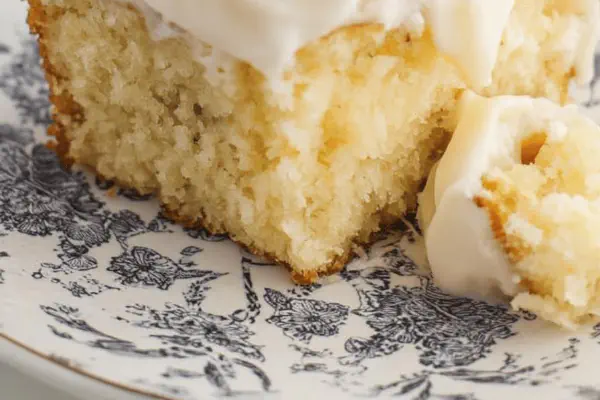
Altered Velvet Cake
By Kate
"
A red velvet style cake with modified ingredient ratios and a twist using cocoa powder and buttermilk substitute. Uses baking powder instead of baking soda plus lemon juice for acidity. Adjusted steps to sharpen technique and timing cues. Highlights visual and tactile signals for doneness. Focus on realistic kitchen tips, ingredient swaps, and avoiding common issues like cake shrinkage or uneven coloring.
"
Prep:
35 min
Cook:
25 min
Total:
1h
Serves:
10 servings
cake
dessert
American cuisine
baking
red velvet
Introduction
Red velvet cake but not quite the way you might expect. Switched out the suspicious instant chocolate packet for real cocoa, better control over flavor and texture. Ditched baking soda in favor of baking powder for steadier rise, tweaked acidity by swapping vinegar for lemon juice which tones the tang without overpowering. Gel food coloring specifically for rich, deep color – avoid sneezing paint disasters by mixing slow. Cake flour stays the backbone – finer grind means softer crumb, less gluten battle. Buttermilk substitute keeps that classic tang alive when fresh not at hand. How long to bake really about watching edges retreat and crumb moisture. No guessing at too-tall or too-dense, look and feel first. These adjustments rooted in real kitchen hacks – one badly timed step ruins everything. No fluff, just how to get your red velvet game tight.
Ingredients
In The Same Category · Sweet Treats
Explore all →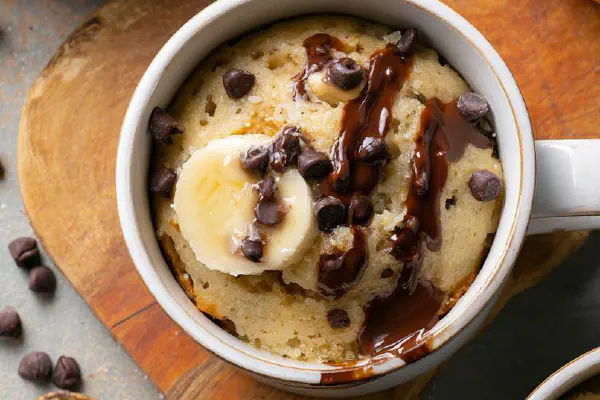
Twisted Banana Mug Cake
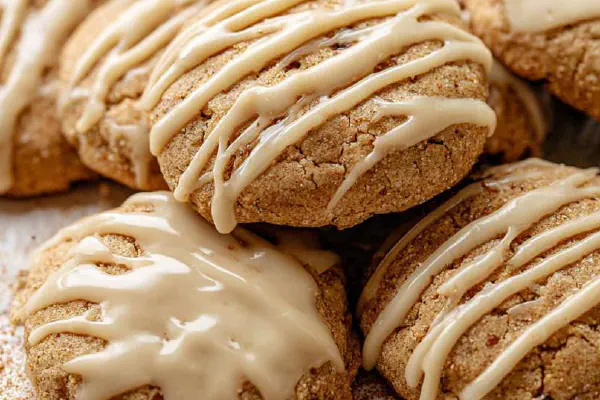
Maple Cinnamon Cookies
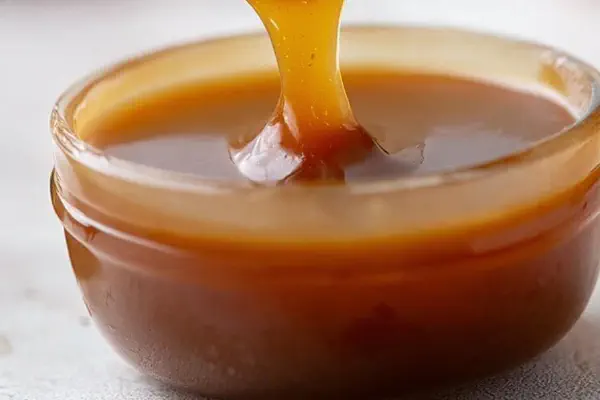
Simple Brown Sugar Caramel
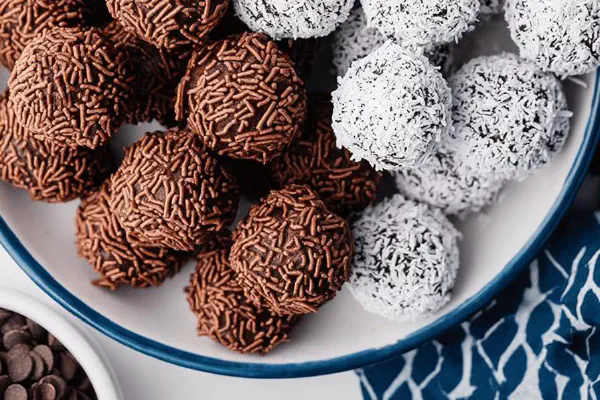
Rum Balls Remix
Chocolate Banana Pudding Remix
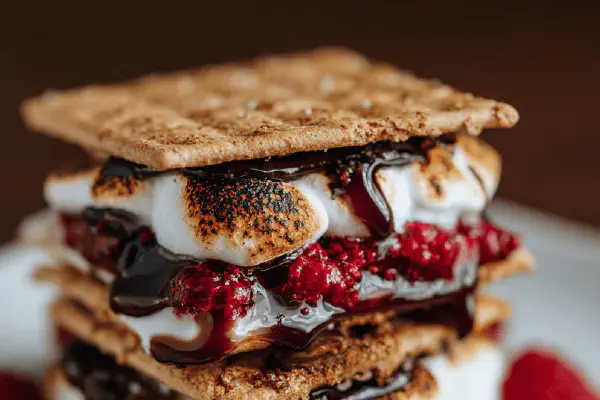
Raspberry Maple S’mores
Crispy Hazelnut Roll
Sticky Crunch Granola Bars
Twist Banana Pudding Fluff
Cadbury Egg Fudge Remix
Moist Banana Miso Loaf

Molasses Ginger Galettes
Flamed Pineapple with Rum
Sheet Pan Holiday Cookies
Carrot Cake Cheesecake Hybrid
Frozen Strawberry Cream Puff Pastry
Oreo Cream Freeze Cake
Brown Butter Snickerdoodle Skillet
Brown Sugar Blondies with Creamy Swirl
Grilled Pound Cake Twist
Almond Croissants Twist
Boozy Cocoa Balls
Salted Chocolate Panforte
Apple Oat Squares Remix
Peanut Butter Swirl Brownies
Chocolate Peanut Butter Crisps
Cherry Almond Cupcakes
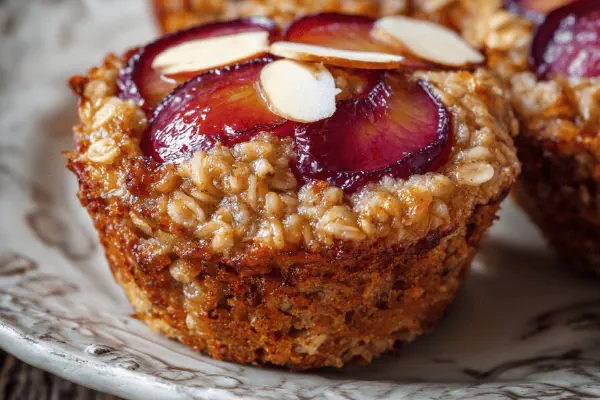
Plum Crumble Cakes
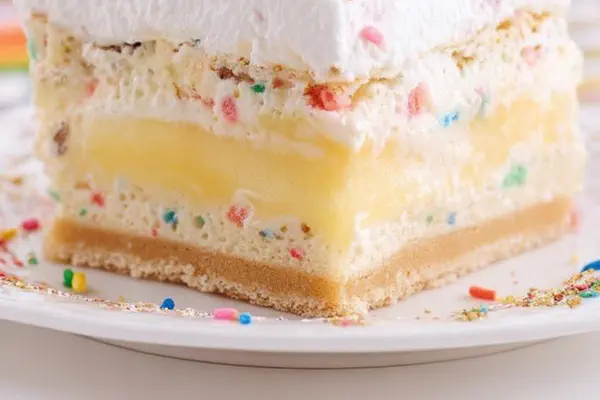
Birthday Crumb Delight
About the ingredients
Cake flour doesn’t behave like all-purpose. Its fine texture allows delicate crumb without toughness. If unavailable, use all-purpose but reduce quantity by 2 tablespoons per cup and sift thoroughly before mixing. Unsweetened cocoa powder adds chocolate depth without bitterness; Dutch-process preferred for smoothness, but natural cocoa works if you add a pinch more acid. Butter instead of oil gives richer mouthfeel but must be room temp for proper creaming. Eggs provide structure and moisture – fresh and large size standard. Gel based dye concentrates color better than liquid; drop by drop and mix slowly to avoid messy splashes. For buttermilk substitute, lemon juice or vinegar with milk creates necessary acid to react with leavener. Baking powder alternative to baking soda grants more predictable rise in this recipe’s moisture level. Avoid using powdered vinegar or excessive acidity; balance is vital.
Method
Technique Tips
Greasing and flouring pans might seem tedious but cake release depends on it. Skip wax paper because cake sticks less and texture is compromised. Creaming butter and sugar generates trapped air bubbles that lift the cake; speed and timing critical—too short and batter dense; too long butter melts. Add eggs slowly to keep emulsion intact preventing a curdled batter. Brisk introduction of color means splatter hazards; slow mixing avoids bright red walls. Mixing acid liquids just enough to blend prevents breakdown of gluten. Adding wet and dry ingredients alternately balances hydration preventing lumps and gritty texture. Look for visible pull away on edges and feel cake top while baking to know when doneness nears. Too long overbaking dries crumb; early pull leaves gooey center. Cooling in pans while slight warmth allows gentle separation from pan sides. Inverting while hot can crack fragile surfaces. Frost cold to avoid melting cream cheese bases and use spatula for thin, even layers. Storage uncovered invites drying; cover loosely after frosting or keep in airtight container with waxed paper layering.
Chef's Notes
- 💡 Creaming the butter and sugar isn’t just mixing. It’s science. Whip it till fluffy, around 3 minutes. Not enough air, dense cake. Too much, melted butter from heat. Listen for the change in friction sounds, feel the texture.
- 💡 Gel food coloring - Use this not liquid. More control over color concentration. Add in slow drips. Mix gently to avoid splattering. Think about your workspace; bright red splashes need clean-up.
- 💡 If cake sticks in the pan, check greasing method. Grease well and flour liberally. Wax paper is a no-go; cakes adhere better to metal surfaces. Dust off excess flour before pouring batter.
- 💡 Should you run out of cake flour? Substitute all-purpose flour but reduce 2 tablespoons per cup. Sift thoroughly, crucial to avoid lumps. Dry, dense cake isn’t what you want.
- 💡 Baking time, crucial. Don’t just watch clock; observe edges of cake. Pull away from pan, that’s a sign. Toothpick test valid only off-center – look for moist crumbs, not wet batter.
Kitchen Wisdom
What's the best way to know when the cake is done?
Check edges pulling away from the pan. Tap gently on tops, feel firmness. Keep an eye, don’t open oven too soon. Too long in heat? Dry crumb, not good.
How do I fix a cake that shrinks after baking?
Avoid overmixing, harsh on gluten. Make sure ingredients at room temp. Any cold elements can shock batter. Use correct measuring, aeration key.
Can I freeze this cake?
Absolutely, wrap tightly; prevents ice crystals. Individual layers work well. Thaw slowly in the fridge. Quick thaw leads to soggy texture; not ideal.
What icing pairs well?
Cream cheese frosting is classic. The tang balances sweetness of cake. Mascarpone also works but chill! Melt in warmth, thin layers. Even spread crucial for aesthetics.
You’ll Love These Too
Explore all →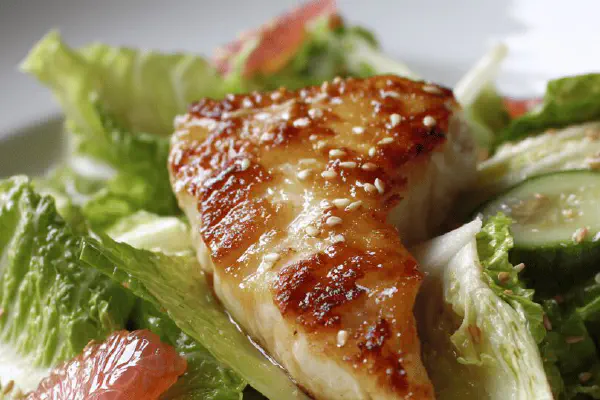
Citrus Tilapia Salad
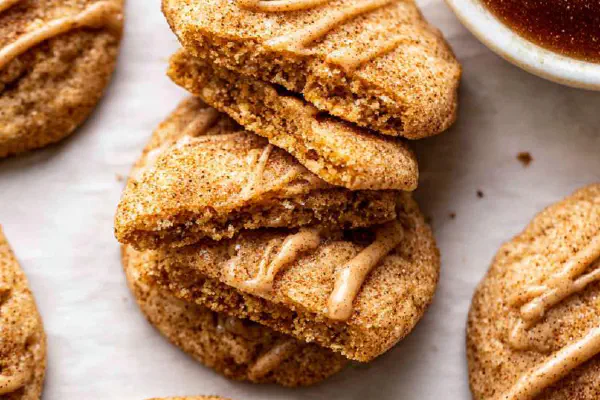
Apple Butter Snickerdoodles
Anchovy Tuna Fettuccine Twist

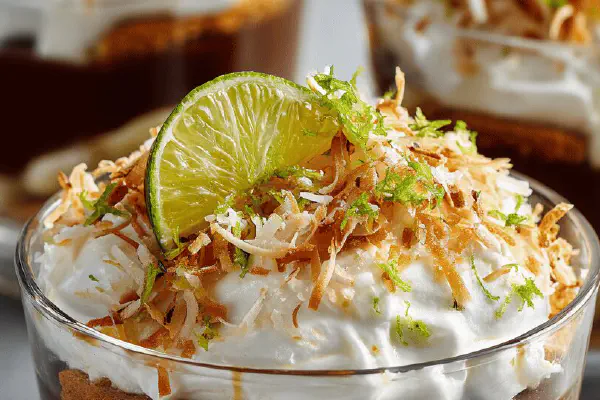
Tart Citrus Cream Pie
Legume Apple Herb Salad
Chicken Cheese Apple Sandwich
Oreo Cream Freeze Cake

Apple Streusel Cheesecake
Mini Beef Wellingtons
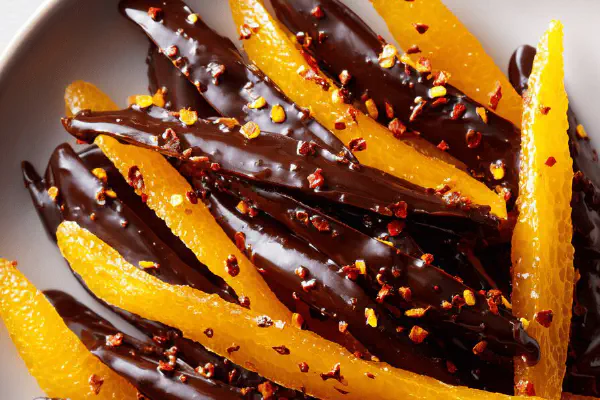
Chocolate-Covered Candied Orange Peels
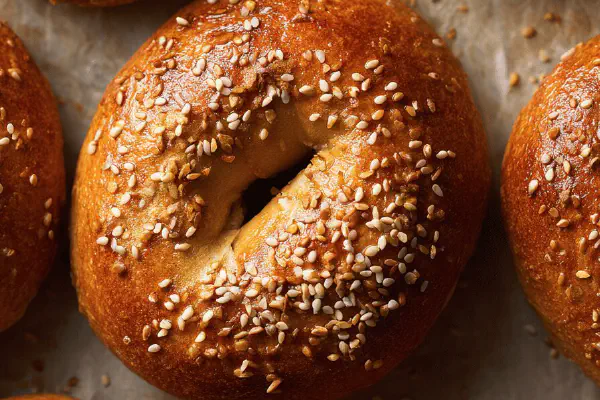
Sesame Bagels with Molasses Twist
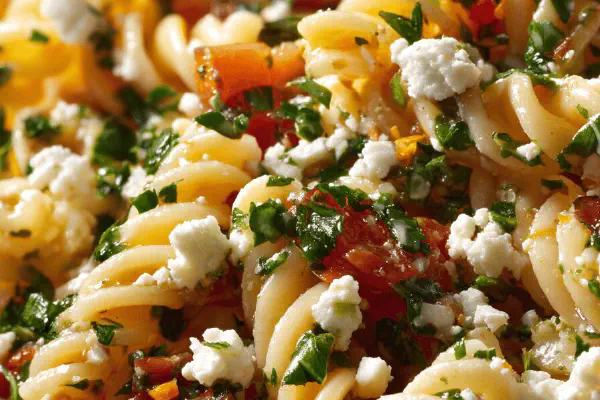
Pasta Salad with Zesty Gremolata
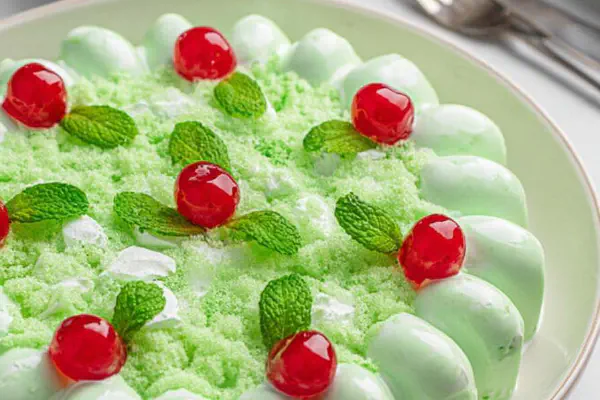
Pear Citrus Gelatin Salad
Nutty Butter Bites

Rustic Garlicky Tomato Sauce
Red Berry Syrup Twist
Chocolate Ganache Bites
Brown Sugar Cream Sauce
Zesty Sour Cream Pound Cake
Twist Banana Pudding Fluff
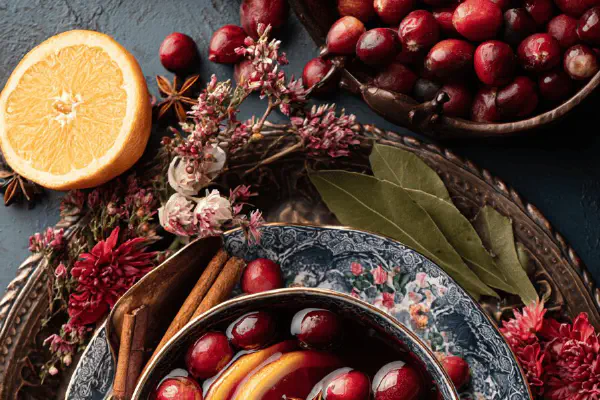
Spiced Hot Cranberry Punch
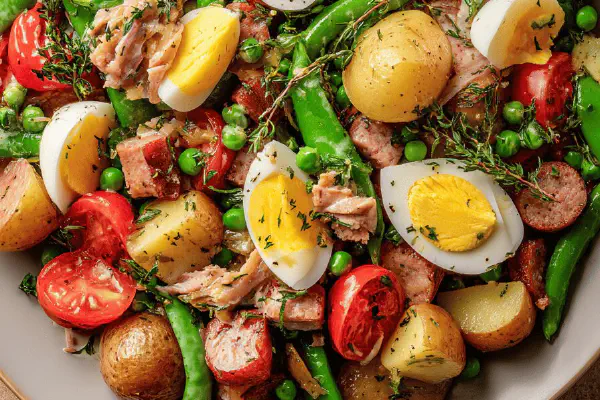
Egg Pea Potato Salad

Crunchy Asparagus Tuna Salad
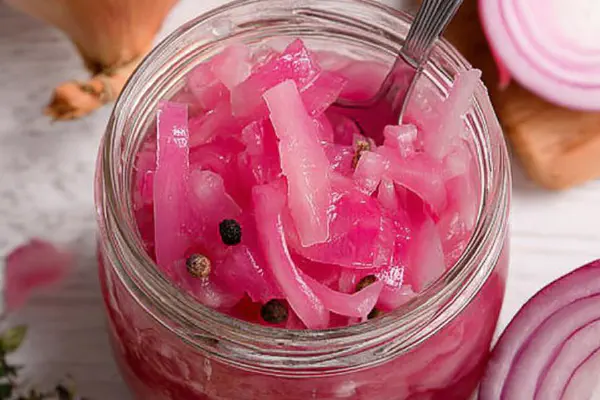
Quick Pickled Red Onions
Savory Sweet Grilled Cheese

Crispy Garlic Brussels
Garlic Cream Cheese Chicken
Roast Beef Ribeye Madeira Sauce
Potato Gratin with Onion Melt