Featured Recipe
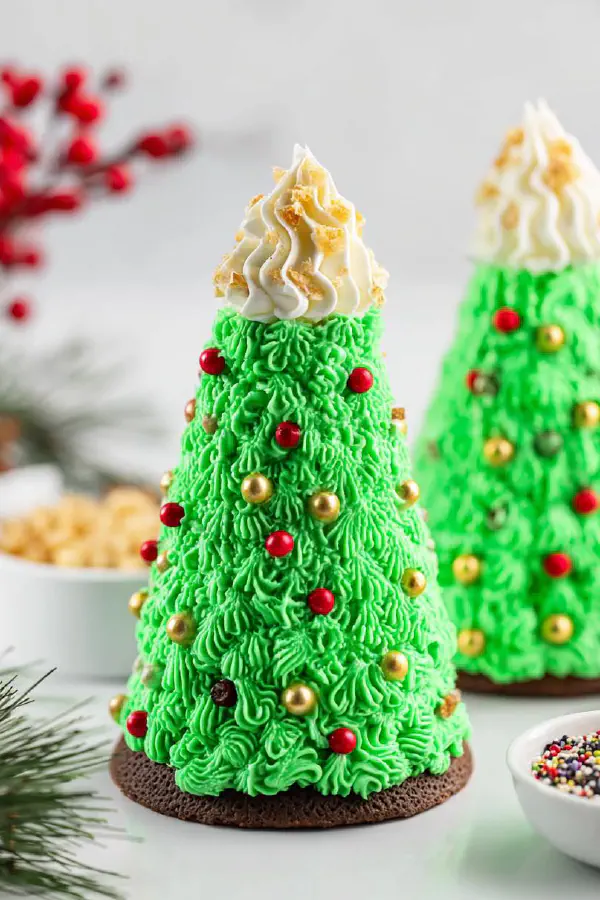
Cone Cake Christmas Trees
By Kate
"
Sugar cones filled with batter, baked till springy, then trimmed flat. Topped with thick vanilla buttercream and Fudge Stripes for crunch. Flipped, crumb-coated, then piped green frosting stars shape festive trees. Variations include swapping fudge stripes for ginger snaps, adding a hint of almond extract to batter. Bakes range 12-17 minutes depending on oven hot spots. Cool cones fully before trimming to keep structure. Frost layers seal crumbs and improve final pipeline. Visual and tactile cues emphasized over times for best results.
"
Prep:
20 min
Cook:
35 min
Total:
55 min
Serves:
20 servings
baking
holiday
dessert
Christmas
Introduction
Sugar cones aren’t just for ice cream anymore. Stuff them two thirds full with batter—don’t overfill or mess with drips—bake till springy under fingertip, 12 to 17 min depending on oven quirks and cone thickness. Don’t rush cooling or trimming flat tops comes out jagged, crumbly nonsense. Press cookie caps into thick vanilla buttercream. Flip those bad boys and crumb coat; skips this step, you get flecks everywhere and a patchy look. Star tip and green buttercream, swirl it up like a tree. Throw on some colored sugar or edible glitter dot ornaments. Crunch, sweet, biteable, festive. Chill a bit and watch frosting firm up and hold shape, but keep cones room temp to avoid soggyness. Tricks like almond extract in batter add subtle twist. Ginger snaps swap for fudge stripes changes crunch profile and brings spice kick. Keep an eye on colour and spring back for bake doneness cues, no guessing. Frosting set times beat timers, trust visual and tactile signals.
Ingredients
In The Same Category · Sweet Treats
Explore all →
Coconut Cream Pie Remix
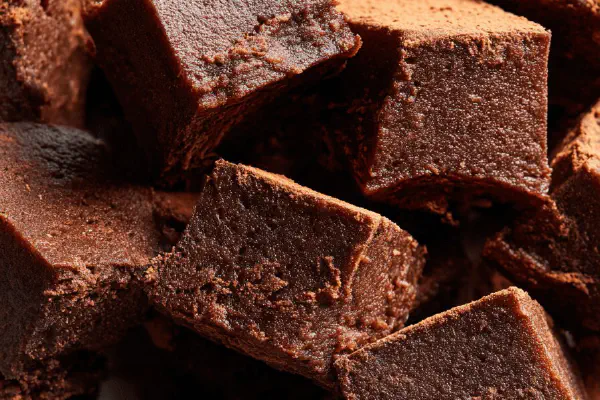
Mini fudge squares
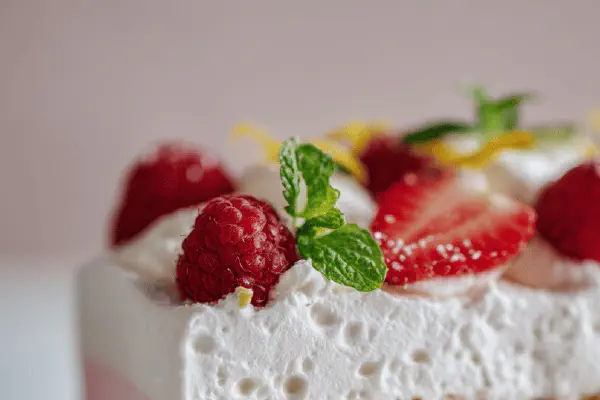
Pistachio Raspberry Ice Cake

Apple Puddings Air Fryer
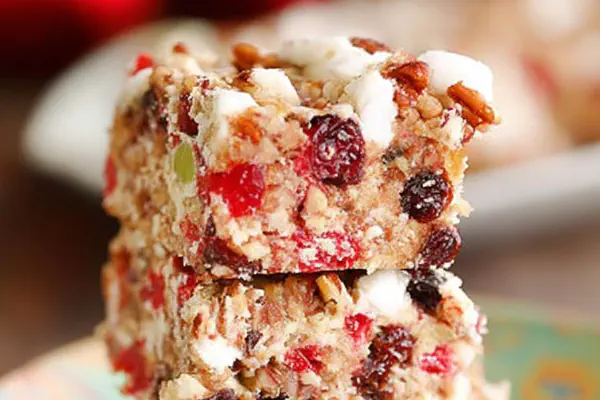
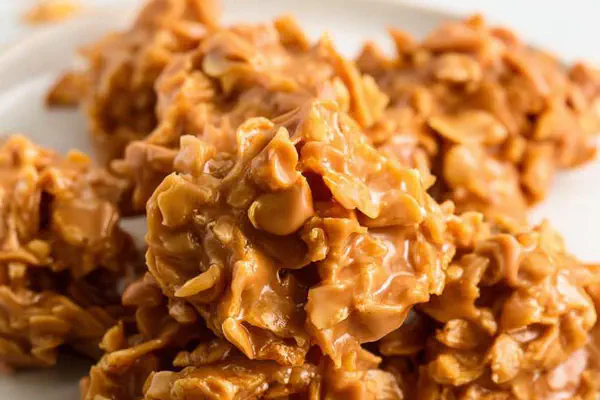
No-Bake Holiday Bars

Amish Sugar Cookies Remix
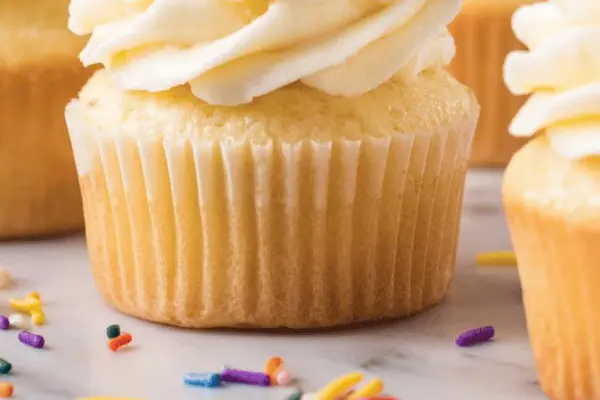
Vanilla Pudding Cupcakes
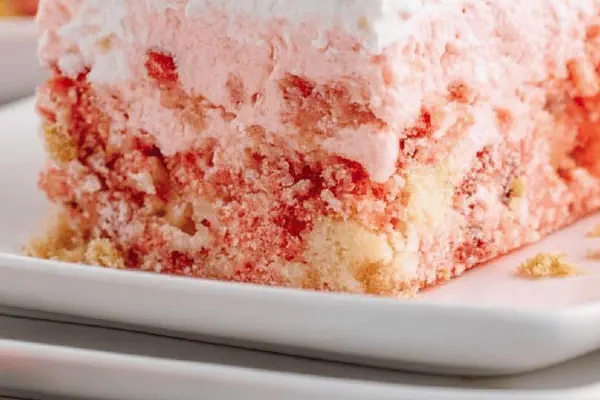
Strawberry Crunch Cake Remix
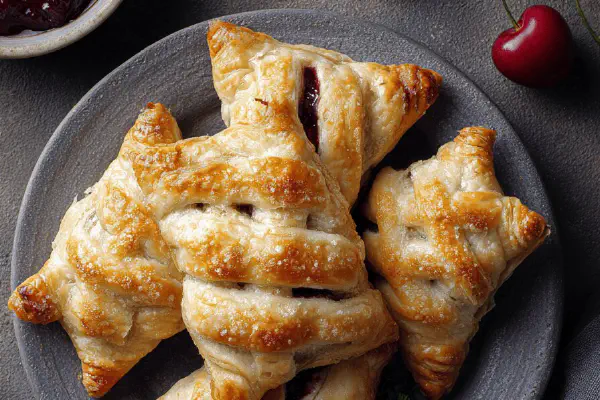
Cherry Cheese Pockets
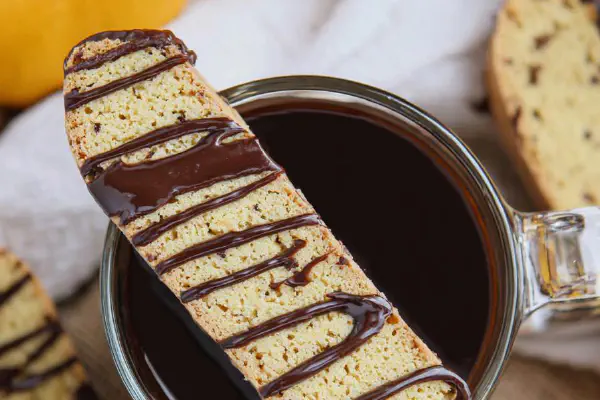
Vanilla Mocha Biscotti Remix
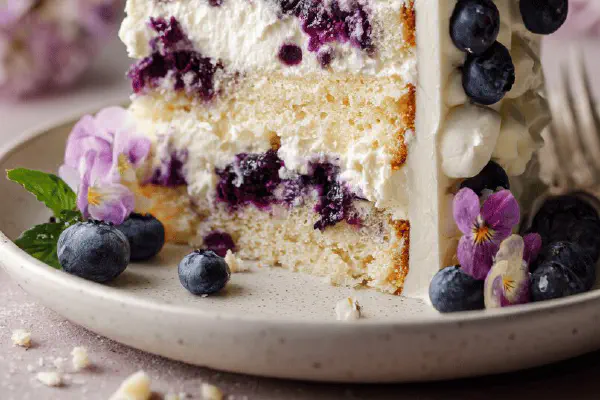
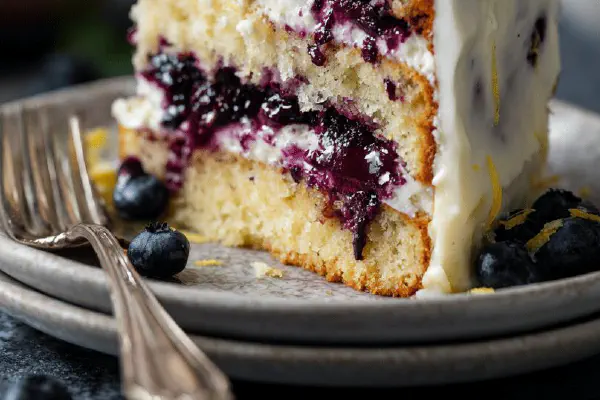
White Chocolate Blueberry Cake

White Chocolate Pistachio Blondies
Zesty Cream Cheese Frosting
Frozen Strawberry Puff Pastry
Twisted Red Velvet Log
Brown Butter Nutty Crispy Bars
Blueberry Layer Cake
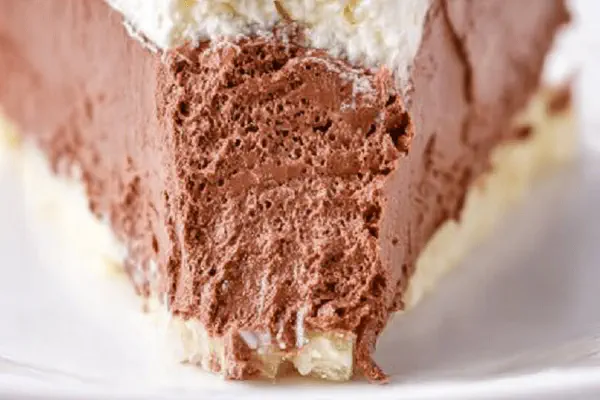
Silky Chocolate Cream Pie
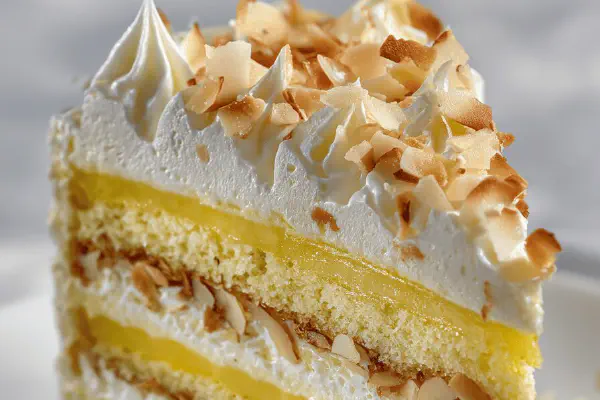
Lemon Chiffon Cake Remix
Skillet Fruit Cake Twist
No-Bake Butterscotch Crunch
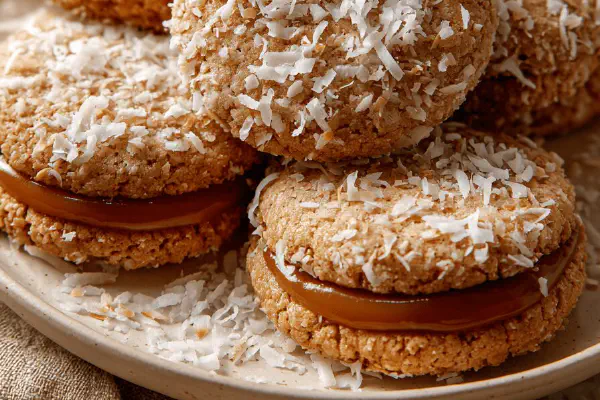
Soft Dulce de Leche Sandwiches
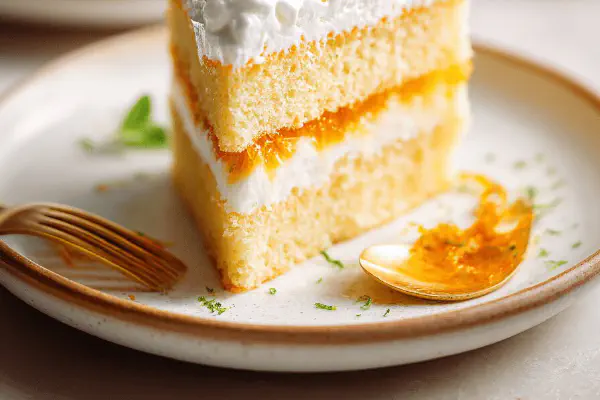
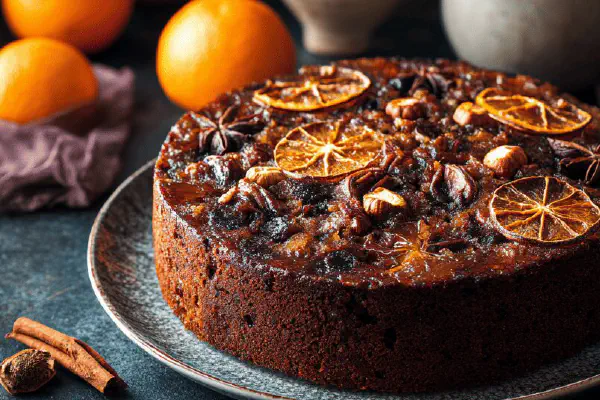
Orange Chiffon Cake Twist
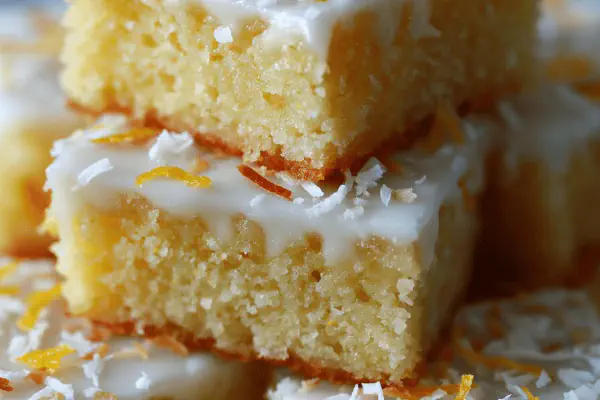
Orange Coconut Mokas
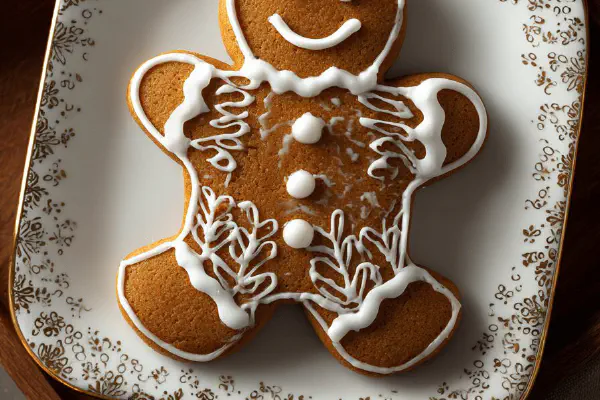
Gingerbread House Cookies
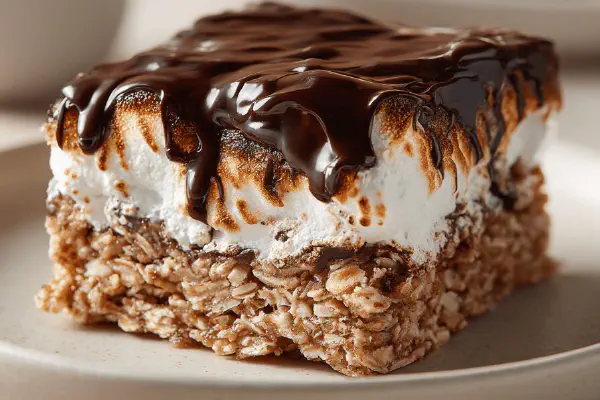
Maple Marshmallow Chocolate Bars
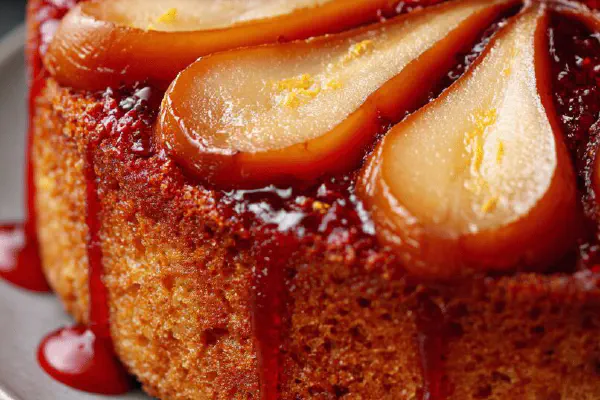
Almond Paste Pear Cake
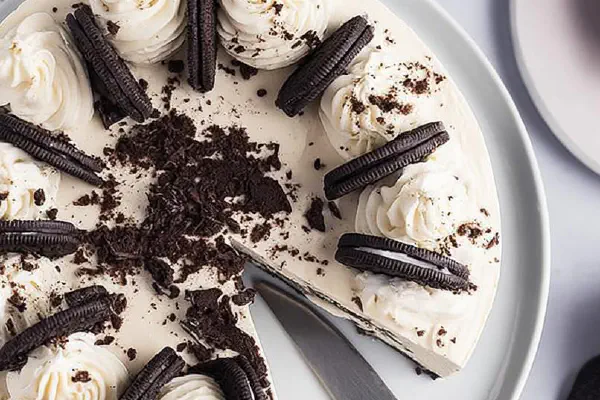
Twist Oreo Cheesecake
Fondant Brownies Dulce de Leche
About the ingredients
Vanilla cake mix is the base; adding a teaspoon almond extract bulks complexity without overpowering vanilla notes. Eggs can be reduced by one large egg if looking for denser crumb, else all three for fluffier cake. Oil maintains moisture; vegetable oil preferred for neutral flavor but can swap with melted butter for richer aroma—affects batter viscosity slightly, pipe with care. Frosting is straightforward vanilla buttercream; cream cheese frosting makes a tangy but stable alternative, especially with spice cookie toppers replacing fudge stripes. Cookies add texture contrast; fudge stripes bring chocolate sugar crunch while ginger snaps introduce a faint warmth—choose based on palate preference. Green gel color used over liquid to avoid watery frosting. Sprinkles and edible glitter optional, but a quick way to up the festive look. Storage at room temp advised to avoid soggy cones; refrigeration dries out cake and hardens buttercream excessively, impacting bite and mouthfeel.
Method
Technique Tips
Preheating oven to an uneven 355F nudges a sharper crust; the lower rack keeps cones from browning too quickly at edges. Piping batter keeps fills uniform; nothing worse than a cone underfilled and hollow or overfilled and bursting over the edge during bake, leading to messy cleanups. Watch closely near the 12 minute mark, prick test done by gentle fingertip press—if springy, no dent left, done. Toothpick inserted too early risks drying. Full cooling is critical—warm cones trim poorly and crumble sideways. Level flat tops with serrated knife slowly and steadily to avoid jaggedness. Frosting the tops thickly holds cookie cap firm and prevents sliding. Set frosting thoroughly before flipping. Flipping may seem odd but needed for clean tree decoration base. Crumb coat seals impossible loose crumbs, preventing bumpy final layers and frosting color bleed; chill till firm—patience or frosting ruins. Star tip swirls aren’t just pretty, they create texture and dimension mimicking pine branches; firm green buttercream consistency required, too soft and it slumps. Use confident short bursts of pressure on bag for control. Sprinkles and edible glitter sprinkled on while frosting still tacky avoid fallout. Rest cones appropriately; gathering condensation ruins crisp edges and frosting integrity. Keep leftover servings covered loosely but at room temperature. Avoid refrigeration whatsoever.
Chef's Notes
- 💡 Check cake mix for adjustments. Almond extract boosts flavor; add one teaspoon, not overpowering. Vegetable oil for moisture; can switch to melted butter for richness, affects viscosity.
- 💡 Fill cones carefully. Two-thirds full works best; overfilling leads to messy spills. Use piping bag or plastic bag. Cut small corner for control; steady hand needed.
- 💡 Watch bake time closely. Aiming for 12 to 17 minutes. Check at 12 and look for spring back with fingertip touch; a toothpick can help avoid drying too early.
- 💡 Cool cones fully before trimming. Warm ones crumble easily. Using serrated knife sawing around top for even surface; patience helps avoid jagged edges.
- 💡 Chill frosting briefly to set. Helps maintain shape and prevent smudging. Crumb coat necessary before decorating; firm frosting locks crumbs in place for clean finish.
Kitchen Wisdom
Can I use different cake mix types?
Sure, any flavor works—vanilla, chocolate, or even spice cake. Just adjust toppings accordingly.
What if cones crack while baking?
Lower oven temp, 350F max. Also, don't overfill. Adjust baking time based on oven vibes.
Storage options for leftovers?
Keep at room temp loosely covered. Avoid fridge; moisture makes cones soggy. Can freeze but hold off on frosting.
Can I use store-bought frosting?
Yes, go for it. Just check for thickness; thicker frosting helps with decorating. Flavor may change slightly.
You’ll Love These Too
Explore all →
Spiked Eggnog Cookies
Twisted German Chocolate Cupcakes
Sugar Pearled Choux Puffs
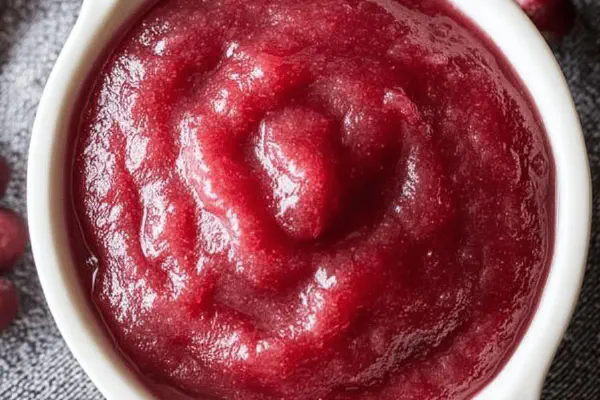
Spiced Cranberry-Apple Sauce

Spiced Chickpea Patties
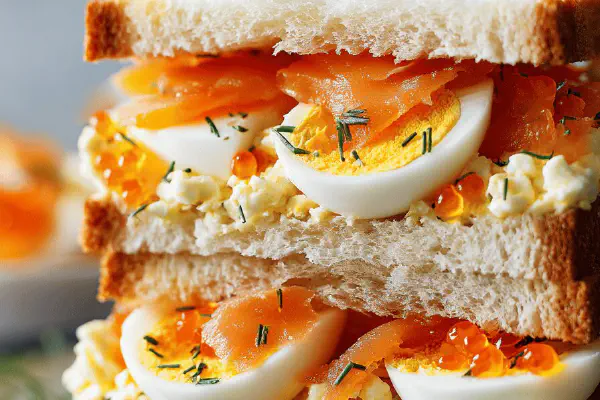
Egg Salmon Fish Roe Sandwiches
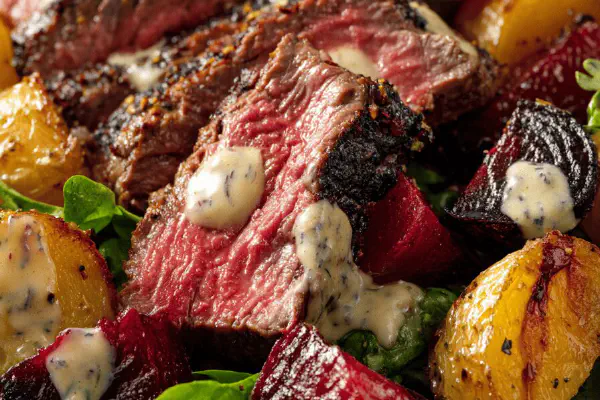
Beef Beet Potato Salad
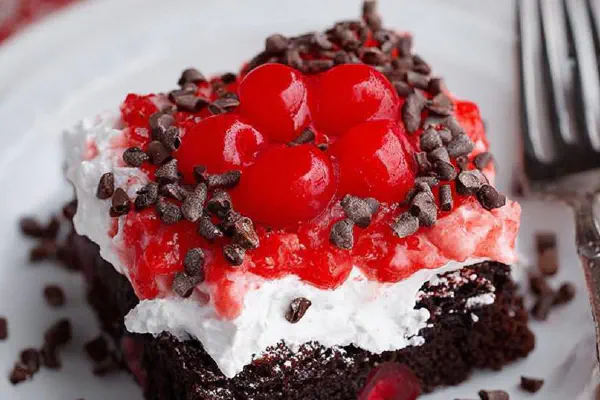
Black Forest Poke Cake Twist
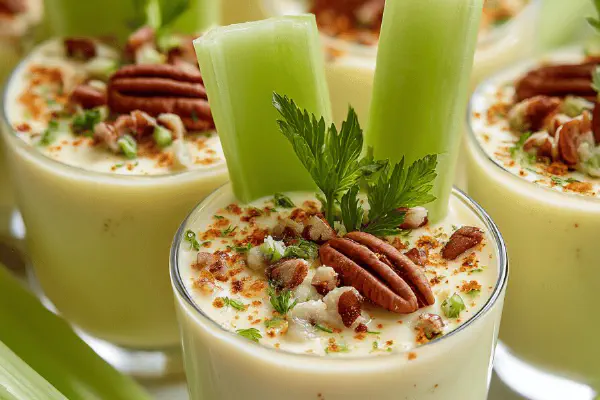
Celery Cheese Shooters
Spiced Jalapeño Roll-Ups

Cucumber Basil Martini
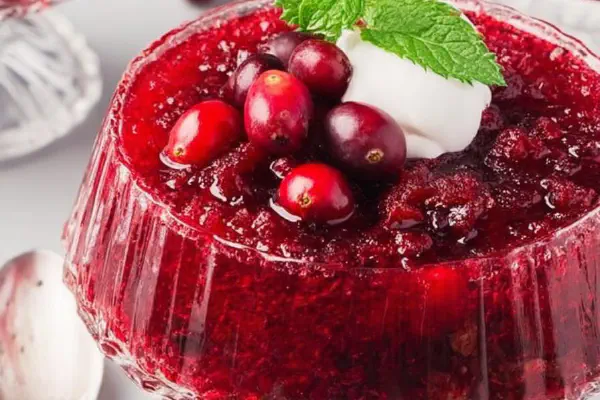
Cranberry Pineapple Mold

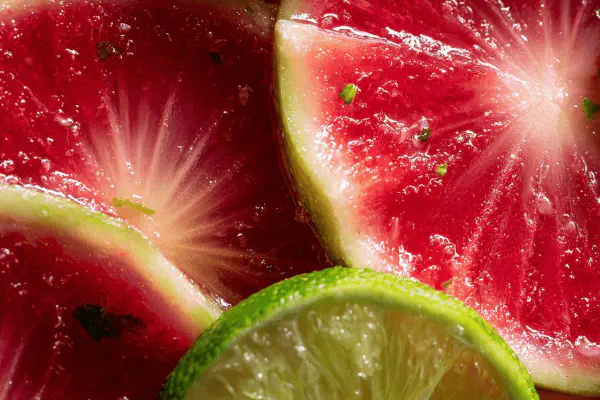
Rhubarb Hibiscus Spritz

Fish broth remake
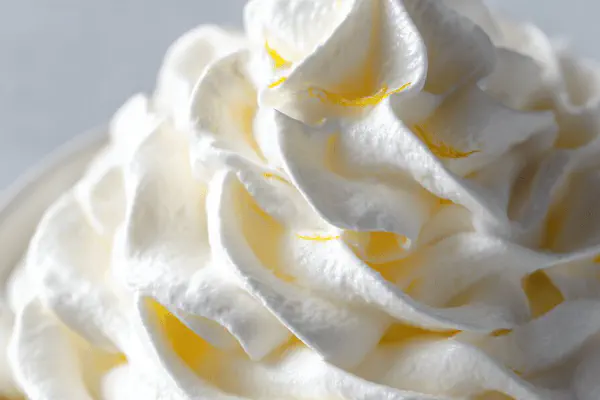
Vegan Whipped Cream Twist

Pear Upside-down Cakes Spiced Caramel
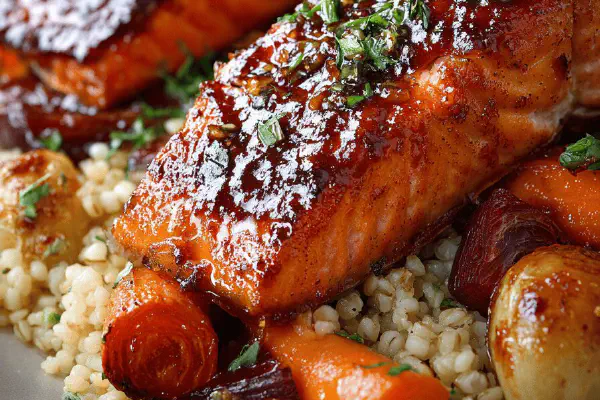
Beer Maple Glazed Salmon
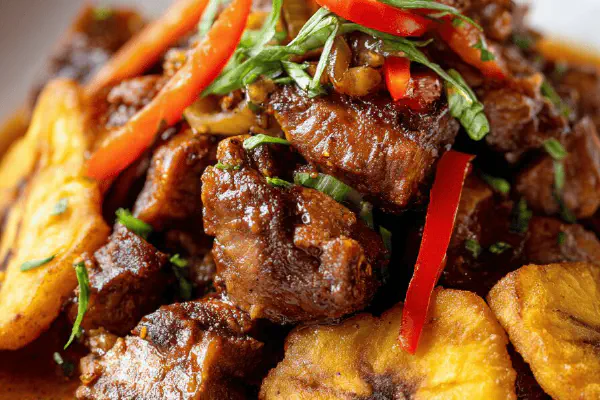
Twisted Griot du Agrikol
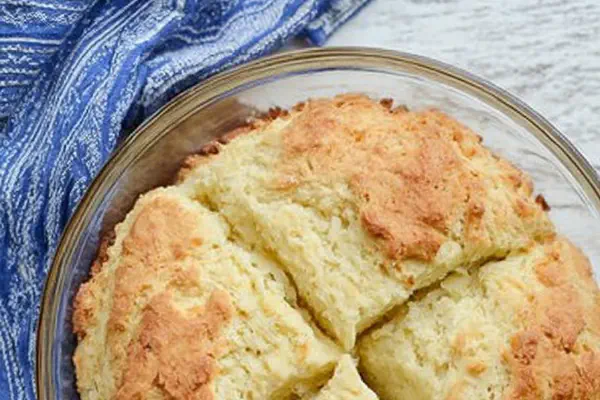
No-Yeast Potato Bread
Candied Rhubarb Twist
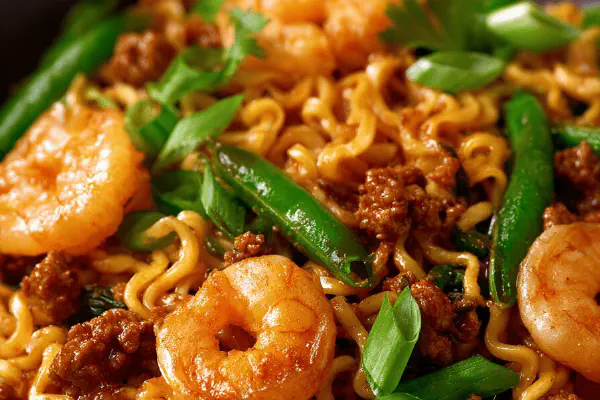
Spicy Pork Shrimp Ramen
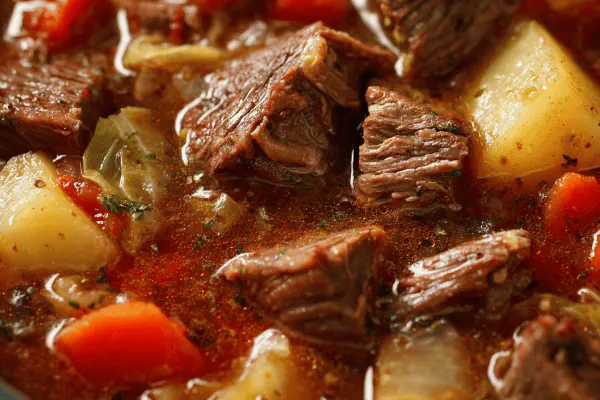
Beef Vegetable Pot Boil
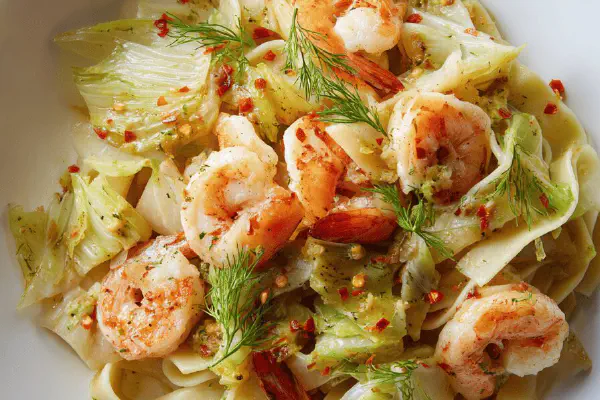
Shrimp Fennel Tagliatelle
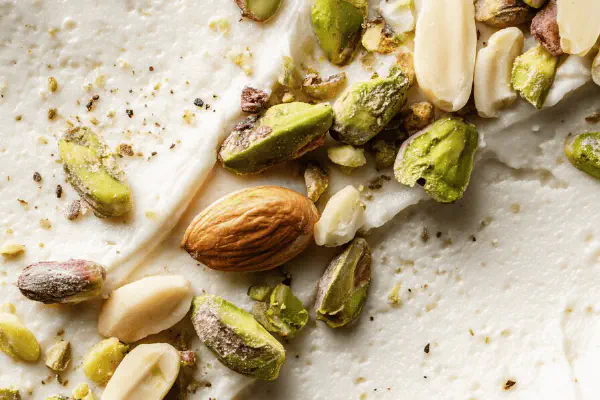
Pistachio White Chocolate Spread
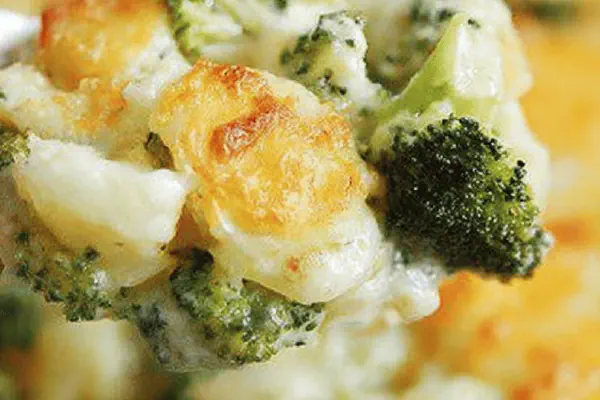
Scalloped Potatoes Broccoli Bake
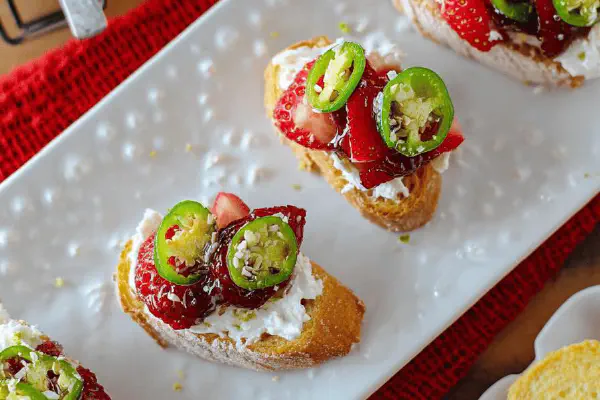
Strawberry Jalapeño Crostini Remix

Gingerbread Cookie Remix
Vegetable Demi-Glace Twist
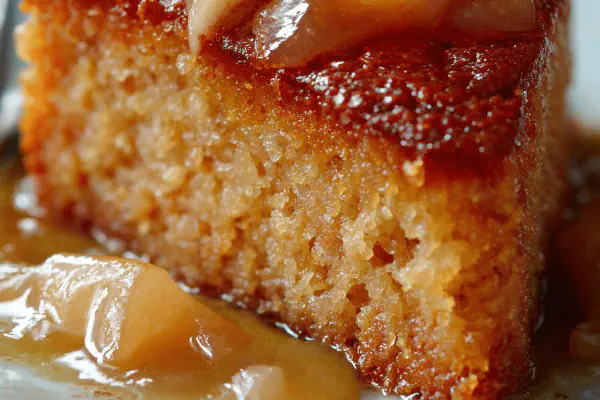
Maple Pear Pudding Cake