Featured Recipe
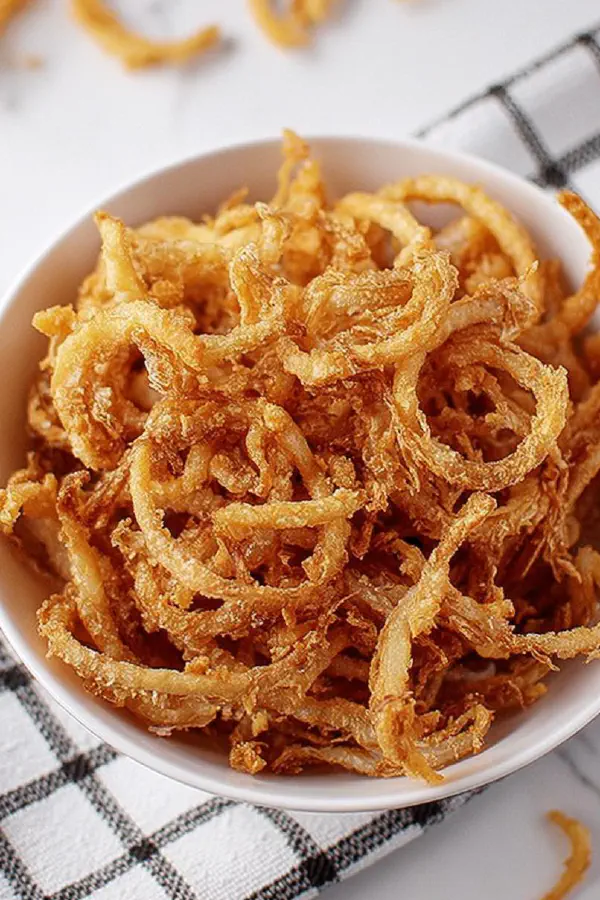
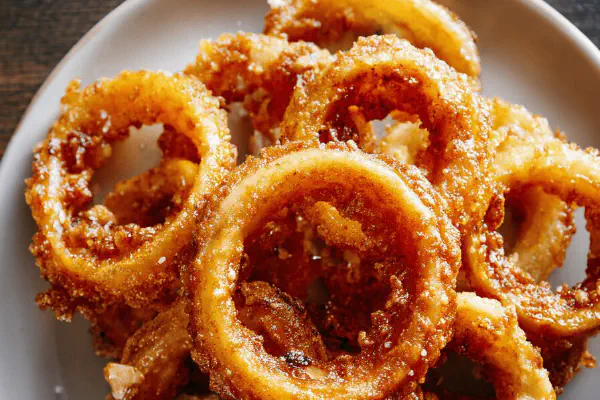
Crispy Marinated Onion Crisps
By Kate
"
Thin onion rings soaked in a tangy yogurt bath, dusted in seasoned rice flour and fried until blistered golden brown. Uses vegetable oil heated to just below smoke point. Aromatic from celery salt and cracked black pepper. Textural contrast from light batter to crunchy bite. Ideal for snacks or side dishes. Works well with sour cream dip. Adjust marinating time for sharper or mellower flavors. Rice flour swap reduces gluten, changing crust texture. Frequent stirring of soaking onions prevents clumping and ensures even acid absorption.
"
Prep:
8 min
Cook:
12 min
Total:
20 min
Serves:
3 servings
appetizer
fried food
comfort food
Introduction
Onion rings that actually crunch. Forget soggy batches and bland batter. Marinating in yogurt cuts sharpness without adding heaviness. Keeps rings flexible but not floppy. The flour mix swapped for rice flour means crispier, less gluten chew. Celery salt and cracked pepper punch flavor in every bite. Pan-fried in steady medium-high heat oil for that signature shimmer—listen for soft crackling, not aggressive blaze. Timing’s a guideline but color and texture are your real timers. You want golden edges, bubbles slowing, that slight resistance. Drain on rack for max crunch preservation. Best enjoyed hot. Got leftovers? Reheat in hot oven, no microwave.
Ingredients
In The Same Category · Starters & Nibbles
Explore all →
Maple Bacon-Wrapped Smokies
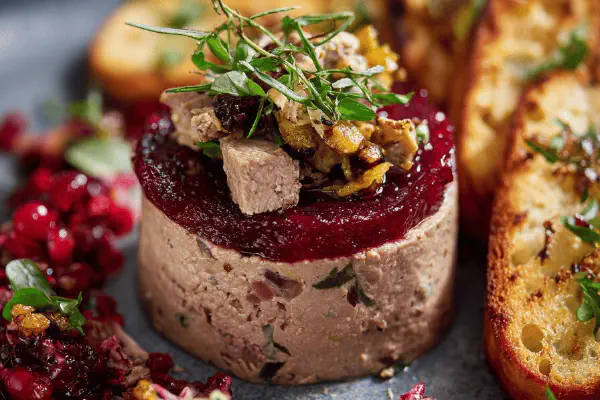
Chicken Liver Mousse Terrine
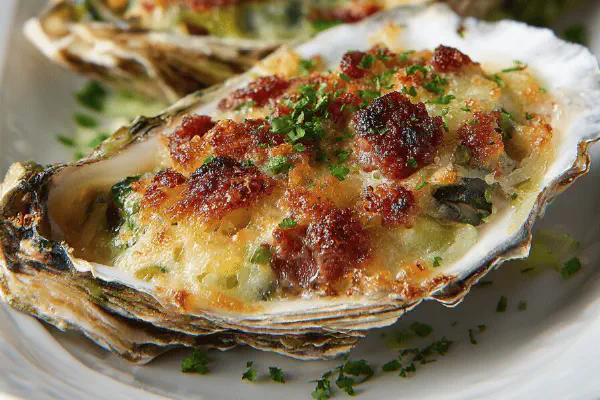
Gratinated Chorizo Oysters

Mushroom Onion Marinade

Citrus Cured Salmon Twist
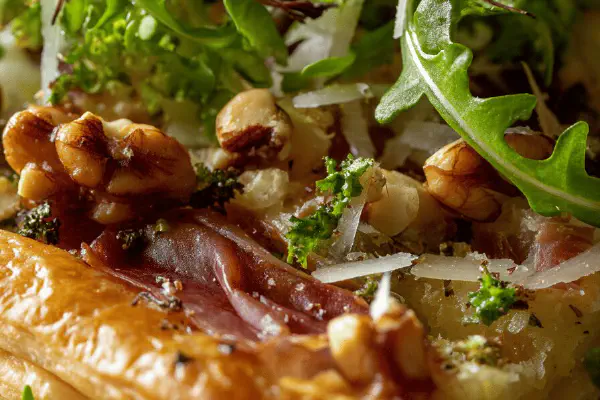
Savory Prosciutto Tart
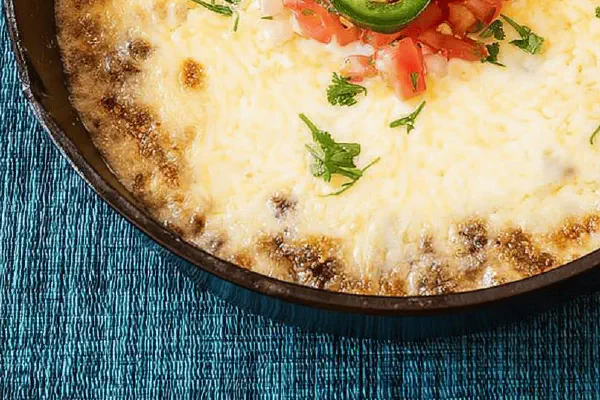
Rustic Queso Fundido Twist
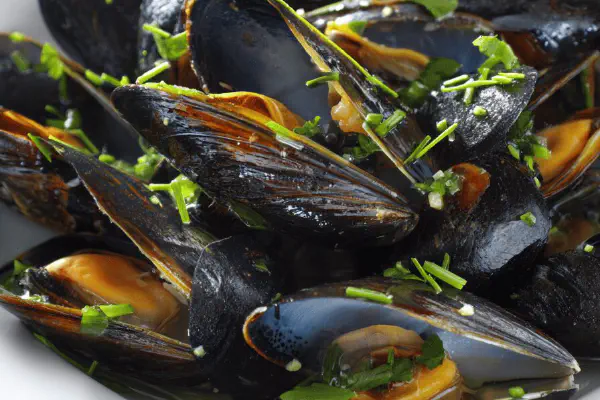
Chilled Mussels White Wine
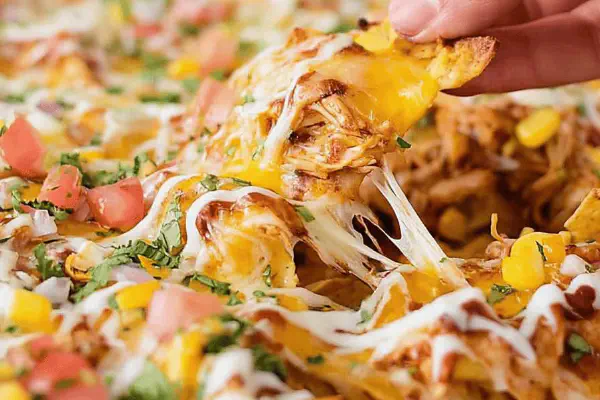
Smoky Chipotle Chicken Nachos
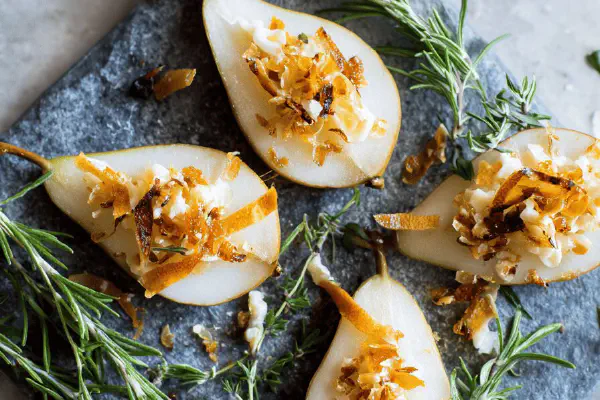
Pear Bites with Aged Cheese
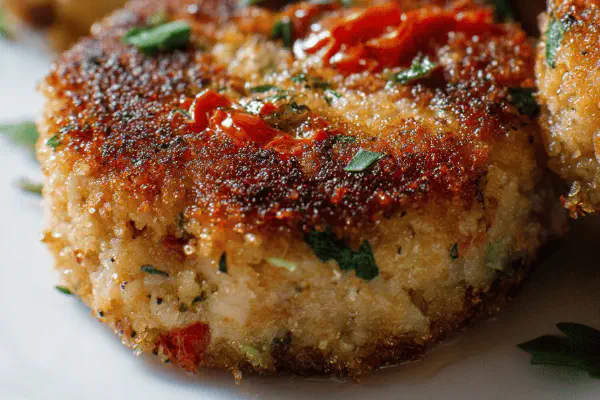
Rice Tuna Tomato Croquettes

Zucchini-Corn Fritters
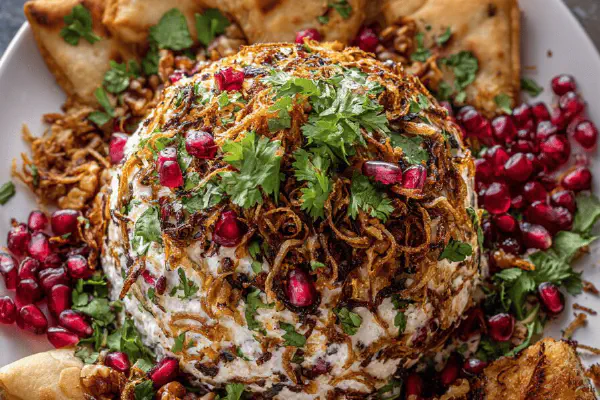
Cheddar Jalapeño Cheese Ball
Beer Battered Onion Rings
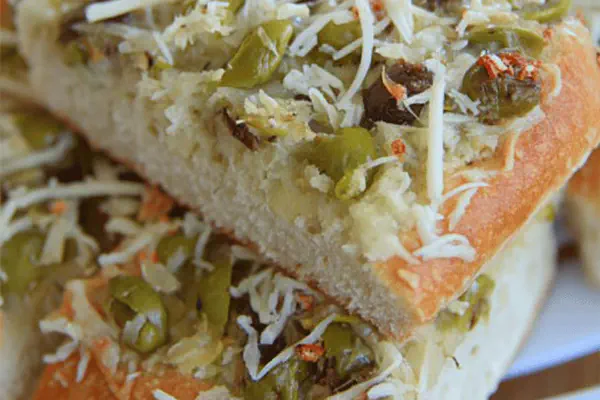
Olive Herb Cheese Bread
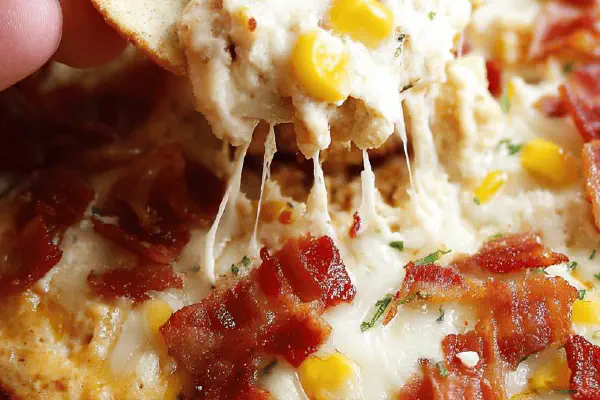
Cheesy Bacon Corn Spread
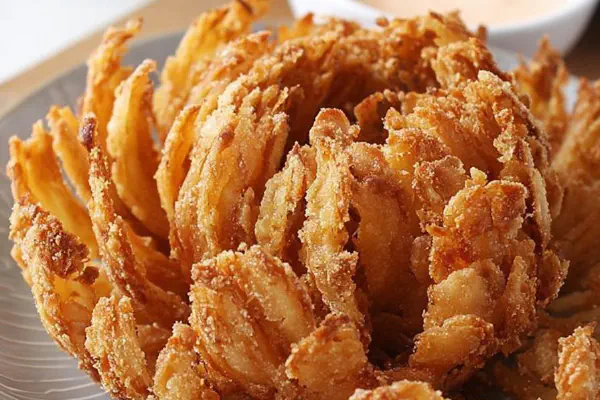
Spicy Blooming Onion
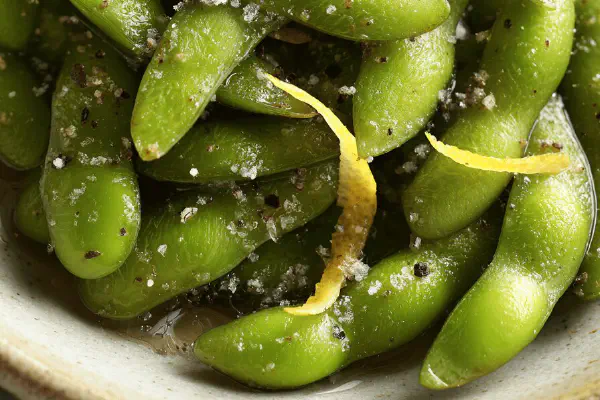
Salty Citrus Edamame

Mummy Dog Wraps
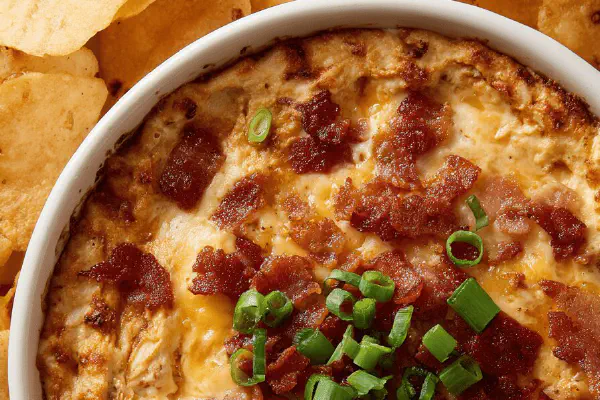
Smoky Cheddar Bacon Dip

Swiss Bacon Herb Pull-Apart
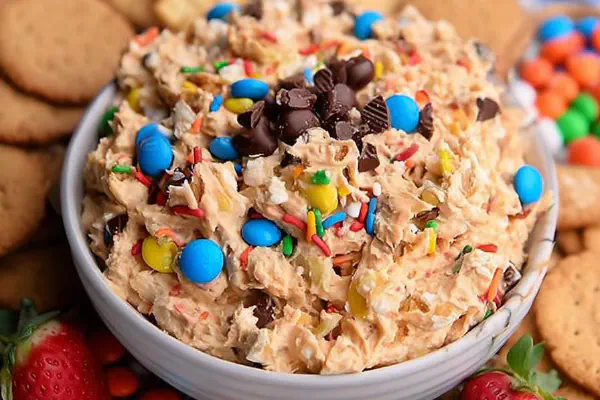
Chunky Cookie Dip
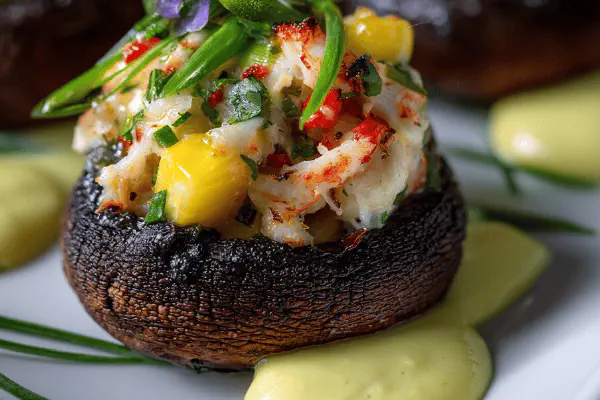
Crab Mango Stuffed Mushrooms

Spiced Jalapeño Roll-Ups

Beet and Feta Tart
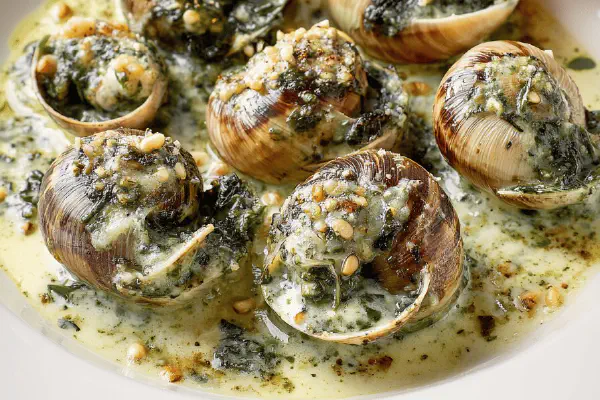
Basil Snails Twist
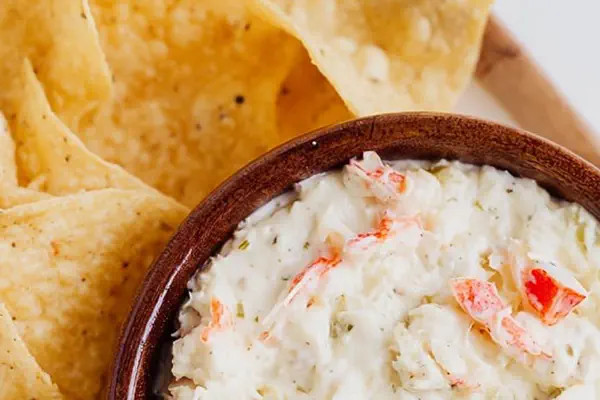
Creamy Crab Spinach Dip
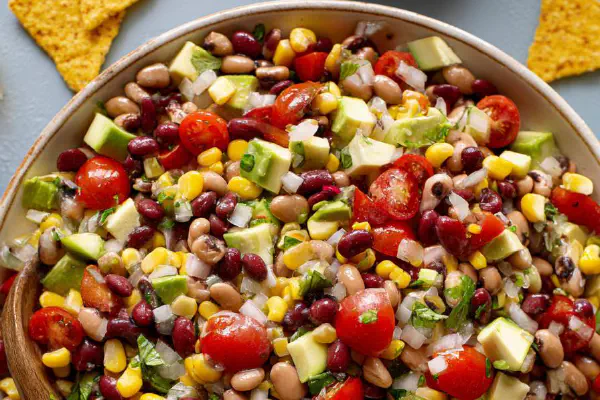
Chunky Zesty Bean Dip
Oven-Baked Salmon Bites
About the ingredients
Onions—yellow or sweet varieties work best for even slicing and balanced natural sweetness. Use mandolin for uniform thickness; uneven cuts cause uneven cooking. Yogurt replaces buttermilk here—thick, creamy acids tenderize and flavor subtly; avoid watery substitutes that dilute marinate. Rice flour instead of all-purpose avoids clumping, gives lighter crunch but browns faster; watch oil temp closely. Salt brands vary, adjust seasoning to taste after frying if needed. Vegetable oil preferred for neutral flavor and high smoke point. Alternatives: canola or peanut oil. Celery salt key—don’t skip; gives savory layer deepening overall profile.
Method
Marinate and prep onions
- Slice onions paper-thin, ideally with a mandolin. Separate into rings. Transfer to shallow dish.
- Cover onions fully with yogurt, stir gently to coat every ring. Leave at room temperature. Stir every 12 minutes to keep layers separated. Watch for slight sour tang rising.
- In a bowl, whisk together rice flour, salt, black pepper, and celery salt. Rice flour gives crispier texture but can brown quicker. Monitor frying temperature closely.
- Pour vegetable oil into deep skillet or heavy-bottomed pan to 2-inch depth. Heat to roughly 345°F— just before steady shimmer on surface.
- Use slotted spoon or fingers to lift onions from yogurt bath, letting excess drip back. Toss handfuls lightly in flour mix, shake off extra.
- Drop coated onions carefully into hot oil, spaced out in batches to avoid clumping. Oil should softly sizzle, not roar.
- Fry undisturbed for about 3—4 minutes until edges turn golden and bubbles slow. Visual doneness beats timers here. Thicker rings need extra second or two.
- Use slotted spoon to transfer to wire rack set over baking sheet. Avoid paper towels; they trap steam and soften crisps.
- Repeat with remainder, maintaining oil temperature between batches. Reheat oil if it cools below 320°F to avoid greasy results.
- While still warm, test stiffness by biting—firm, loud crunch indicates done. If limp or oily, oil too cool or too much batter.
- Works well with light sour cream dip or dust with smoked paprika for a twist. Store in loosely covered container to keep crispiness.
Prepare the coating mix
Heat oil and fry onions
Serve and troubleshoot
Technique Tips
Separating steps between marinate, coating, and frying makes process streamlined. Marinate at room temp to activate enzymes speeding tenderization; tossing keeps marinade uniform and prevents sticky layers. Coating step crucial—too much flour makes clumps, too little means soggy crust. Shake off excess firmly but gently. Oil temp must stabilize before frying; too cold equals soggy rings, too hot burns coating prematurely. Fry fewer rings per batch to avoid oil temperature drop; wait until bubbles slow and edges crisp for turning/removal. Draining on wire rack prevents steamed soggy bottoms, common with paper towels. Clean oil after every 2-3 batches to avoid burnt sediment flavor transfer.
Chef's Notes
- 💡 Use yellow or sweet onions for balance. Thin slices equal even crispness. Mandolin help but keep fingers safe. Separate rings, don’t stack. Yogurt makes a huge difference. Balanced tang, less heaviness. Room temp marination crucial, lets flavors develop. Stir often, no clumps. Tone down sharpness by adjusting time.
- 💡 Rice flour—light, crisp, but quick to brown. Monitor closely; 345°F is key. Not boiling fiercely, steady sizzle softens edges. Too cold oil? Rings soggy. Not golden enough? Hang back, let color develop. Shake excess flour off well. Too much flour = clump, too little = wet. Unwanted mush.
- 💡 Avoid burning! Reapply oil to maintain heat. Clean after a few batches, burnt residue impacts taste. Don’t fry too many at once; oil temp drops. Listen for sizzle sounds, look at bubbles. Slowed bubbles means time to check. Cool racks trap steam; use properly for best results.
- 💡 Experiment with dips. Sour cream works well, or try adding herbs. Smoked paprika can jazz things up. Nice twist brings flavor. Store leftovers loosely covered to keep crunch. Not too tight, moisture invades. Best to reheat in oven, refresh crispness. Avoid microwave—it’ll ruin the texture.
- 💡 After frying, firm crunch sounds important. If limp—consider oil temp. Too cool or heavy on batter creates issues. Adjust accordingly. Taste after frying, salt varies. Seasoning could need tweaks. Be cautious, check brands. Fresh celery salt adds necessary depth—don’t skip that step.
Kitchen Wisdom
How to get even frying?
Avoid overloading the pan. One layer max. Monitor oil temp often to prevent sogginess. Let them sit until golden. If edges dark too fast, adjust heat. Keep an eye on the clock.
Got leftovers?
Store loosely in container. Not airtight. Also, use oven to reheat and save crunch. Microwave ruins it. Try different dips next time. Sour cream easy, fresh herbs for something new.
Rings not crispy?
First check oil temp. Too low results in sogginess. Adjust frying time. Next, shake off flour properly. Too much flour means clumps. Or, mix thicker batter; moisture slows crispy texture down.
Can I use different flour?
Alternatives exist. All-purpose works but texture changes. Less crunch, more gluten. Watch frying time. Rice flour better—less clump, lighter. If gluten's a concern, stay with rice flour. Simple swap can transform.
You’ll Love These Too
Explore all →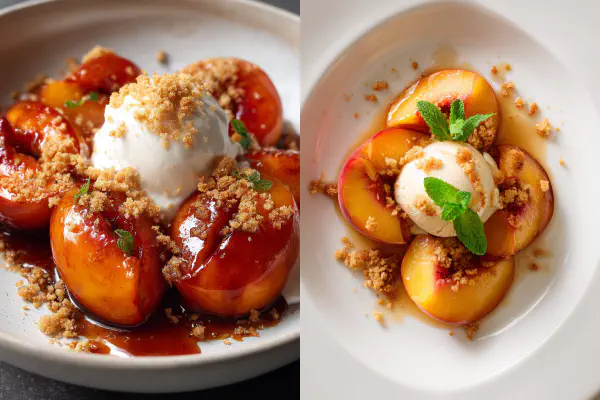
Honey Ginger Roasted Peaches
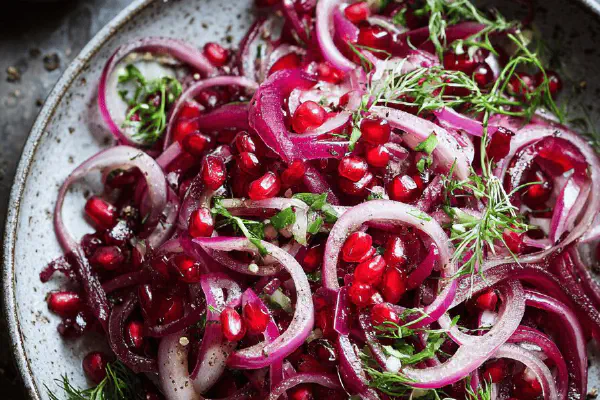
Quick Pickled Red Onion Pomegranate
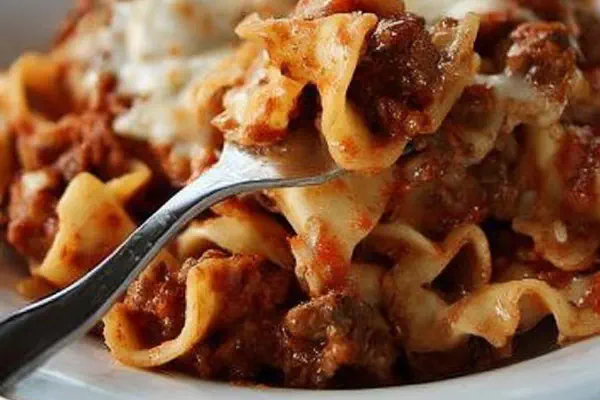
Creamy Beef Lasagna Bake
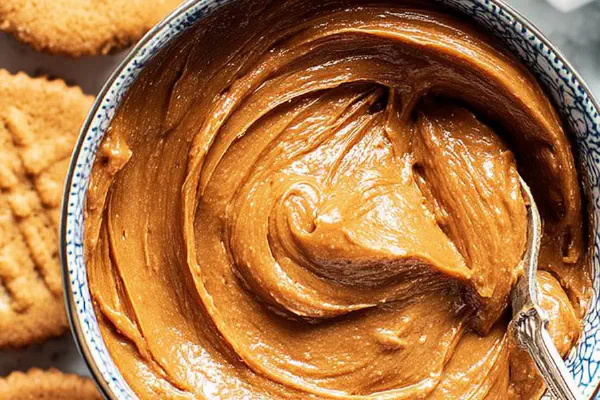
Crunchy Cookie Butter Spread

Mini Oreo Cheesecakes Twist

Homemade Ranch Mix Twist
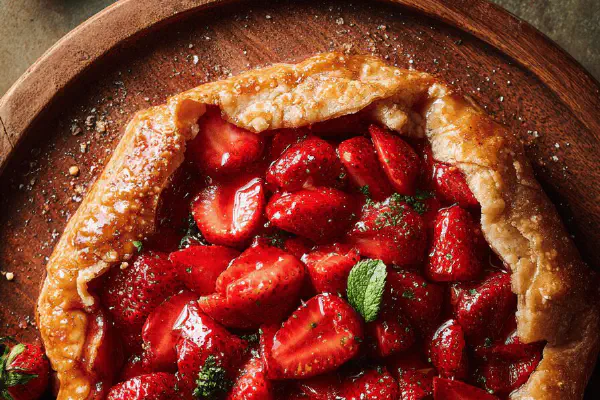
Strawberry Foldover Tart
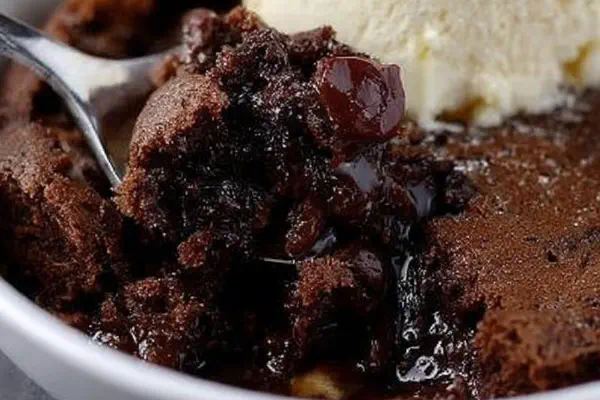
Chocolate Spoon Cake Remix
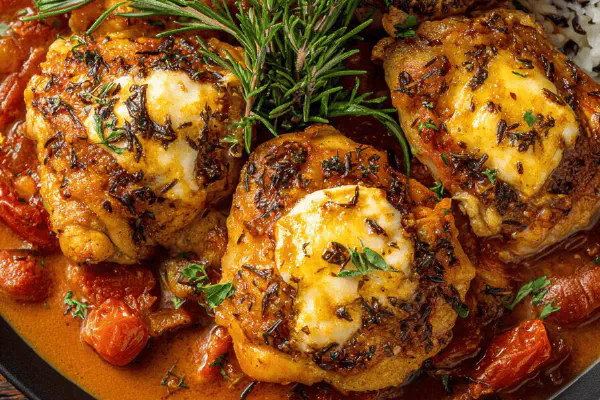
Tomato-Grilled Braised Chicken
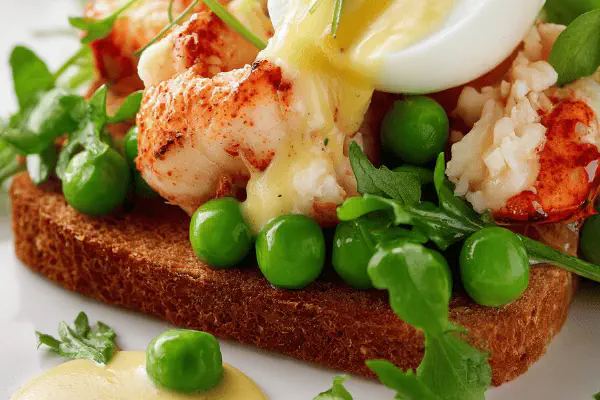
Lobster Pea Benedictine
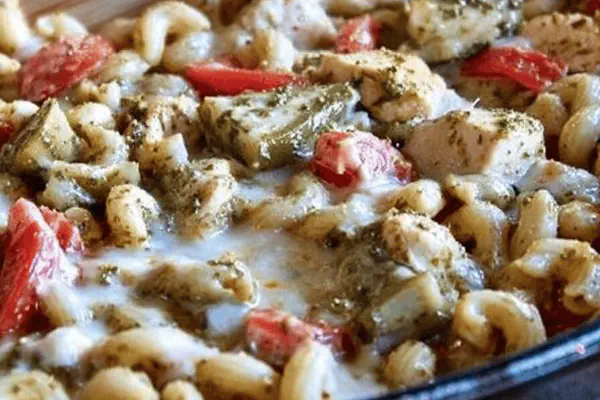
One-Pot Basil Chicken Skillet
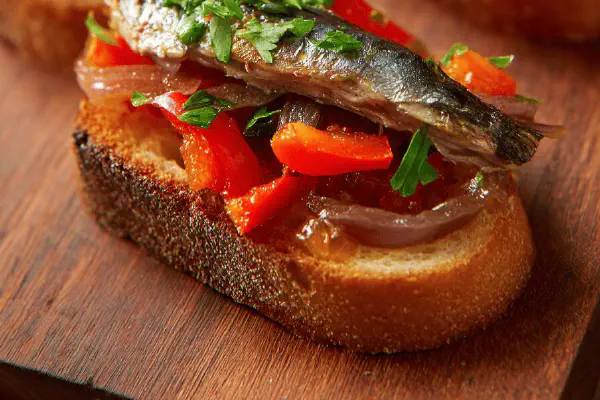
Grilled Sardine Tartines
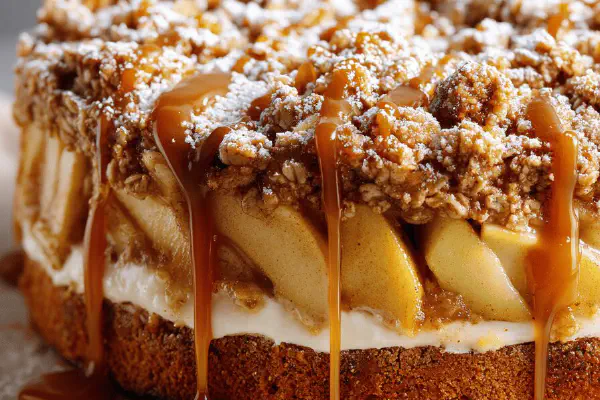
Apple Crumble Cake Twist
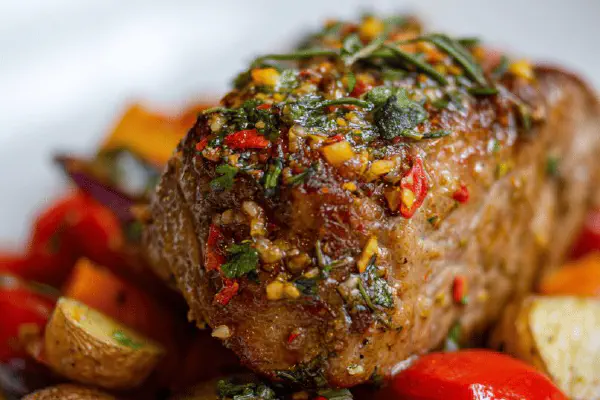
Veal Roast with Peppers Sage Lemon
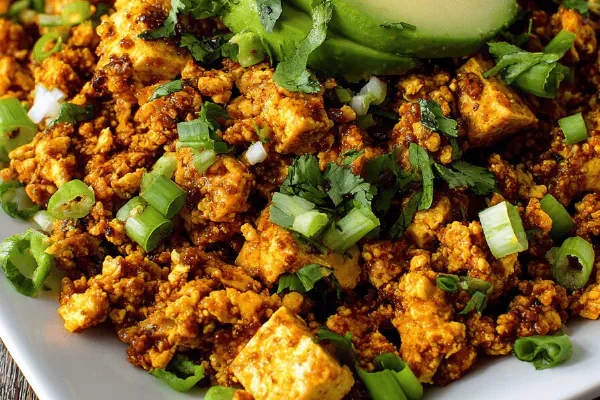
Spiced Mexican Tofu Scramble
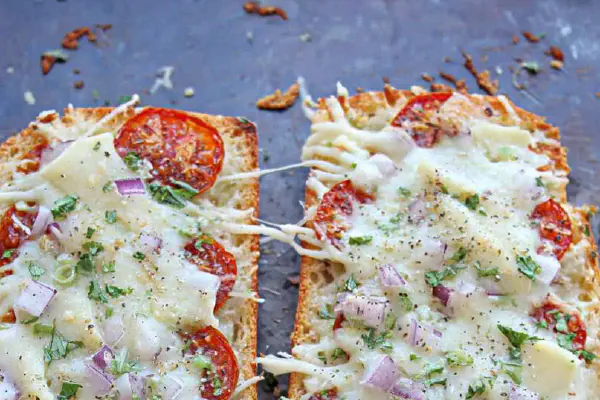
French Bread Chicken Pizza
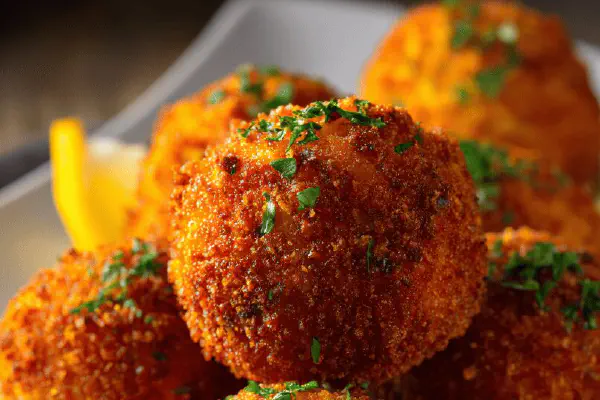
Shrimp Arancini Bites
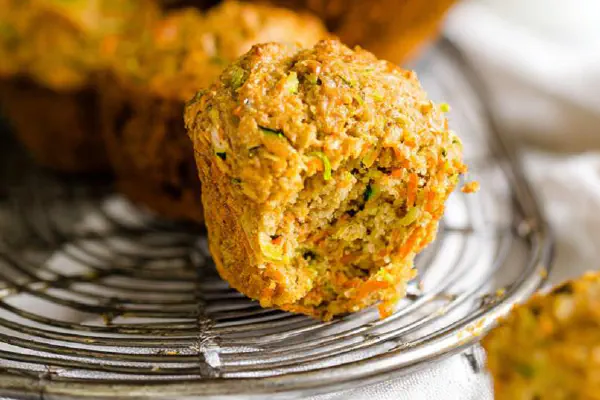
Zucchini Carrot Muffins
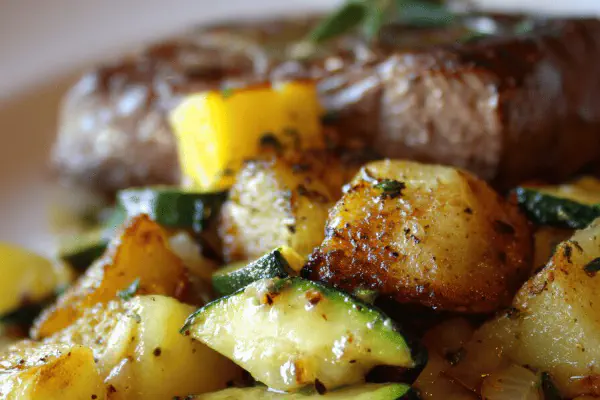
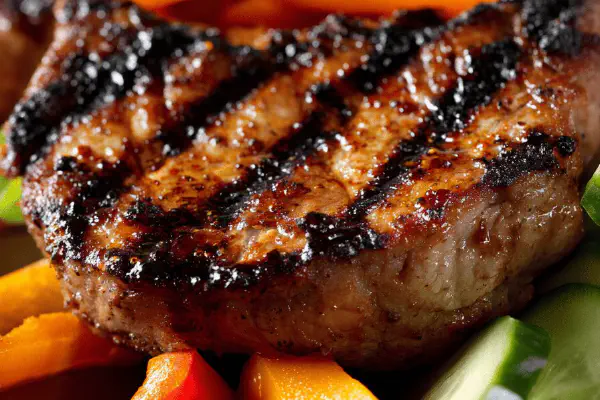
Beef Steak with Crispy Potato Zucchini
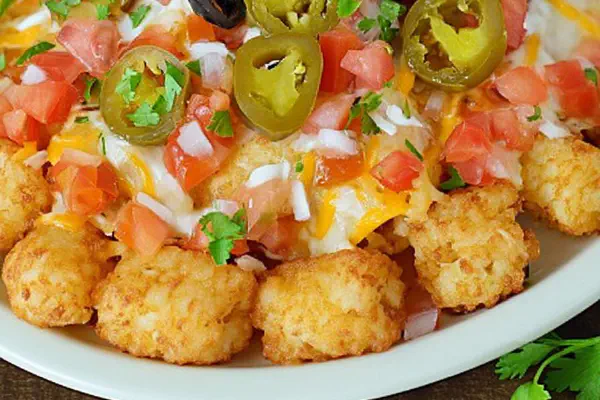
Loaded Crispy Tot Nachos
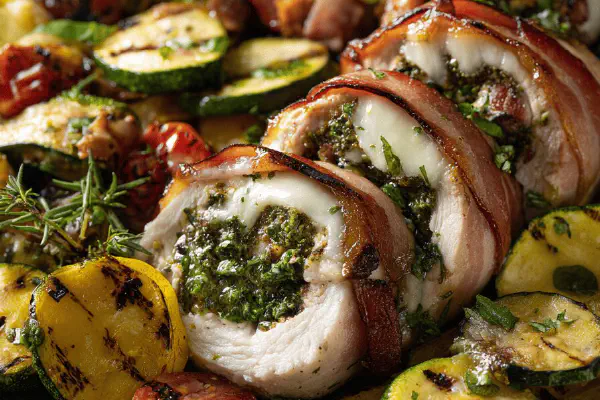
Chicken Roulades Sundried Tomato Parmesan
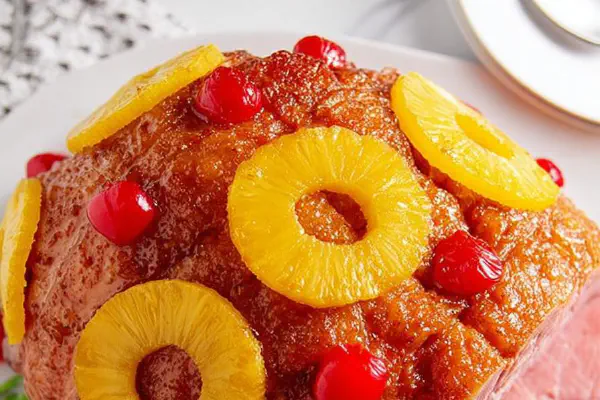
Maple Pineapple Ham

Slow Cooker Spiced Beef
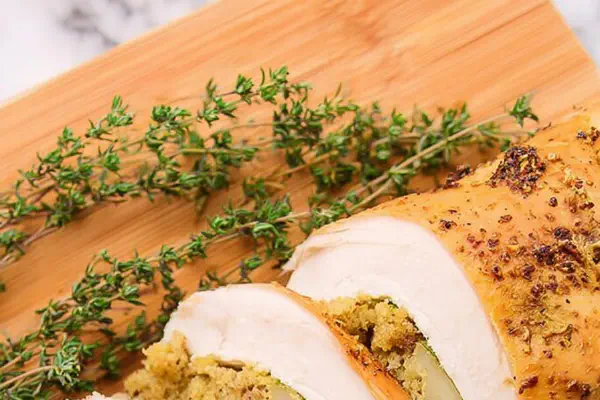
Stuffed Turkey Roulade

Chunky Pineapple Cream Ice
Horseradish Deviled Eggs Remix

Mint Swirl Cheesecake Bars
Sautéed Peas with Artichokes Twist
Condensed Milk Chip Brownies