Featured Recipe
Flaky Butter-Shortening Crust
By Kate
"
A flaky pie crust combining all-purpose flour and almond flour with sugar and salt. Uses a mix of butter and coconut oil instead of traditional butter and shortening, for extra flavor and flakiness. Ice-cold water added sparingly for crispness. Dough chilled and rested for easy rolling, with guidelines for single or double crusts, including size tips. Blind baking with weights to control shrinkage; options for partial or full bake with visual and tactile cues emphasized. Practical notes for handling dry dough and preventing cracked edges.
"
Prep:
25 min
Cook:
18 min
Total:
2h 45min
Serves:
1 double crust or 2 single crusts
baking
pie
dessert
flaky crust
American
Introduction
Flaky pie crust isn’t magic but technique. Fat chilled, dough barely hydrated. You want texture; butter and coconut oil chunked, not melted away. Folding dough gently, creating layers without doughy gluten traps the flake. Too much water, crust turns tough—not going there. Rest it, then roll warm-ish; cracking edges are the nemesis. Blind bake starter steps keep wandering dough in place. Pie weights push down bubbles, so weights matter here, dried beans or ceramic ones. The tactile cues—crust firm, edges amber—beat timers every time. Pie crust mastery built on knowing what to look for not what to time. Got dry bits? Spray bottle lifesaver. Cold dough cracked? Fix it with damp patch. Thick edges stronger, no shrinking. Always a little chaos but control what you can.
Ingredients
In The Same Category · Kitchen Staples
Explore all →
About the ingredients
Flour combo adds depth; almond flour introduces nuttiness and subtle crumb texture—feel the difference. Butter provides flavor and classic flake, coconut oil replaces shortening to avoid blandness and adds moisture barrier. Sugar is optional but aids browning. Salt sharpens. Water must be ice cold, slow measured helps avoid overhydration and resulting sogginess. If vegan substitution needed, use vegan butter or all coconut oil but expect subtle textural shifts. Alternative fats have varying melt points; colder fats hold layers better but tricky to manage. Use pastry blender, knives, or food processor pulse to cut fat in pieces—not pulverize; those fragments create puff layers. Always chill dough well to solidify fats before rolling. Freezing allows pie to set shape mid-process—essential to control dough elasticity.
Method
Dough Preparation
- Add a few ice cubes into a measuring cup, fill with cold water to about 1/3 cup. Use roughly 3 tablespoons—don’t dump it all at once. Keep the rest cold to spritz if necessary.
- In a large bowl, whisk together all-purpose flour, almond flour, sugar, and salt.
- Cut in chilled butter and coconut oil with a pastry blender or two knives. Want a mix with pea-sized and almond-sized chunks visible. This layering is crucial for flakiness.
- Add cold water gradually. Start with 1 tablespoon, gently mix with a fork or your fingers. Add more, 1 tablespoon at a time, until dough barely holds when squeezed but still crumbly. Avoid overhydrating; wet dough kills that crisp finish.
- Dump dough onto floured surface. Don’t knead; fold the dough over itself several times, pressing gently to build layers without developing gluten. If dry spots persist but water’s added, spritz with a spray bottle to control moisture.
- Shape into a disk—about 1 inch thick or slightly less. If making double crust, split into two disks but keep bottom crust a bit bigger to hold filling weight. Wrap tightly in plastic. Chill 1 hour minimum, up to 3 days.
- Let dough sit at room temp 5-10 minutes before rolling. Cold dough cracks; a bit of warmth makes it pliable.
- Flour surface and rolling pin lightly. Flour both sides of dough. Press into a rough circle from center outward. Lift, flip, rotate frequently to avoid sticking. Reflour as needed.
- Roll out to roughly 12 inches diameter for a 9-inch pie plate. Don’t stress perfection here—thickness uniformity matters more.
- Transfer dough by rolling it around the pin. Sheet may tear if you push down; handle with care. Use bench scraper if stuck.
- Nestle dough into pie plate; press gently to settle, don’t stretch or push down forcefully. Excess flour can be brushed off.
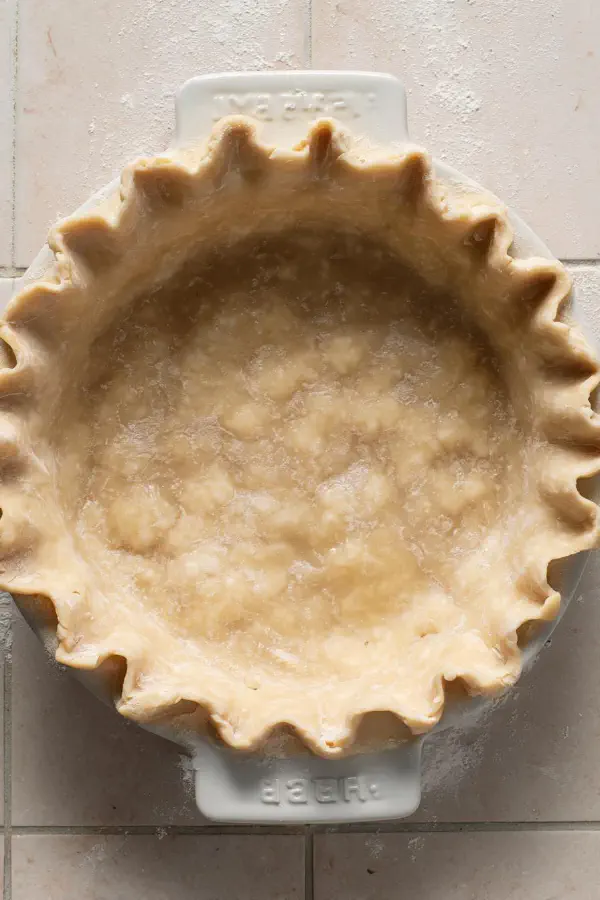
- Trim overhang to about 1 inch; fold under and pinch to reinforce rim strength.
- Crimp edges with thumb and forefingers or just forefingers of one hand. Creates a sturdy ridge that resists shrinking.
- Freeze crust for 30 minutes before baking to seal crimp and maintain cold barrier. Cold dough fares better against oven heat shock.
- Heat oven to 375°F. Crumple parchment or foil before flattening—it won’t collapse during baking.
- Line chilled crust with parchment, fill evenly with pie weights or dried beans. Two packs usually enough to weigh down dough and prevent bubbling. Place pie plate on a rimmed sheet for easier handling.
- Bake 10-15 minutes until edges start golden, crackling sound faint but noticeable.
- Lift the weights and paper carefully. Poke bottom dough with fork evenly; prevents steam bubbles.
- Shield edges with foil or pie shield if edges browning too fast.
- Return to oven 7-8 minutes until dough looks matte dry and feels firm, partially baked stage.
- For fully baked shell needed for cream pies or tarts, bake additional 10-15 minutes until golden all over, edges crisp, and crust sounds hollow when tapped lightly.
- If dough cracks while rolling, patch with small water-dampened bits to seal. Excess flour can cause toughness, so brush off gently.
- Still dry after water? Mist lightly, don’t drench.
- Wonky edges? Freeze crust then gently reshape with fingers before baking.
- Leftover dough? Wrap and freeze up to one month; thaw in fridge overnight before use.
Rolling and Shaping
Blind Baking
Storage and Troubleshooting
Technique Tips
Patience with water addition sets crumb texture; overwatered dough ruins flaky goal. Folding dough introduces flake layers without toughening from kneading. Cracking edges in cold dough avoids warmth but hits pliability; rest prevents tears. Roll dough gently using frequent lifting and turning motion with light flouring to prevent sticking; too much flour results in tough crust. Folding over under trim dough reinforces edge to hold filling weight and control shrinkage during bake. Freezing dough before baking solidifies fats locking layers; critical step overlooked often. Pie weights apply steady pressure stopping hot air from puffing dough absurdly. Fork docking vents trapped steam, keeps dough flat. Protect edges with foil to prevent burning during extended bakes. Use visual cues—golden edges, crisp surface, subtle crackling sounds—for doneness rather than timer alone. Store and freeze wrapped for later efficient pie assembly.
Chef's Notes
- 💡 Use ice-cold water sparingly. Too much makes dough tough. A few tablespoons at a time. Keep a spray bottle nearby for dry spots. Patching works. Moisture control is crucial.
- 💡 Dough needs chill time. Rest at least an hour; flavors blend, gluten relaxes. Chilling solidifies fats, easier to roll. Don’t rush it. Think layers, flake.
- 💡 Hold dough's shape while rolling. Dust flour lightly on surfaces and pin. Prevent stickage. Rotate frequently, lift often. Over-flouring ruins the crust texture.
- 💡 Edge treatment matters. Trim overhang, fold under for strength. Crimp edges well, reinforce rim. Shape affects bake and shrinkage. Strong edges save mess later.
- 💡 Blind baking is essential. Weights keep dough flat; prevents bubbling. Use parchment or foil, protects from direct heat. Cooler dough withstands oven’s heat shock better.
Kitchen Wisdom
Dough keeps cracking?
Water too cold or uneven distribution. Patch with moist bits. Don’t over-knead. Rest is vital to avoid breaks during rolling.
Why are edges burning?
Shield with foil if browning fast. Keep an eye on it. Reposition in oven; avoid hotspots, edge temps of different baking settings.
Dough too dry and crumbly?
Add moisture slowly. Mist as needed. Light spritz, mix gently. Excess flour creates issues. Control crumb texture well.
Storage options for leftover dough?
Wrap tightly, refrigerate for a few days or freeze for a month. Thaw in fridge overnight. Keep shapes intact.
You’ll Love These Too
Explore all →
Spicy Fish Tacos Twist

Peanut Banana Shake Remix
Jam Coconut Crunch Cookies
Crunchy Quinoa Slaw
Grilled Pepper Zucchini Salad

No-Bake Avalanche Squares

Frozen Strawberry Cream Puff Pastry
Oreo Cream Cheese Pound Cake

Spiced Carrot Muffins Reimagined

Curried Tomato Cream Soup
Air Fryer Chicken Parmesan Twist
Roasted Beef Bone Broth

Almond Slice and Bake Cookies
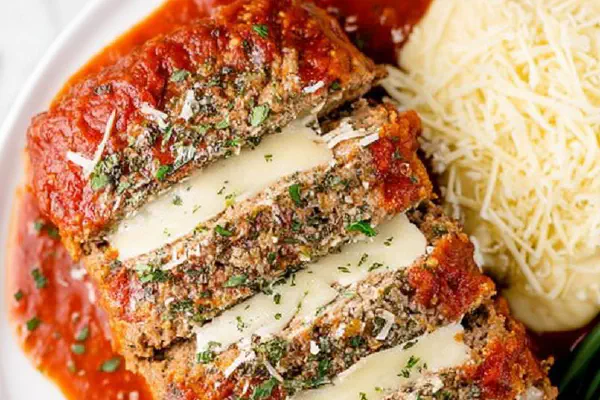
Italian Style Meatloaf Twist
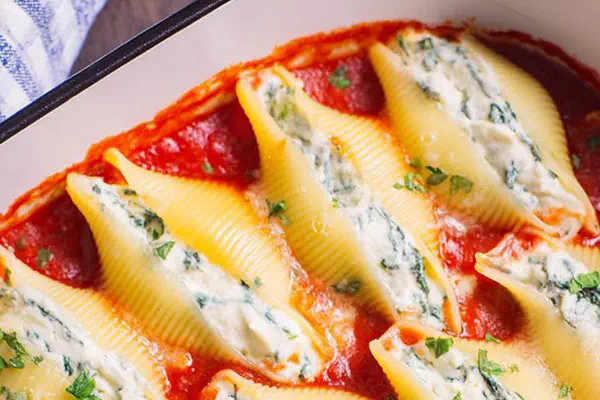
Spinach Ricotta Shells

Indian Spiced Chicken Drumsticks
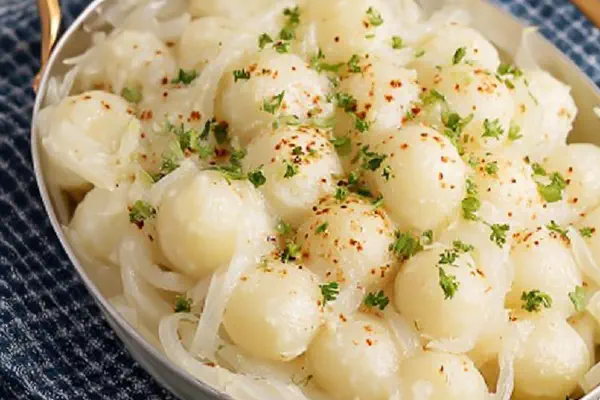
Creamed Pearl Onions Twist
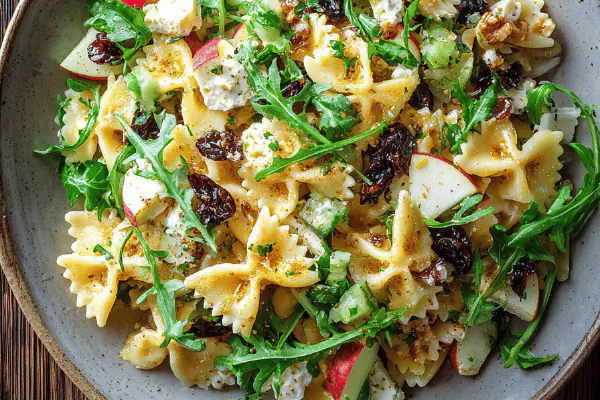
Bowtie Pasta Salad with Apples and Feta

Swiss Asparagus Quiche Twist
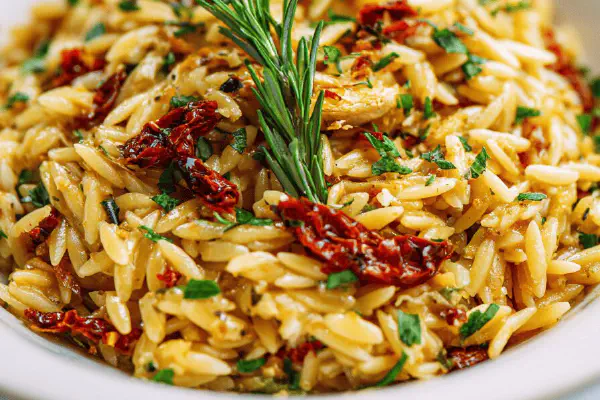
Orzo with sun-dried tomatoes
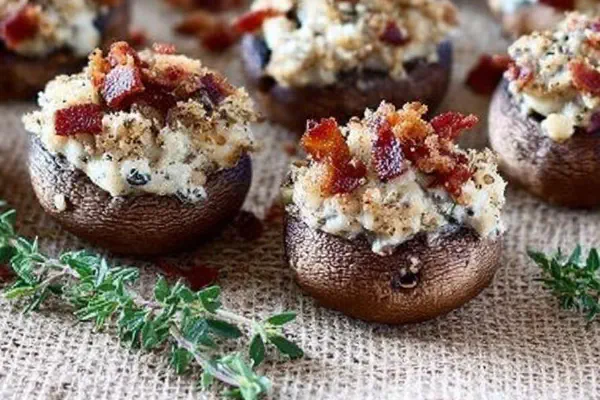
Bacon Cream Cheese Mushrooms
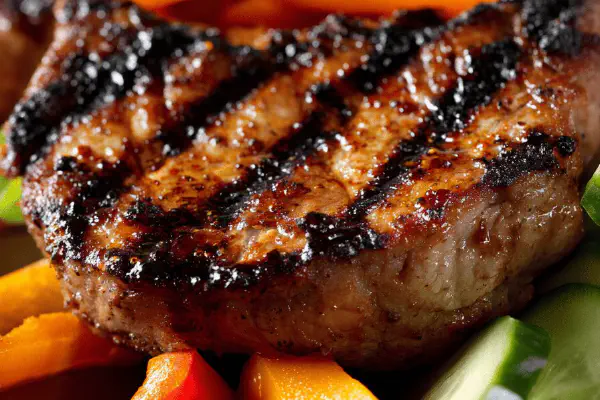
Vietnamese Pork Chops Twist
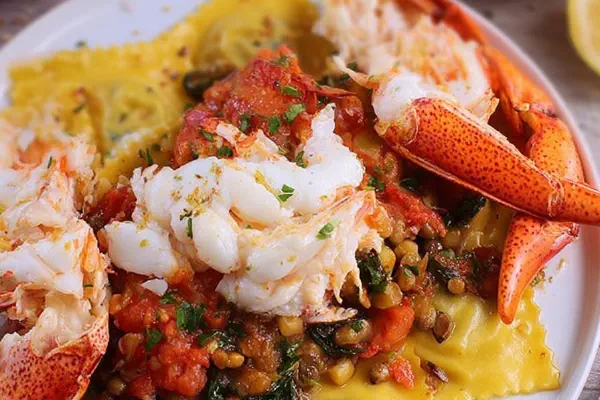
Mediterranean Lobster Ravioli Remix
Beet and Feta Salad
Savory Ranch Bacon Dip
Maple-Spiced Salmon Gravlax

Santa Fe Salad Remix
Spicy Pork Shrimp Ramen
Coca-Cola BBQ Chicken