Featured Recipe
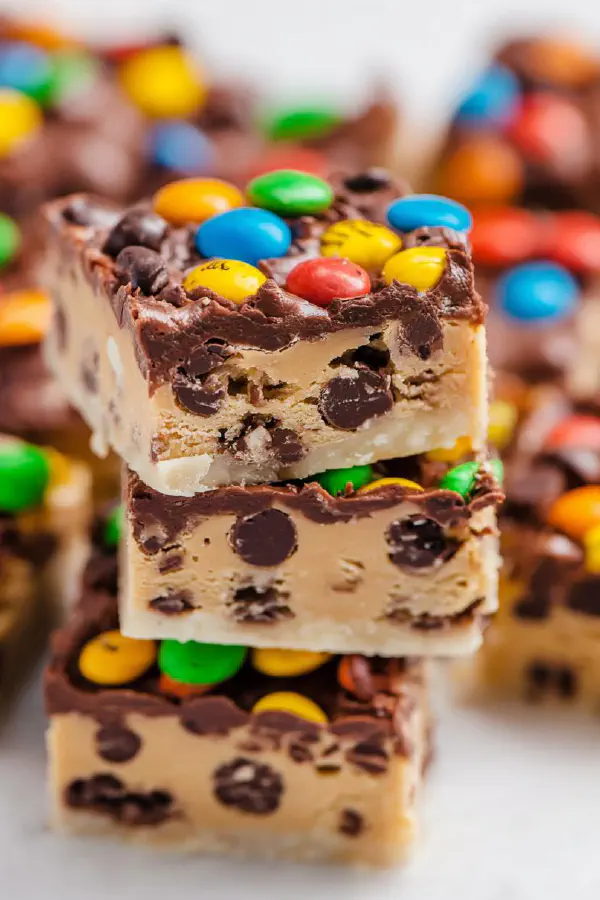
Frozen Treat Cookie Bars
By Kate
"
Soft buttery dough packed with brown sugar and vanilla. Sweetened condensed milk binds texture—no eggs needed. Chocolate chips plus colorful candy bits folded in. No baking—freeze first for firm handling. Melted chocolate finish, extra candy on top pressed gently. Chill long to set. Rich, chewy bars with crunchy candy contrast. Easy, no-oven needed, minimal heat in kitchen. Great for warm days. Substitutions to lighten fat or swap candies offered. Timing flexible; look for firmness in the dough before topping, glossy sheen on melted chocolate before chilling. Hands-on, tactile cues key throughout.
"
Prep:
25 min
Cook:
0 min
Total:
2h 15min
Serves:
15 servings
no-bake
dessert
chocolate
easy recipes
Introduction
Ditch the oven. Cold cookie dough bars that don’t require baking. Brown sugar’s deep molasses flavor, mixed with vanilla, lays a strong base. Sweetened condensed milk replaces eggs, giving soft, pliable dough that tastes rich but holds shape when frozen. Candy swaps make a difference here—chopped peanut M&Ms add salt and crunch; Skittles bring tart surprise. Chocolate chips are a must—to temper candy sweetness. Melted chocolate layer melted gently, spread evenly. Chill until hard but not brittle. Keep it flexible—time and texture go hand in hand. Freeze for firm dough, fridge for chocolate set. Skip overmixing or dough will toughen. Hands tell you when it’s ready. A few tricks turn a simple no-bake dish into a sliceable treat worth sharing—if you can wait that long.
Ingredients
In The Same Category · Sweet Treats
Explore all →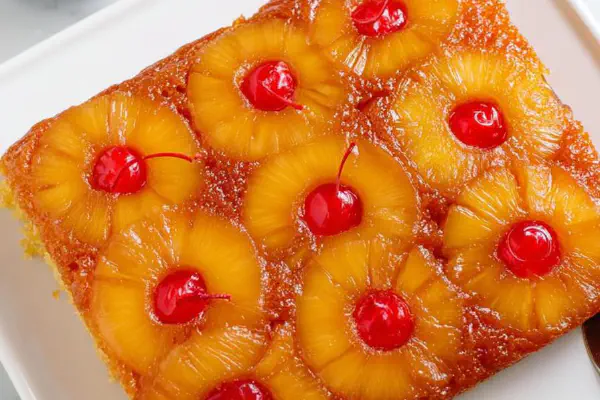
Pineapple Upside-Down Cake Remix
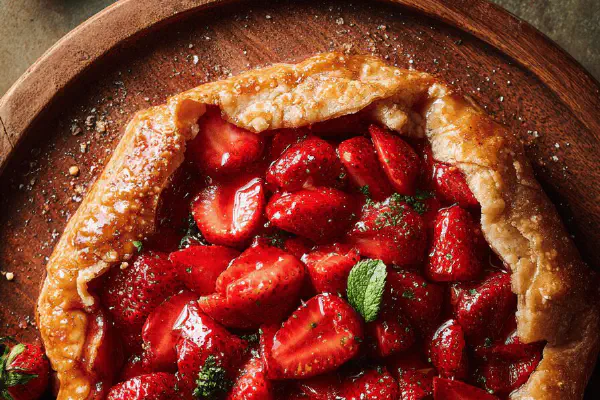
Strawberry Foldover Tart
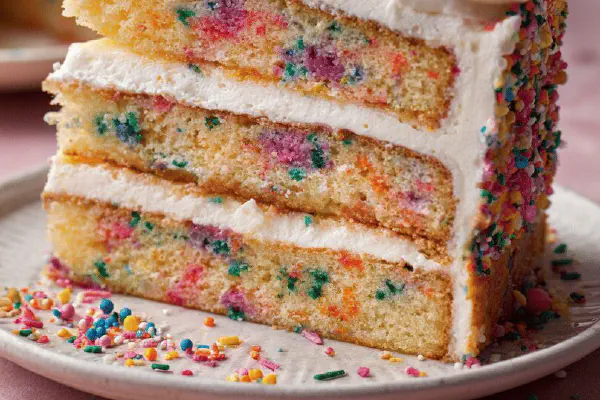
Birthday Confetti Cake
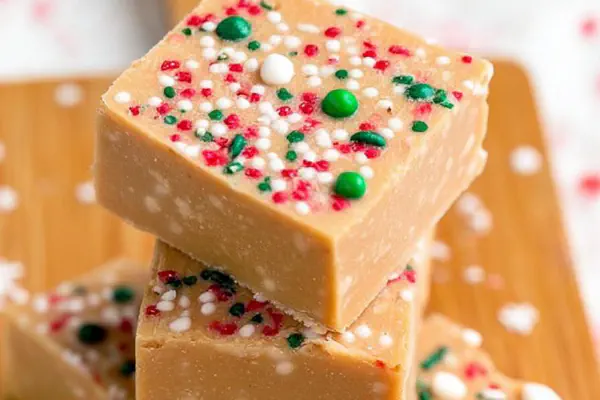
Gingerbread White Fudge Remix
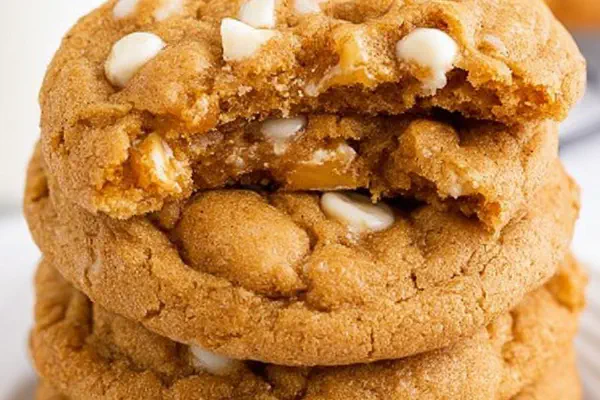
Spiced Pumpkin White Chocolate Cookies

Apple Puddings Air Fryer

Mini Chocolate Cupcakes Remix
Cherry Rum Soda Jello Shots
Twist Oreo Cheesecake
Chocolate Potato Chip Cookies
Rustic Homemade Applesauce
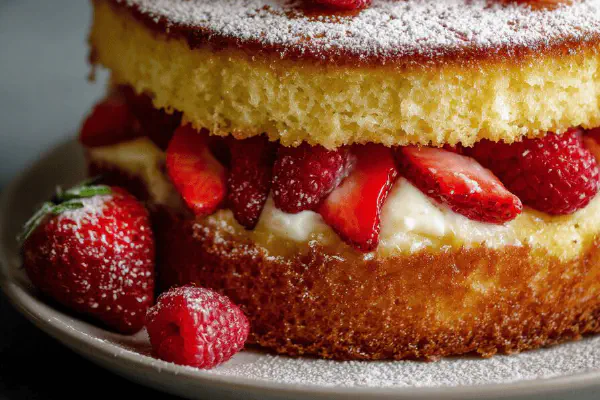
Ricotta Strawberry Raspberry Cake
Pumpkin Pecan Bites
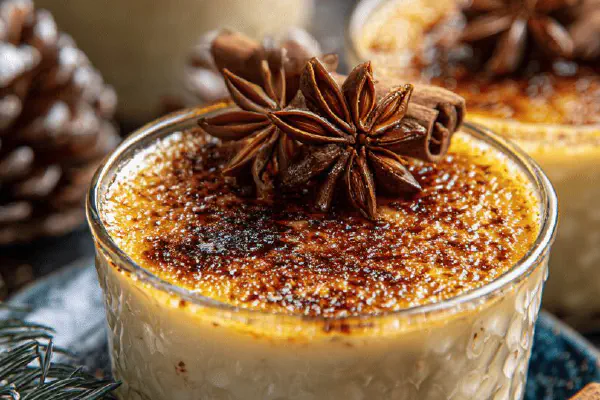
Spiced Rum Eggnog Crème Brûlée
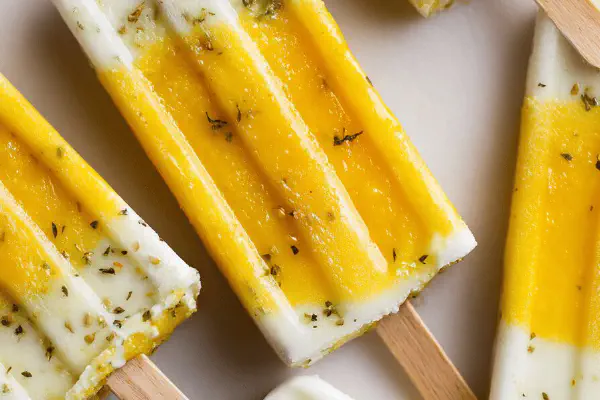
Coconut Mango Popsicles
Banana Crisp Bake
Rustic Apple Pie Fill
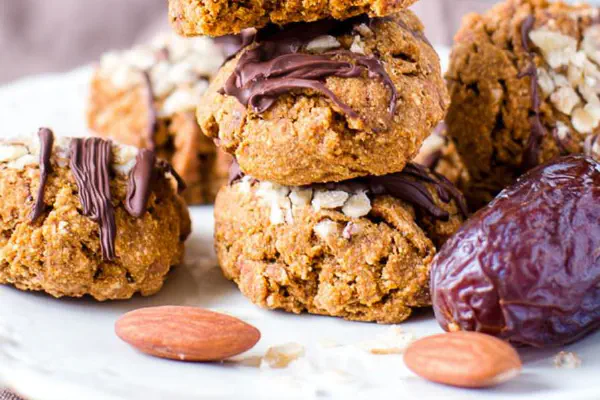
Brown Butter Almond Cookies
Chunky Cherry Jam Twist
Rich Fudge Brownies with Mocha Glaze
Blueberry Cake Bars Twist

Vanilla Reduced Fat Cake with Citrus Twist
Salted Butter Caramel Spread
Chocolate Oreo Protein Ice Cream Remix
Apple Cream Cheese Bars
Crunchy Peanut Blossoms
Oreo Poke Cake Remix

Altered Velvet Cake
Raspberry Whoopie Pies Twist
About the ingredients
Butter softened, not melted, to trap air in mixing. Light brown sugar preferred; provides moisture and caramel notes—sub with coconut sugar for deeper flavor but less sweetness. Vanilla extract vital for depth—use pure, not imitation. Flour’s role is structure here—not too much or bars dry out. Sweetened condensed milk binds, replaces eggs, adds chewiness; evaporated milk or half-and-half won’t give same texture. Candy pieces interchangeable—peanut M&Ms add salt and textural contrast; chopped Skittles add chewy bursts and color; avoid cheap coatings that stain. Chocolate chips: semisweet stabilizes sweetness balance. Topping butter smooths melting, keeps gloss. Cooking spray on parchment prevents sticking—don’t skip if parchment is waxed style.
Method
= Prep pan =
- 8x8 pan lined with parchment, edges hanging over. Spray paper lightly with oil to avoid sticking later. Set aside.
- In large bowl, beat butter and brown sugar with hand mixer. Look for light, fluffy texture, pale color—this aeration crucial for soft crumb.
- Add vanilla extract. Beat one more minute. Aroma rich, sweetness deepens. Don't skip this.
- Add flour and sweetened condensed milk alternately on low speed. Start/stop mixer to avoid flour cloud. Combine until soft dough forms but not overmixed—stop as soon as no dry flour shows. Dough slight tacky, pliable but not sticky mess.
- Fold in chocolate chips and candy pieces with spatula. Use gentle strokes; too much folding overworks dough, toughens final bars.
- Spread dough evenly in pan by hand or spatula. Press lightly, don’t compact like a cookie crust—maintain air for chewiness.
- Freeze 35 minutes; hardness shows when fingers barely imprint. Don’t skip freeze or toppings will sink in too much.
- Butter and chocolate chips combined in small microwave-safe bowl. Heat 25 sec, stir briskly, heat 15-20 secs more only as needed until glossy, thick but pourable. Avoid scorching chocolate; burn smells bitter. Stirring important for smooth texture.
- Remove dough slab from freezer. Pour chocolate carefully, starting center, spreading to edges with spatula. Glossy layer should cover dough evenly but not drip down edges.
- Sprinkle extra candy on top. Press lightly—enough to stick but avoid piercing chocolate layer deeply.
- Refrigerate 2-3 hours minimum until chocolate completely set—matte finish tells you it’s firm.
- For firmer bars, chill longer or freeze briefly before slicing. When cutting, use sharp knife warmed under hot water then wiped dry; poked edges tear chocolate layer.
- Store covered in fridge, best eaten within 4 days for freshness.
= Dough base =
= Finish dough =
= Form bars =
= Melt topping =
= Final layer =
= Chill =
Technique Tips
Line pan with parchment so edges overhang—easy removal, clean edges. Beat butter and sugar until pale and fluffy; this is aeration, unlocking texture. Add vanilla, then alternate dry and wet ingredients slowly to avoid flour dust and ensure even mixing. Dough should be slightly sticky; firm but pliable to touch—too soft means not enough flour, too dry means overworked. Fold candies gently—avoid breakage or melting. Freeze dough slab until firm—cold dough spreads evenly without sticking to spatula. Heating chocolate topping in bursts prevents scorching; stirring critical for shine and texture. Pour chocolate while dough is cold to prevent melting candy layer. Press candy on top lightly; too hard and chocolate steals shine or cracks. Chill long enough for chocolate set—matte sheen signals readiness. Warm knife slices cleanly; wipe blade often. Storage in fridge preserves texture; room temp makes chocolate melt. Use tactile and visual cues at every stage for consistency.
Chef's Notes
- 💡 Softened butter traps air; start there. Light brown sugar brings moisture, caramel notes. Coconut sugar—use it. Baker's shortcut, yes.
- 💡 Alternating dry and wet ingredients—key. Avoid flour clouds. Mix until soft dough—don’t overwork. Texture tells you. Feel it.
- 💡 Freezing dough is non-negotiable. Firmness matters. Avoid sinking toppings. Look for light touch; dough won’t stick—important. Trust feeling.
- 💡 Melting chocolate can scorch. Heat in bursts—25 sec, stir, then 15-20 sec more. Keep it glossy. Watch texture, pour while cool.
- 💡 Slicing tips—sharp knife is crucial. Warm under hot water, wipe. Prevents tearing chocolate layer. Cleanly, easily; avoid mess.
Kitchen Wisdom
How to substitute ingredients?
Coconut sugar can replace brown. Sweetened condensed milk is crucial—nothing else binds like it.
What if dough is too soft?
Add a bit more flour slowly. Mixture should be tacky but hold shape. Don't overmix; key point.
How to store the leftovers?
Refrigerate in airtight. Best if eaten within 4 days; texture changes. Freezing works too, longer lifespan.
Can I use different candies?
Yes! Swap M&Ms for Skittles. Texture, flavor will change. Experiment; see what works for your palate.
You’ll Love These Too
Explore all →
Tangy Citrus Bars
Rustic Vinaigrettes Mixup
Pear Caramel Cake with Cream Cheese Whip
Condensed Milk Chip Brownies
Salty Citrus Edamame
Smoky Maple Bacon Beans
Chicken pot with fall greens
Meatball Stromboli Twist
Indian Spiced Chicken Drumsticks
Altered Pecan Pie Bars
Copycat Olive Garden Alfredo
Herbed Orzo Salad
Cherry Cheese Pockets
Horseradish Deviled Eggs Remix
Spicy Shrimp Penne
Basic Turkey Brine Twist
Creamy Blueberry Syrup Twist

Oven-Baked Teriyaki Salmon
Chocolate Almond Caramel Crunch
Air Fryer Churros Twist
Vanilla Bean Ice Cream Twist
Sweet Potato Chicken Pie
Tangy Teriyaki Meatballs
No-Bake Oreo Cheesecake Twist
Flourless Pumpkin Muffin Bites

Cookies Cream Bars Remix
Strawberry Cream Bars
Chunky Chewy Choc Cookies
Cherry Citrus Slush