Featured Recipe
Gingerbread House Cookies

By Kate
"
A gingerbread dough transformed with subtle tweaks for robust flavor and pliable structure. Includes an egg substitute and switching molasses to honey for a lighter sweetness. I swapped cloves for cardamom, adding warmth and unexpected aroma. The process balances chilling times adaptation with dough elasticity, vital for clean edges in 3D assembly. Royal icing made with meringue powder, stabilizing the glaze for sturdier construction. Decorating candies remain traditional but with the option to sub in dried fruits or candied peel. The baking time stretched slightly, watch edges for light golden cues to avoid dryness. Storing tips included to keep crispness pre-assembly.
"
Prep:
35 min
Cook:
12 min
Total:
50 min
Serves:
2 houses
desserts
holiday
cookies
Introduction
Spice and structure. No fluff, just the essentials — gingerbread with floral cardamom twist, honey replacing molasses for lighter sweetness and pliable texture. This isn’t a quick scoop and bake. The dough needs chilling, rest, and respect. The shift from egg to flax flourish keeps it allergen friendly but demands smooth emulsification. Baking calls for keen watchfulness — look, listen to the crackle as edges firm. Not too brown, or brittle. Assembly hinges on royal icing with meringue powder — no shortcuts or runny messes breaking fragile houses into ruins. Detail the candy adornment with neat hand, not frenzy. Store components carefully; moisture is enemy number one. A house built well keeps longer. Perfect for those who have built gingerbread before and want to level up. Not a beginner’s speed round but well worth your patience.
Ingredients
In The Same Category · Sweet Treats
Explore all →
Mini Ganache Tangerine Tarts
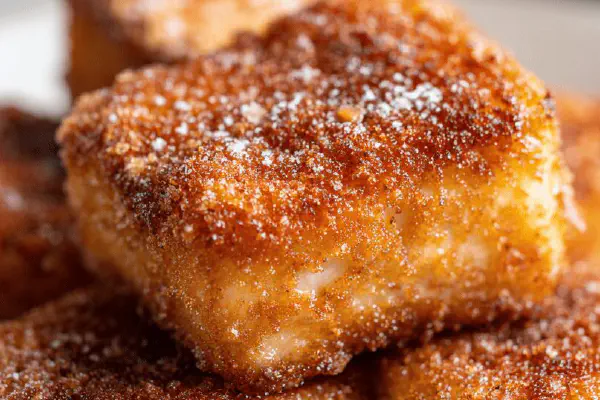
Fried Custard Squares
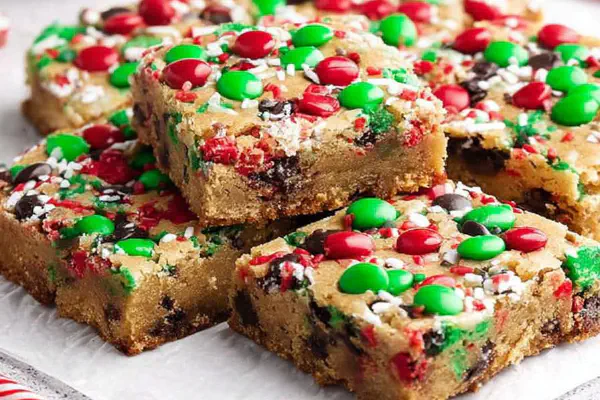
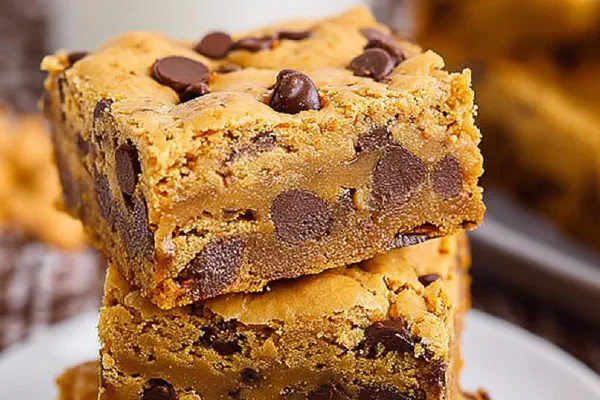
Holiday Candy Blondie Bars
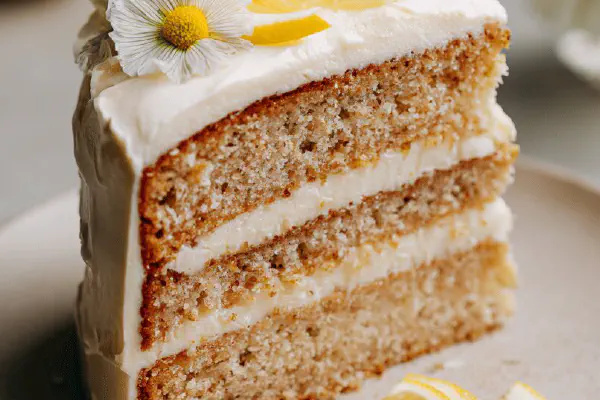
Lemon Cream Cheese Dump Cake
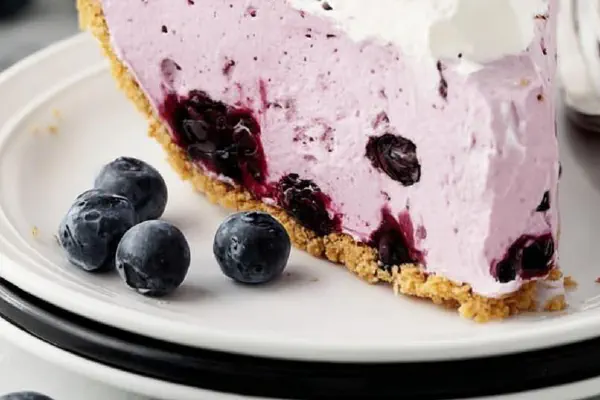
No Bake Berry Cream Pie

Twisted German Chocolate Cupcakes
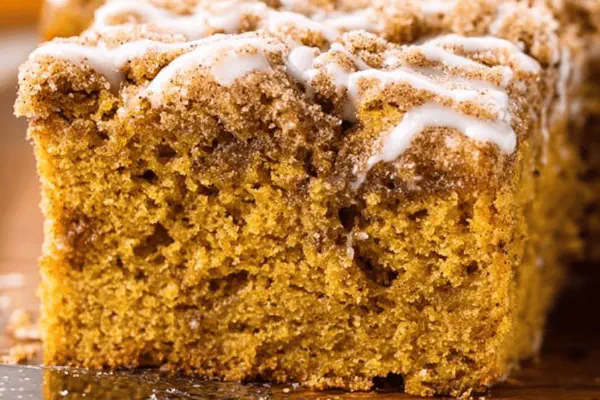
Twist Pumpkin Coffee Cake
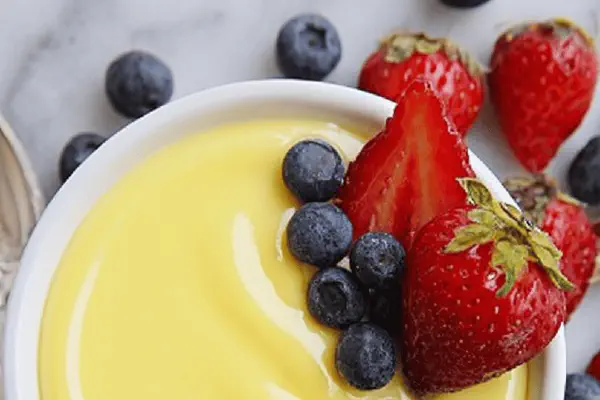
Rich Vanilla Custard Twist
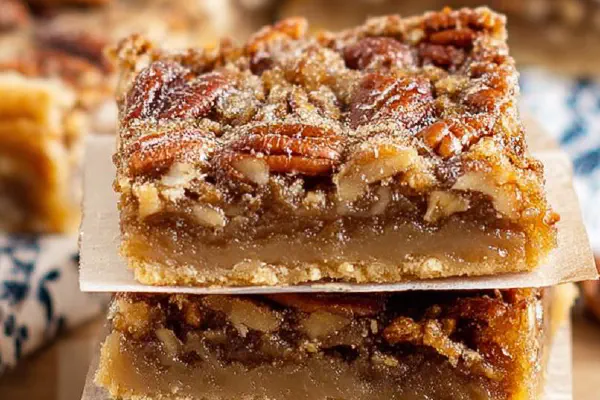
Altered Pecan Pie Bars
Vanilla Almond Cake GF
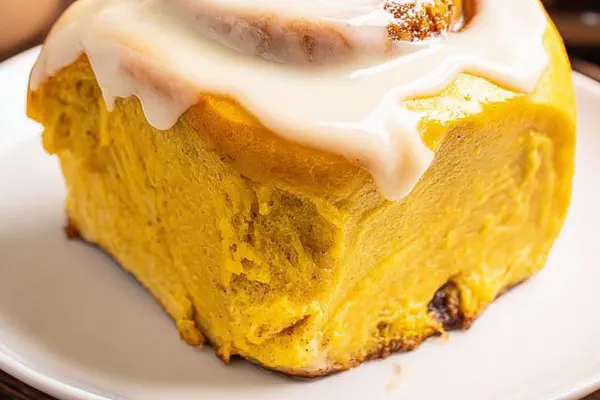
Pumpkin Spice Rolls Remix
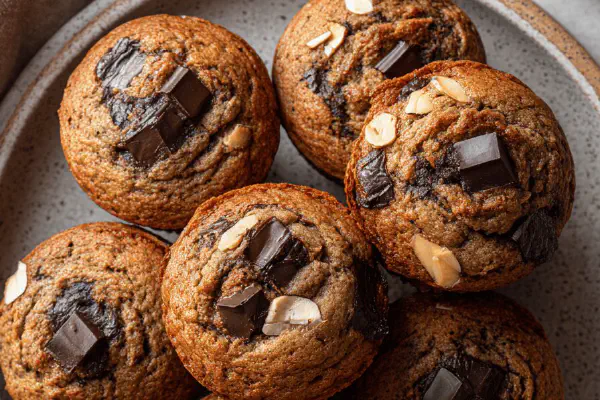
Buckwheat Banana Almond Muffins

Sugar Pearled Choux Puffs
Chocolate Almond Caramel Crunch

Jam-Swirled Puff Pastry
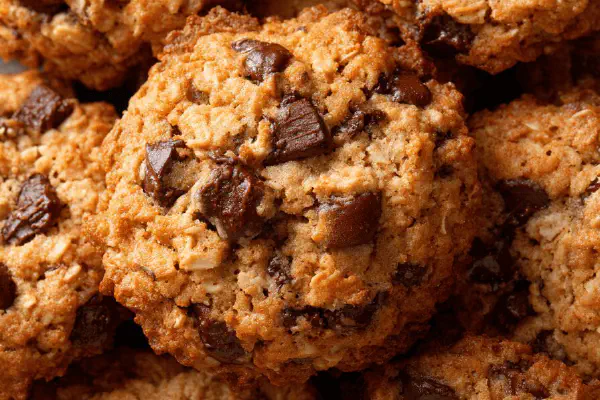
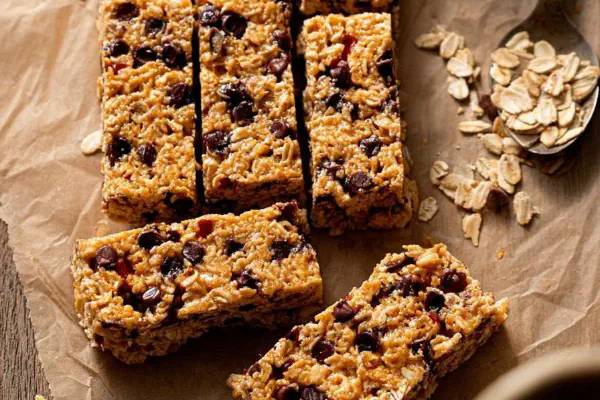
Oat Chocolate Chip Air Fryer Cookies
Velvet Chocolate Frosting
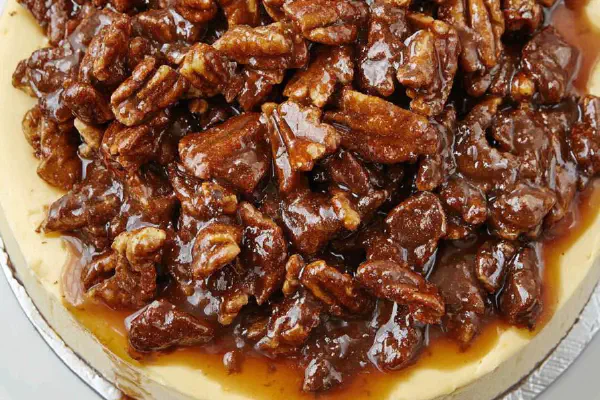
Pecan Pie Cheesecake
Ricotta Strawberry Raspberry Cake

Air Fryer Churros Twist
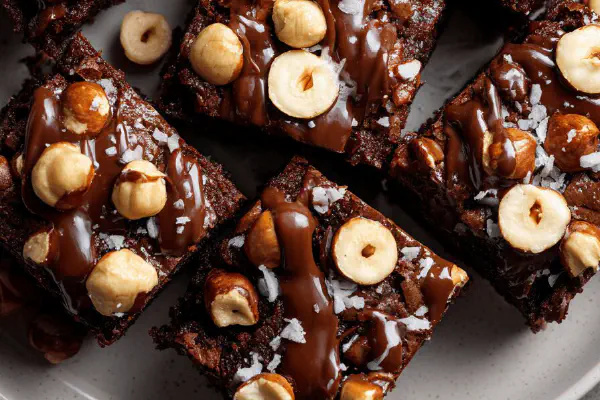
Chunky Chocolate Pecan Brownies
Pumpkin Cream Cheese Cookies
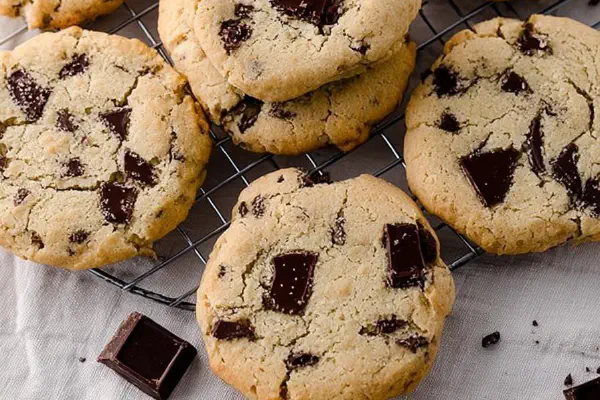
Chunky Chewy Choc Cookies
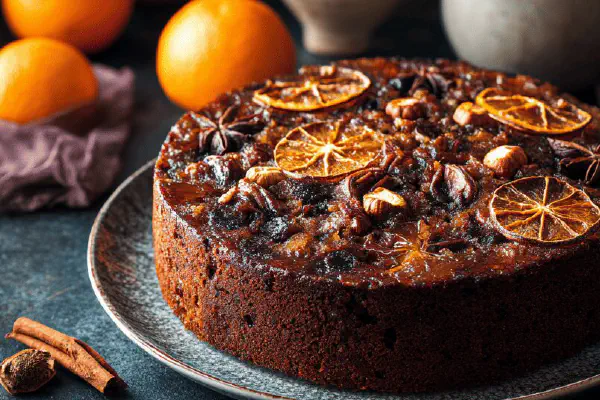
Skillet Fruit Cake Twist
Peanut Butter Chocolate Bars

Vanilla Buttercream Twist
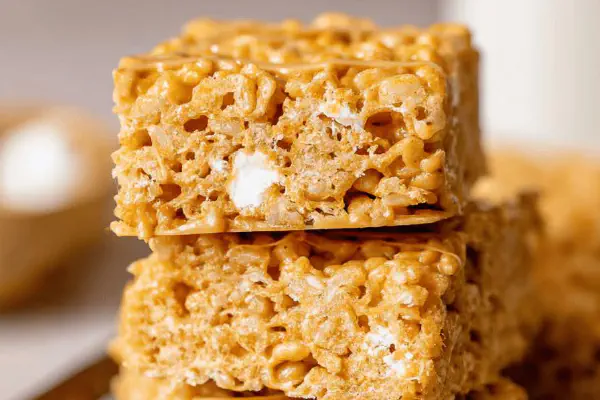
Brown Butter Nutty Crispy Bars
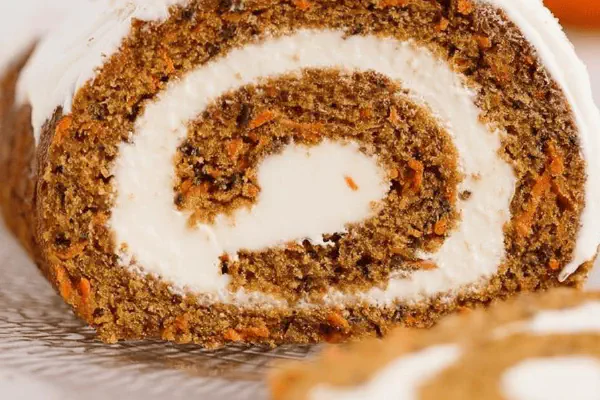
Carrot Cake Roll Revamped
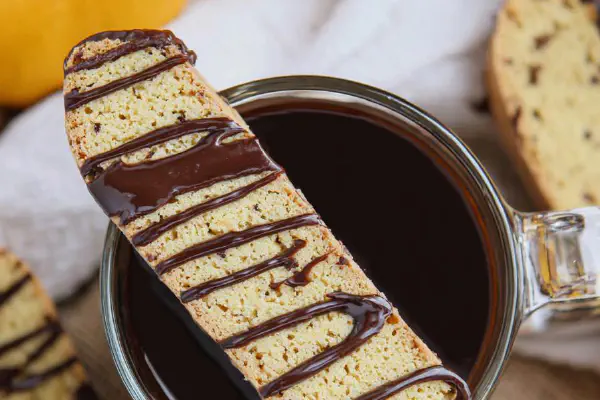
Vanilla Mocha Biscotti Remix
About the ingredients
Flour quantity trimmed by roughly 30% to yield a stiffer dough that holds shapes without cracking during handling. Ginger ample but moderated to let cardamom’s subtle aromatic lift come through. Baking soda increased slightly to control rise, preventing puffiness that spoils flat surfaces needed for neat wall joins. Honey swaps molasses for more fluid sugar and lighter taste — molasses can dominate or stiffen dough excessively in some kitchens. Butter slightly reduced for pliability balanced with brown sugar’s moisture. Egg replaced with flax egg for allergy accommodation and binding continuity. Meringue powder preferred over raw egg white in icing for stability during extended drying — key if humidity is higher. Decorations still diverse; introduced candied peel for fresh citrus kick as alternative to heavy candies. Sugar sifted to avoid lumps, ensuring pipe-ready icing. Adjust water quantity in dough piecemeal — too much creates flop, too little dry crumb and sha rp edges prone to break. Flour surface lightly, not heavily dusted to avoid cakey texture and distorted cookie thickness.
Method
Dough Preparation
- Mix flour, ginger, baking soda, cinnamon, cardamom, salt in a bowl. Whisk to distribute spices evenly. This ensures balanced spice dispersion, avoiding clumps or bitter pockets.
- Cream softened butter with brown sugar and honey using electric mixer on medium until texture lightens and volume increases, about 3 minutes. Notice the color shift and subtle gloss, indicating proper aeration essential for tender crumb and pliability.
- Add flax egg, mixing until fully incorporated and dough gains elasticity. The flax egg replaces regular egg protein, maintaining binding and moisture without lactose or extra fat.
- Gradually add dry ingredients at low speed or fold by hand to avoid overworking gluten. Dough should come together but remain soft, supple—not crumbly. If stiff, splash 1 tbsp cold water sparingly to adjust consistency.
- Divide into two disks, wrap tightly with plastic wrap to prevent moisture loss. Refrigerate at least 90 minutes; this temp drop tightens gluten, reducing spread during baking and improving cut edges.
- Preheat oven to 185°C (365°F), rack in middle position. Line baking sheets with parchment or silicone mats to prevent sticking and hot spots.
- On floured surface, handle one dough disk at a time. Knead gently just to warm dough enough to roll — about 1-2 minutes. Roll to 1/8 inch (3 mm) thickness — thinner for crisp edges but watch fragile breakage.
- Use house-shaped cutters or printed stencil to cut pieces. Arrange similar-sized pieces together. Re-roll scraps once, no more than twice to avoid toughness.
- Bake sheet by sheet for 10-12 minutes. Watch for color change: edges turn lightly golden but centers remain pale — a key cue to avoid dryness or hard chew. Bake too long and pieces warp or lose shape precision.
- Remove from oven, let rest on pan 5 minutes before transferring to wire racks to cool completely. Cool completely — crucial for assembly. Warm cookies won’t bond well with icing and may crumble.
- Prepare glaze by mixing meringue powder with powdered sugar and 2 tbsp water. Beat until smooth, stiff peaks form. Consistency thick enough to hold shape but still pipeable. Use a slightly wet finger test — finger dipped in water then pressed on glaze will show if it holds shape.
- Fill a piping bag fitted with a small round tip. Start with base edges: pipe along edges of cookie walls, press pieces firmly but gently together. Hold 10 seconds to partially set before moving to next piece.
- Allow assembled parts to dry and harden at least 24 hours in a cool, dry place. Patience here. Rushing causes collapse or breaks.
- Garnish with candies, candy canes, dried orange peel, or chocolate drops while icing is still tacky to adhere. Methodical placement ensures candy doesn't slide off.
- Allow additional drying overnight for firmest hold.
- Store baked, unassembled pieces in airtight container with parchment between layers to prevent sticking. Keep out of humid environments—moisture softens cookies and ruins crispness.
- If dough gets too warm while rolling, chill briefly before cutting to prevent sticky mess.
- Use a toothpick dipped in warm water to smooth and perfect icing edges before they set for clean joints.
- Substitute honey with mild maple syrup if blossom flavor preferred.
- Clove replacement with cardamom lends aromatic complexity with less bitterness.
- Flax egg for vegan and allergen alternative; if not available, one regular egg can be used.
- Meringue powder stabilizes royal icing over fresh egg whites; safer and easier for prolonged drying times.
- Keep your workspace dusted lightly with flour only—too much buries shapes and alters texture.
- Slow, patient handling beats speed here. Gingerbread houses require respect or they crumble physically and metaphorically.
Rolling and Cutting
Baking and Cooling
Royal Icing Assembly
Decoration
Storage and Tips
Technique Tips
Key in dough mix is gradual incorporation to avoid tough dough from overworked gluten. Cream butter and sugar well — aerated fat creates tender bite and keeps dough pliable, not brittle. Chilling dough critical to relax gluten networks for clean cookie edges, avoiding tears or rough cuts. Rolling thickness uniform at 3 mm gives balance between timeless crispness and sturdy enough pieces for standing walls. Notice edge color transformations under bake — color alone tells doneness better than strict minutes. Let cookies fully cool on racks; warm cookies may melt royal icing or shatter on handling. Royal icing mixing with meringue powder requires vigour until icing peaks but not dry — tipped consistency improves bonding without runny spills. Assembly technique matters: piping be precise along seams, hold cookies pressed but not forcibly. Dry 24 hours minimum is non-negotiable; rushing leads to structural failures. Decorating while icing tacky improves adhesion. Store components in low-humidity airtight containers; gingerbread picks up moisture fast, softening edges undesirable before display. Remove from dough rolls just before cutting for best edges. Re-roll scraps sparingly for consistent texture. Handling with minimal flour prevents rough texture and shaped distortion. Patience essential from dough to dried creation—each stage’s attention equals house’s integrity.
Chef's Notes
- 💡 Watch cookie edges closely during baking, subtle shifts from pale to light golden indicate readiness. Too dark? Ruined texture. Cool completely on racks, warm cookies can't bond with icing well.
- 💡 Cut out shapes quickly. Use chilled dough, roll the thinner for crisp edges. Reroll scraps cautiously, don't overdo it. Softness is best for neat cuts. If sticky, chill briefly.
- 💡 Flour lightly your working surface, not bury shapes. Roll to uniform 3mm—thick precisely balances crispness and strength. Watch that dough doesn't get too warm, room temp can ruin shapes.
- 💡 Customize decorations, but do while icing is tacky. Press down gently, placement matters. If icing dries first, candies won't adhere properly. Skip frenzied methods here.
- 💡 Storage is key. Keep baked pieces in an airtight container with layers of parchment preventing sticking. Moisture is the enemy. If crumbly edges arise, change storage conditions.
Kitchen Wisdom
How long to chill dough?
At least 90 minutes — crucial for reducing spread during baking. Cool tightens gluten, helps edges stay sharp.
Alternative for honey?
Mild maple syrup works well, adds sweetness without overpowering. Just be mindful of consistency changes when switching.
What if cookies break?
Dry out quickly if overbaked; keep an eye on those edges—light golden only. If too soft after cooling, humidity might be a problem.
Best way to store cookies?
Airtight containers win. Parchment between layers to avoid stickiness. Keep in cool, dry area to maintain crisp.
You’ll Love These Too
Explore all →
Apple Puddings Air Fryer
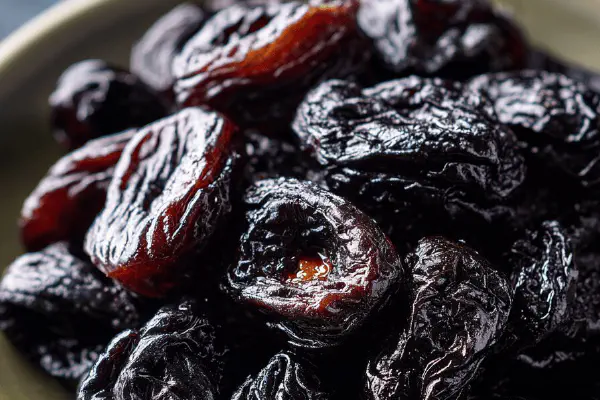
Tangy Balsamic Prunes
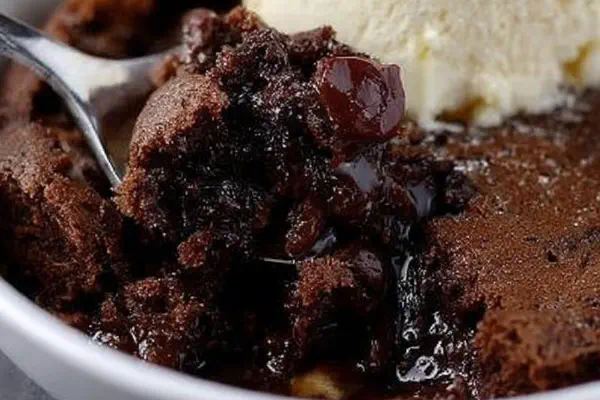
Chocolate Spoon Cake Remix
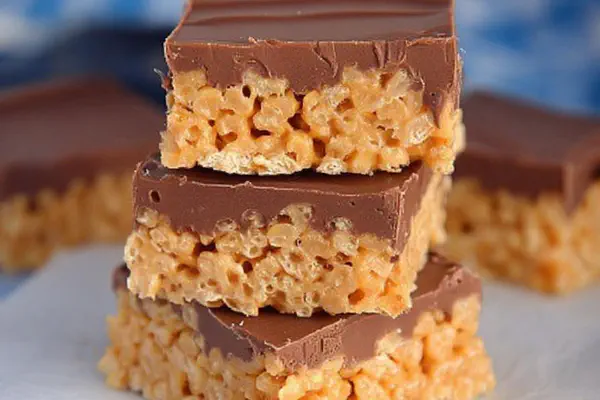
Crunchy Million Dollar Bars
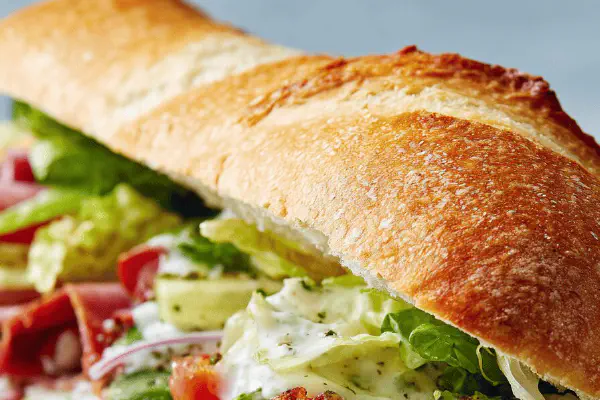
Italian-style subs
Spicy Butter Buffalo Sauce

Slow Cooker Chicken Chili
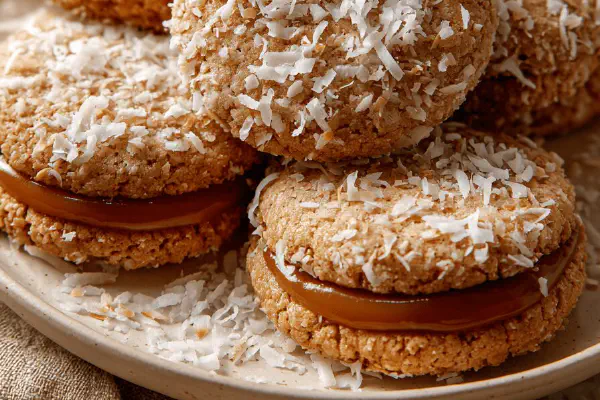
Soft Dulce de Leche Sandwiches

Cinnamon Maple Fried Bananas
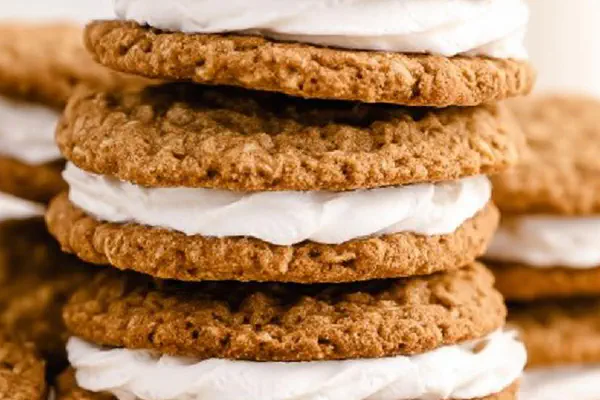
Oatmeal Cream Sandwiches

Spicy Chicken Tomato Corn Soup
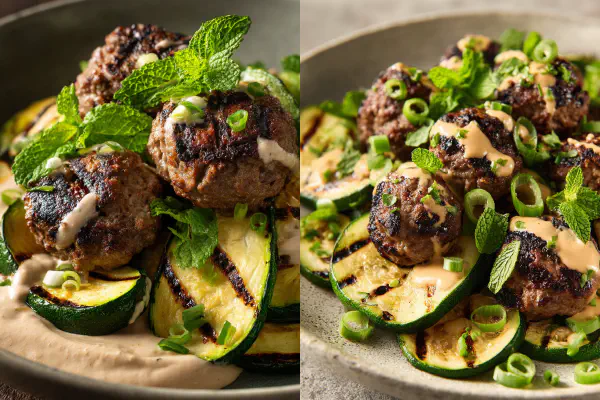
Beef Zucchini Meatballs Tahini
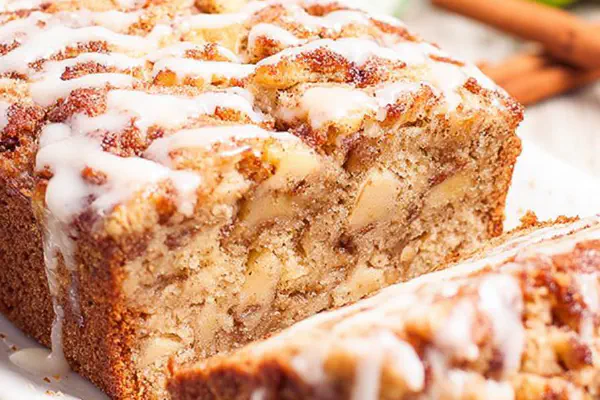
Chunky Apple Bread Twist
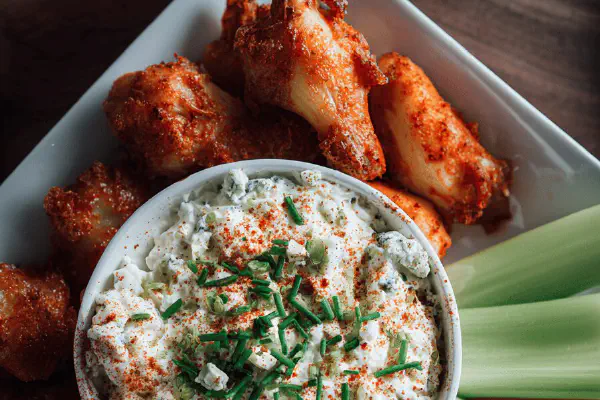
Blue Cheese Dip Remix

Chocolate-Dipped Nutty Butter Cookies
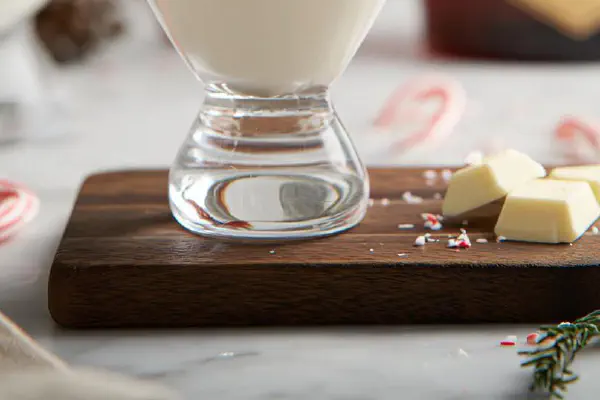
Mint White Chocolate Martini
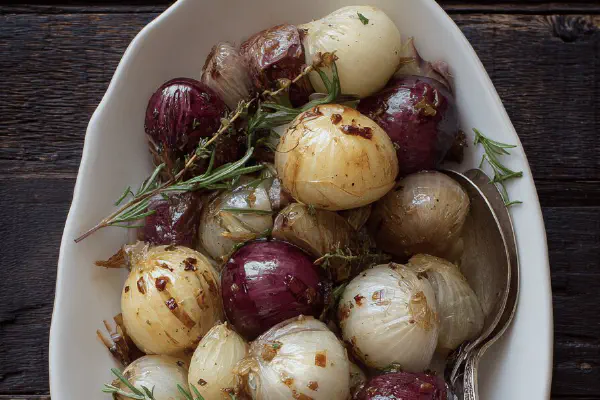
Papillote Trio Onions
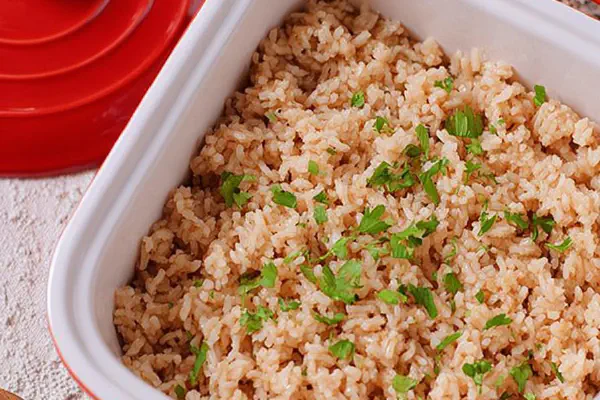
Oven Buttered Rice

Thai Chicken Shrimp Soup

Gingerbread Cookie Remix
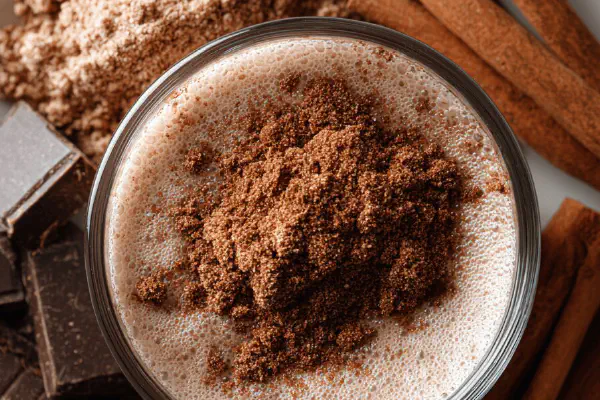
Spiced Hot Cocoa Mix
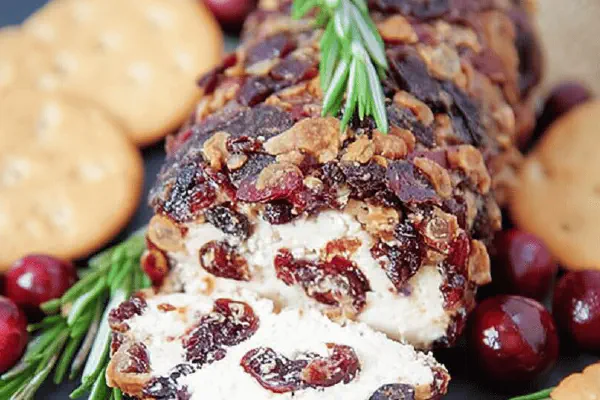
Cinnamon-Spiced Goat Cheese Bites
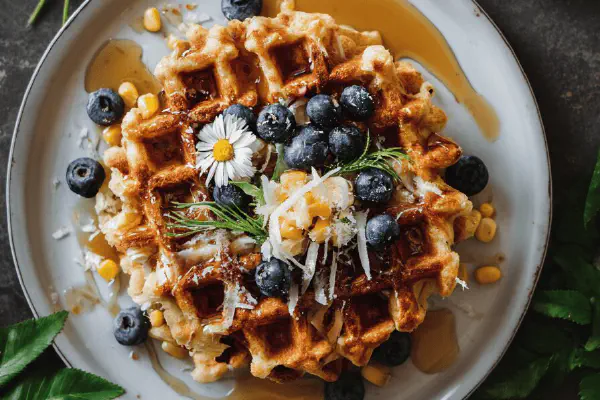
Eggless Sweet Corn Waffles
Silky Tofu Tomato Vegetables

Ham Endive Gratin Twist

Poached Pears Dark Chocolate

Sesame Wasabi Fried Chicken
Prune Oatmeal Bars Twist
No-Bake Holiday Bars