Featured Recipe
Grilled Pears with Maple Lime Glaze
By Kate
"
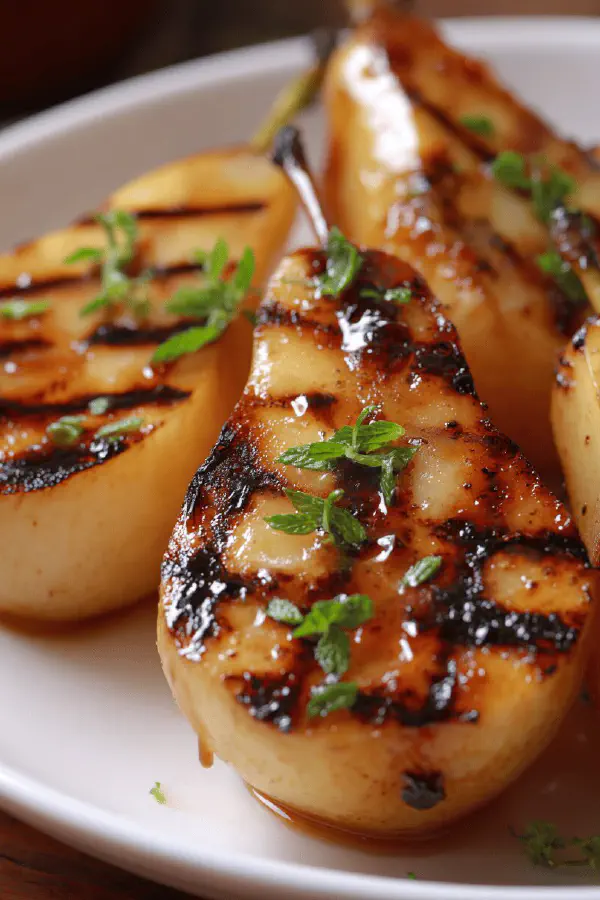
Pears grilled over high heat until tender with a lightly caramelized surface. Citrus juice brightens the fruit, while a sticky maple-lime glaze replaces honey and lemon for added depth. Pears softened but still holding shape, grill marks visible, caramel scents wafting. Simple, fruit-focused dessert without gluten, nuts, dairy, or eggs. Quick, approachable method for summer cookouts or weeknight treats. Tactile doneness cues emphasized over timers.
"
Prep:
10 min
Cook:
15 min
Total:
25 min
Serves:
4 servings
grilling
fruit dessert
summer recipes
Introduction
Pears grilled over high heat until tender with a lightly caramelized surface. Citrus juice brightens the fruit, while a sticky maple-lime glaze replaces honey and lemon for added depth. Pears softened but still holding shape, grill marks visible, caramel scents wafting. Simple, fruit-focused dessert without gluten, nuts, dairy, or eggs. Quick, approachable method for summer cookouts or weeknight treats. Tactile doneness cues emphasized over timers.
Ingredients
In The Same Category · Sweet Treats
Explore all →
Creamy Coconut Rice Pudding
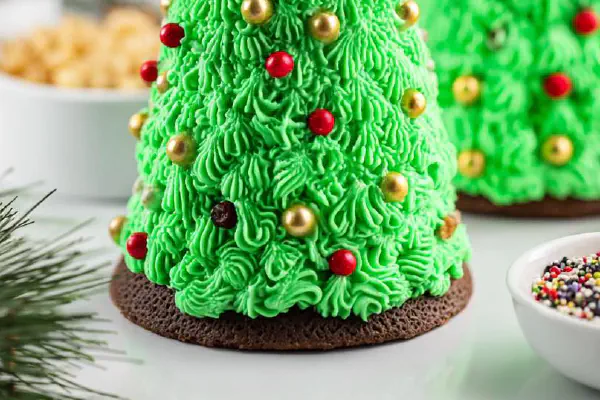
Cone Cake Christmas Trees
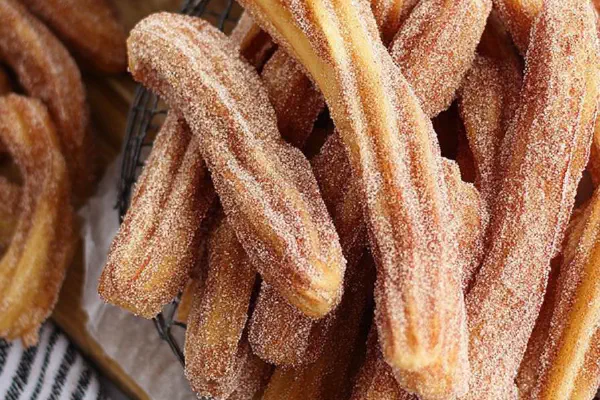
Air Fryer Churros Twist
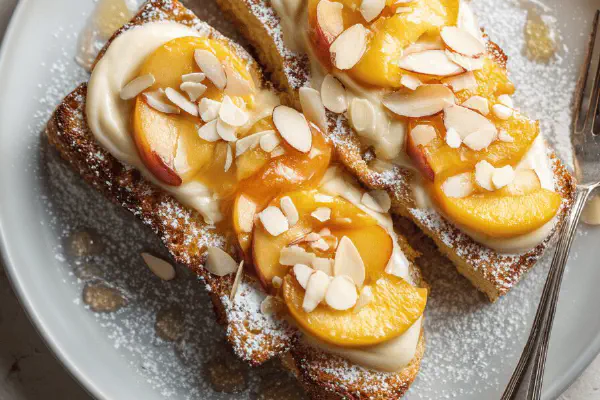
Peach Almond Bostocks
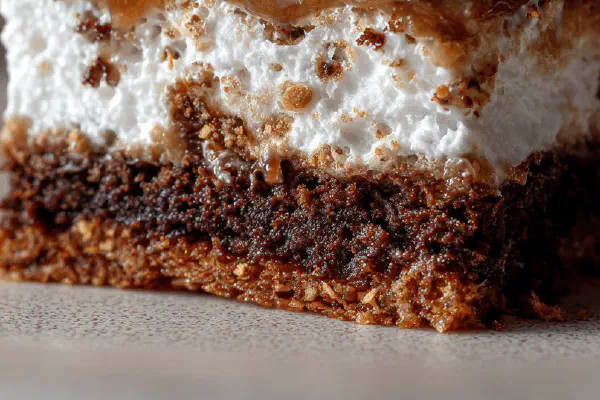
Chocolate Almond Caramel Crunch
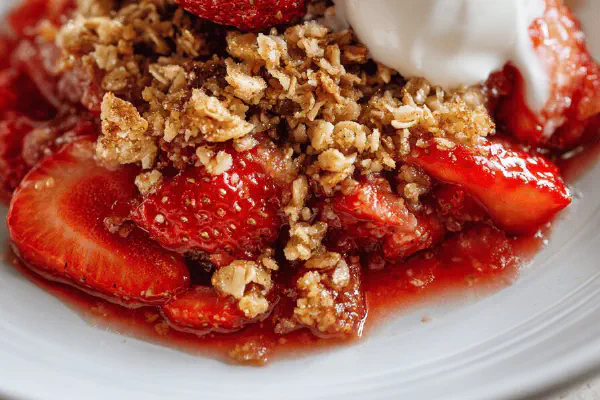
Strawberry Crumble Air Fryer

Crunchy Cereal Chocolate Bites

Stuffed Cinnamon Monkey Bread
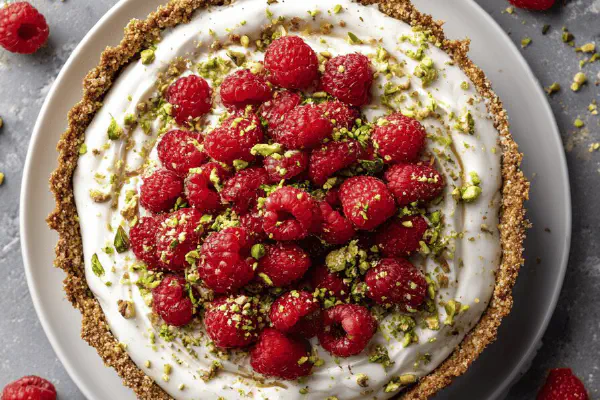
Pistachio Raspberry Tart
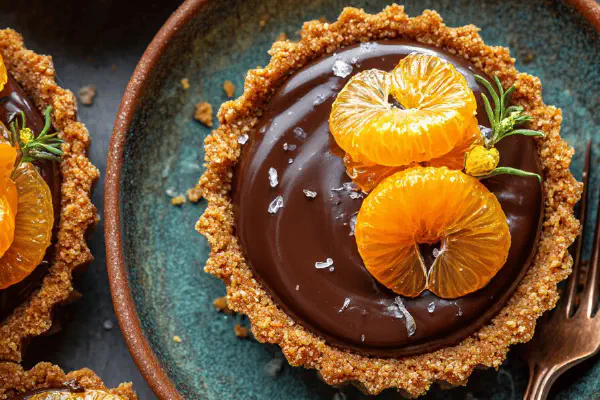
Mini Ganache Tangerine Tarts
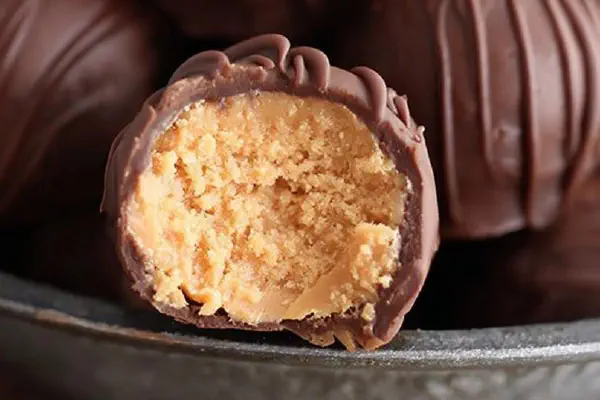
Nutty Butter Bites
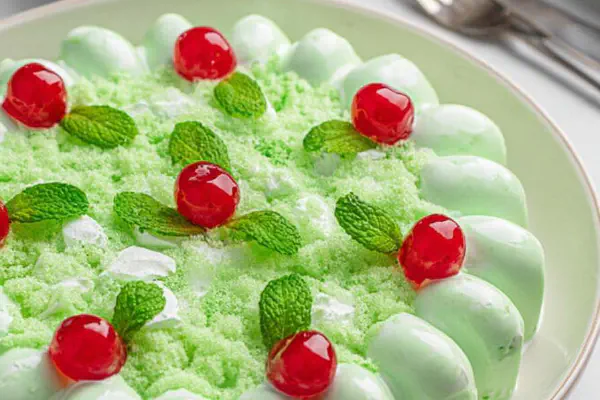
Pear Citrus Gelatin Salad
Sablé Tart Crust with Lemon Zest
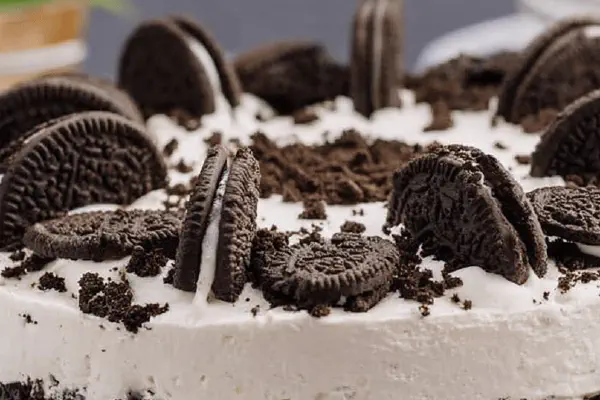
No-Bake Oreo Cheesecake Twist

Rustic Tropézienne Brioche
Twisted Vanilla Frozen Yogurt
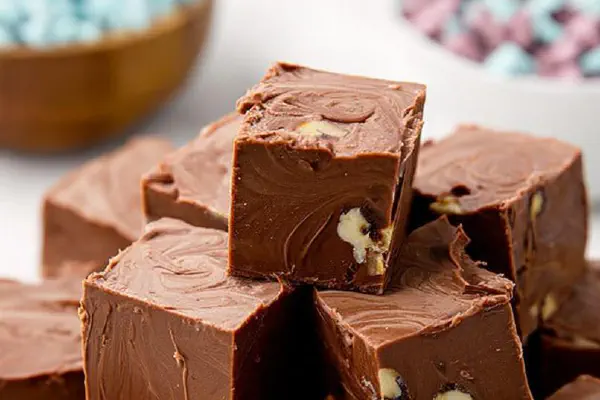
Chunky Candy Fudge
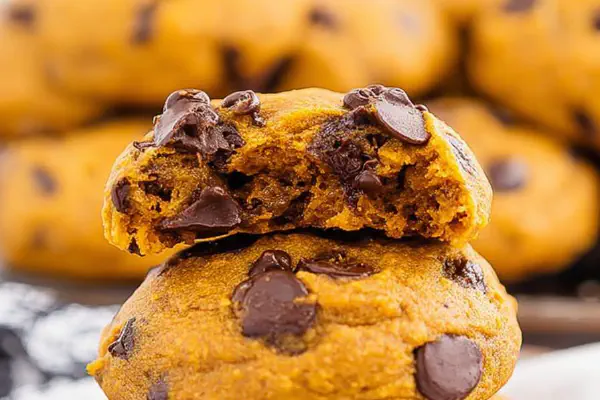
Pumpkin Choc Chip Cookies
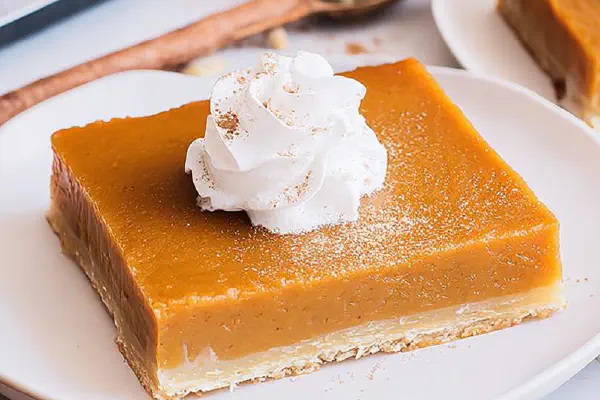
Rustic Pumpkin Slab Pie
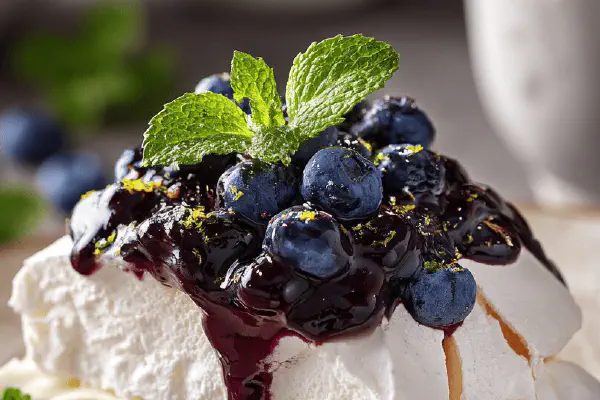
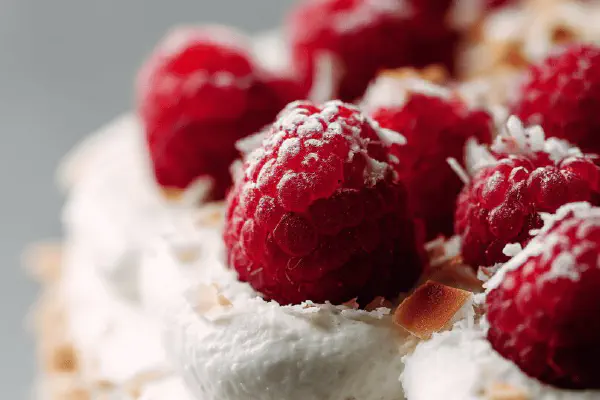
Maple Blueberry Pavlova
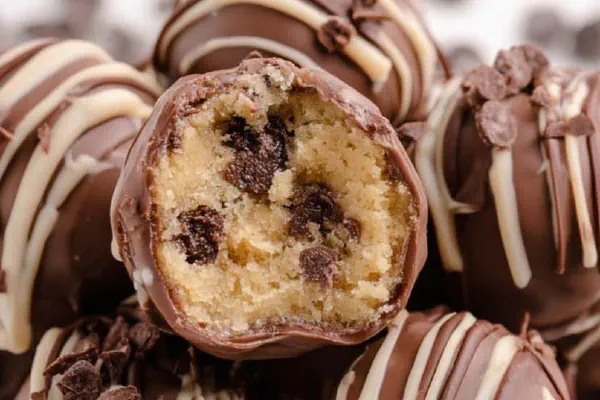
Cookie Dough Truffles Twist

Blueberry Choc Chip Muffins Reimagined
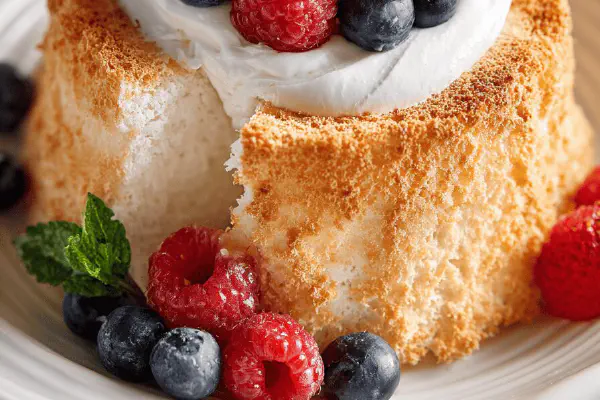
Angel Food Cake Remix
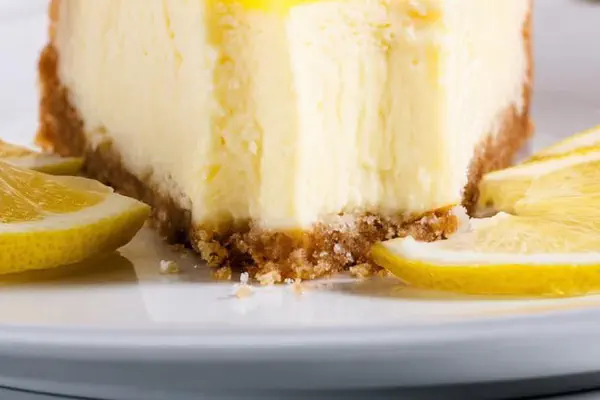
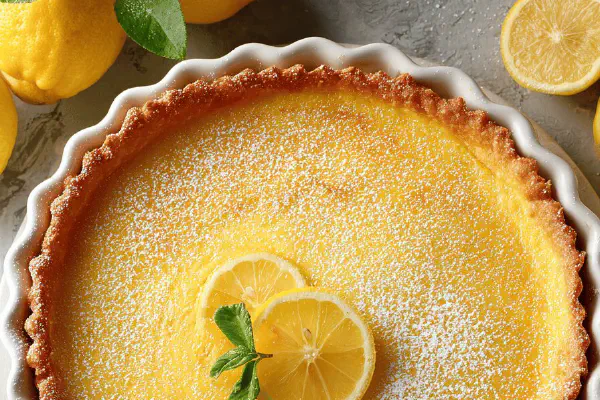
Tangy Lemon Cheesecake
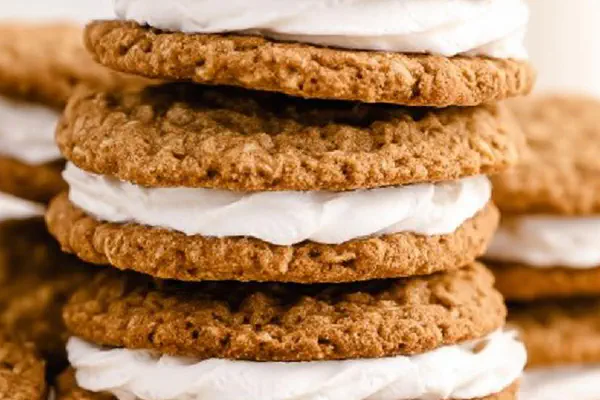
Oatmeal Cream Sandwiches
Tres Leches Raspberry Cake Twist
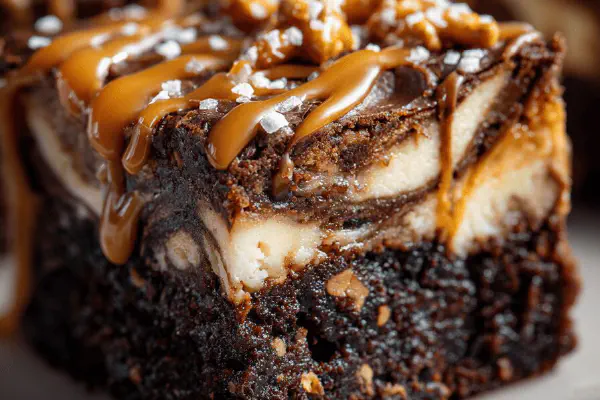
Peanut Butter Swirl Brownies
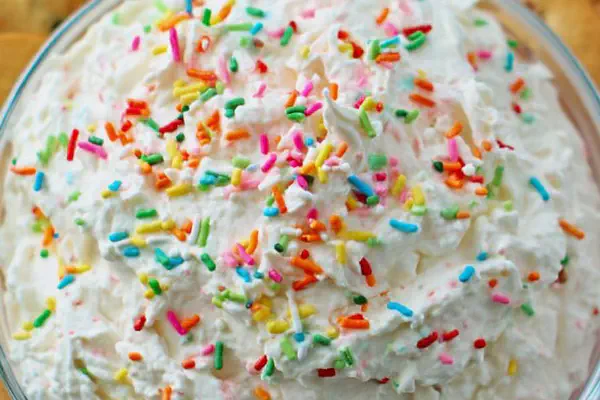
Confetti Yogurt Dip
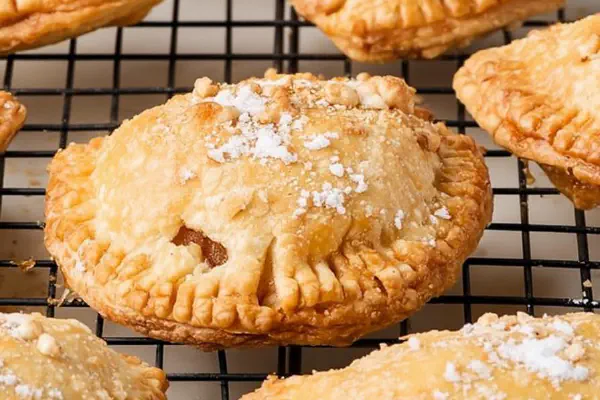
Air Fryer Apple Hand Pies
About the ingredients
Choice of pears matters: Bartlett gives classic smooth sweetness and softer flesh, Anjou keeps a bit firmer structure. Avoid grainy, mealy fruit, especially beyond prime ripeness. Lime juice swaps for lemon here; lime’s sharper, with fragrant citrus oils that pair well with maple syrup’s deep notes. Maple syrup stands in for honey—less floral, more caramel, better on heat without burning too fast. Neutral oil on grill grate essential for fruit release; no oil on pears themselves. Cinnamon optional but recommended for those wanting complexity. Salting finished pears with flaked sea salt or freshly cracked pepper induced unexpected, balanced contrast. Good substitutions: lemon juice if lime unavailable, agave syrup for maple but watch caramel rate and sweetness level. If no grill, use grill pan but watch for scorch spots. For unstable grills, foil under pears maintains caramel contact without melting into ash.
Method
Technique Tips
Preheating grill paramount; hot surface sears sugars quickly, avoids drying out fruit. Oil the grate lightly with paper towel dipped in oil using tongs—too much oil makes flare-ups, too little causes sticking. Coating pears lightly in glaze, not soaking, avoids dripping combustion and intensifies caramelization on surface. Cutting pears uniformly helps cook evenly. Watch for audible sizzle, color change—grill marks should be dark brown, not pitch black. Turning carefully prevents tearing tender fruit. Timing flexible by minute to accommodate heat variation and fruit ripeness. Testing tenderness with tip of paring knife or fork; should meet slight resistance but pierce easily near center. Removing from heat too early leaves texture chalky, too late turns to mush. Letting pears rest warm finishes cooking gently, redistributes juices. Drizzling extra glaze after cooking boosts sweetness and shine for presentation. Tossing in finishing salt or spice as last step brightens flavor and cuts syrupy cloying notes. Avoid overcrowding grill to ensure even heat.
Chef's Notes
- 💡 Ripeness of pears is crucial. Too hard? They won't caramelize well. Too soft? They'll fall apart on the grill. Look for pears with slight give.
- 💡 Clean grill grates before starting. Dust and residue can lead to sticking. Oil the grates lightly—use a paper towel with oil, holding with tongs.
- 💡 Grilling times can vary. Grapple with heat levels. Listen for that sizzle. Watch for browning. The goal? Grill marks and softened but firm texture.
- 💡 Turn pears using a spatula and tongs—watch for tearing. Those grill marks indicate progress. Aim for a beautiful caramelization, not burning.
- 💡 Don’t overcrowd the grill. Space out pears to ensure heat distribution. Helps them cook evenly. Ensures they don't stick together and mush up.
Kitchen Wisdom
What if pears are too hard?
Let them ripen a bit more. If too firm on grill, raise heat slightly. Tenderness matters for caramelizing properly.
Can I use other fruits?
Absolutely, look at peaches or pineapples. Different flavors, change glaze slightly for pairing. Monitor grilling closely.
What's the best way to store leftovers?
Refrigerate in an airtight container. Reheat gently. But they can lose texture. Consider adding glaze again.
What if I don’t have a grill?
Use a grill pan indoors instead. Works, but check for scorching. Foil can help if you’re worried about sticking.
You’ll Love These Too
Explore all →
No-Bake Avalanche Squares

Spiced Shirley Smash
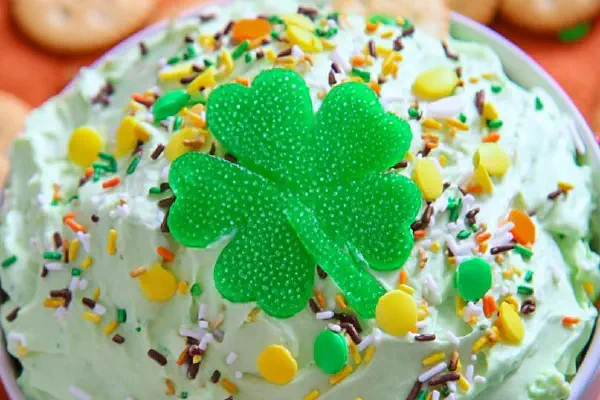
St Pat's Dip Remix

Mini Chocolate Cupcakes Remix
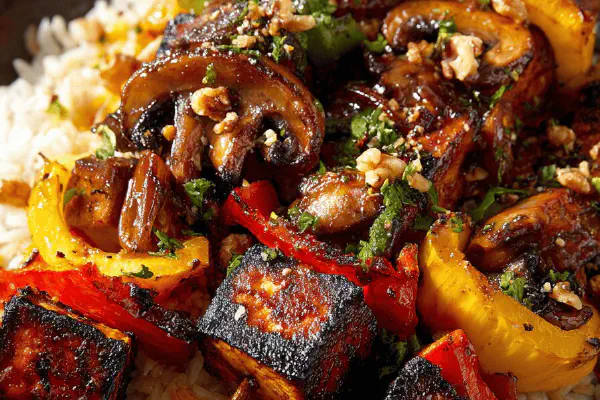
Asian Tofu Skewers
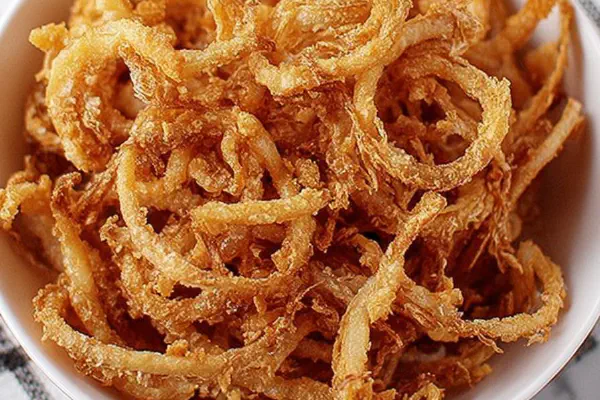
Crispy Marinated Onion Crisps

Peanut Banana Shake Remix
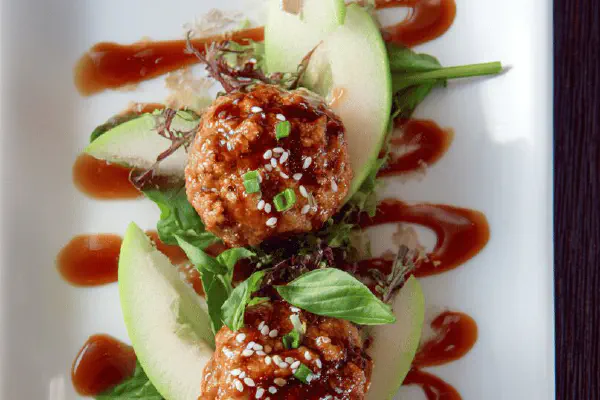
Sticky Pork Meatballs Basil Apple
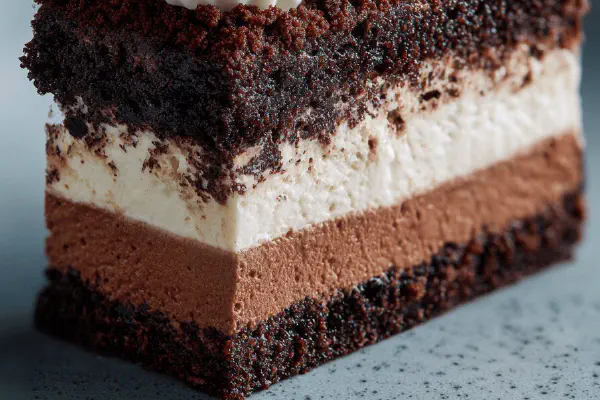
Triple Chocolate Log
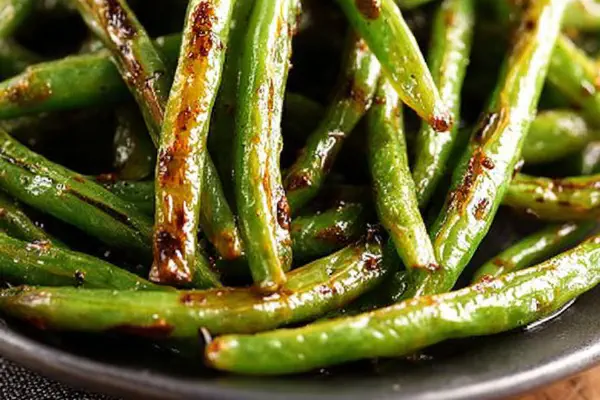
Roasted Spiced Green Beans

Salted Almond Toffee Crackers
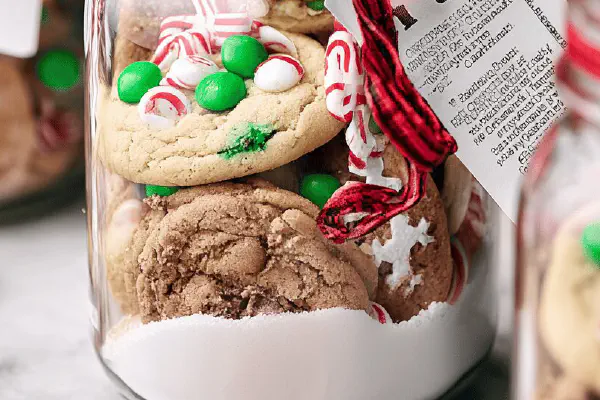
Holiday Cookie Mix Jar
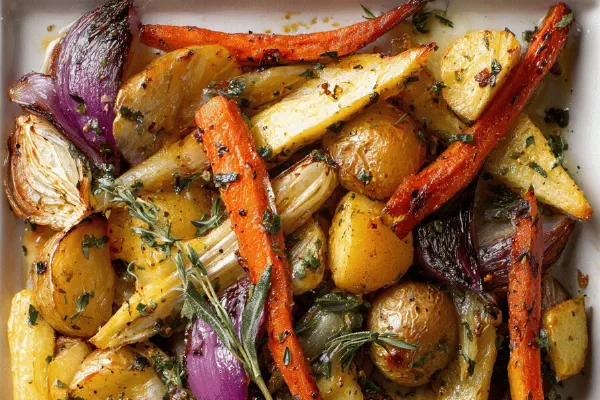
Roasted Root Medley
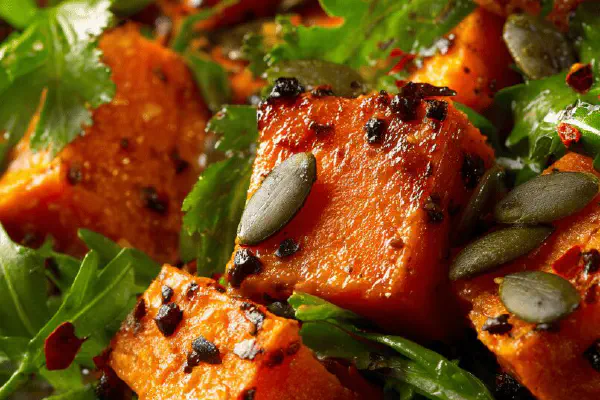
Roasted Sweet Potatoes with Camelina Oil
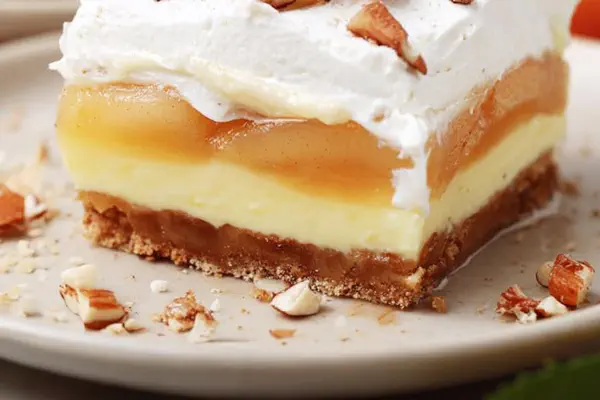
Crunchy Apple Layered Dessert
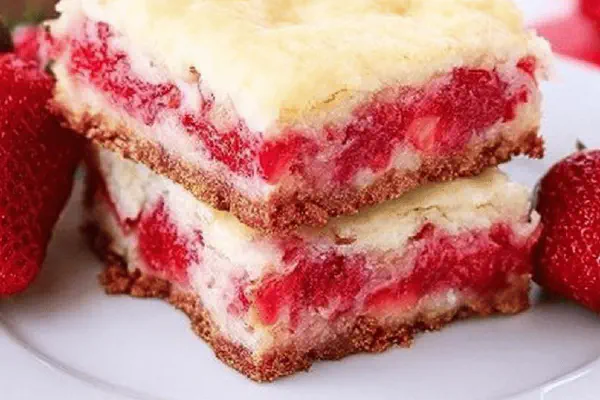
Strawberry Chess Bars Twist

Crispy Caesar Salad
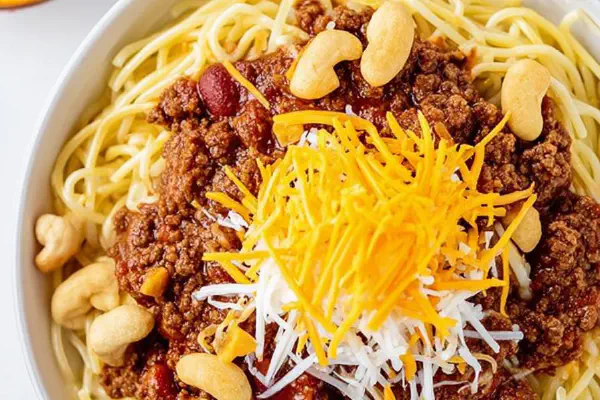
Twisted Cincinnati Chili
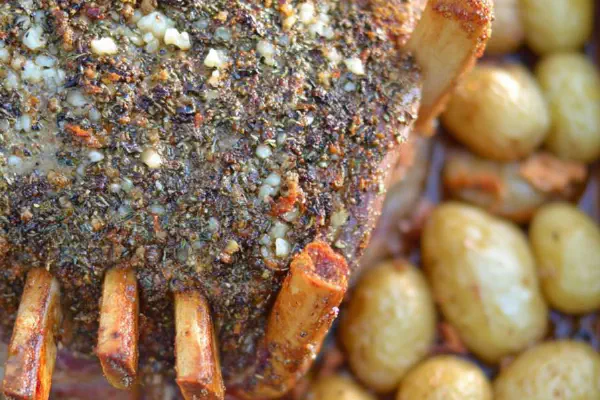
Spiced Crown Pork Roast
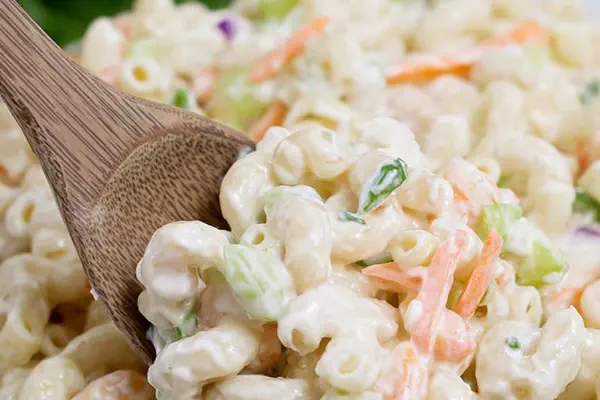
Chunky Macaroni Salad
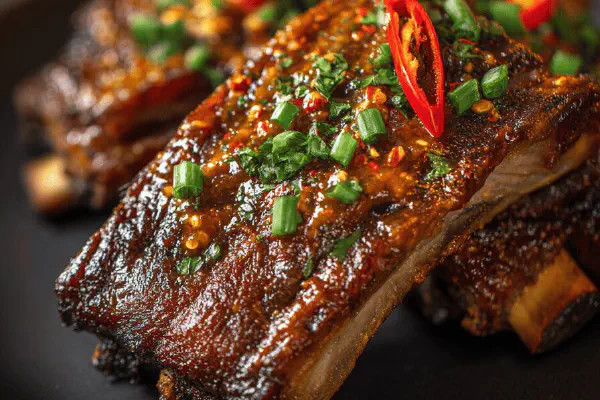
Tex-Mex Pork Ribs Remixed
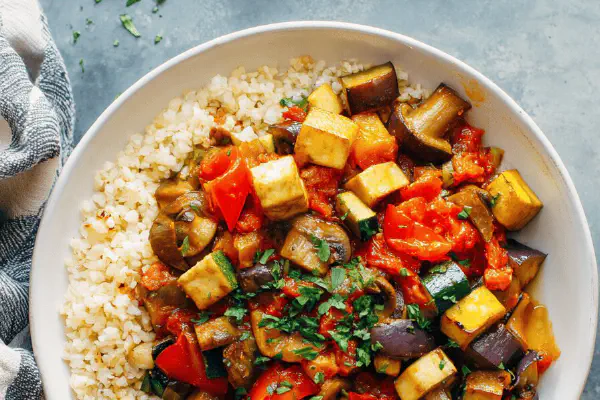
Hearty Veggie Ratatouille
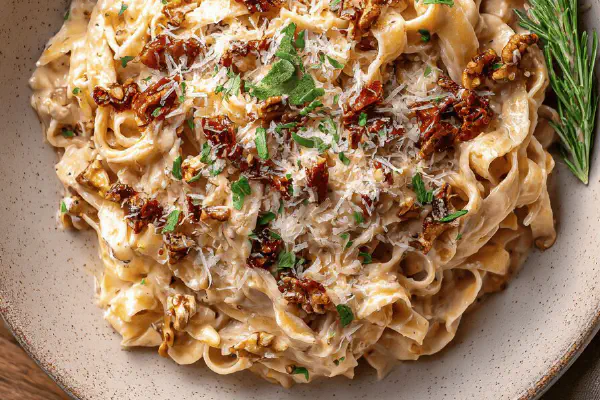
Walnut Cream Tagliatelle Remix
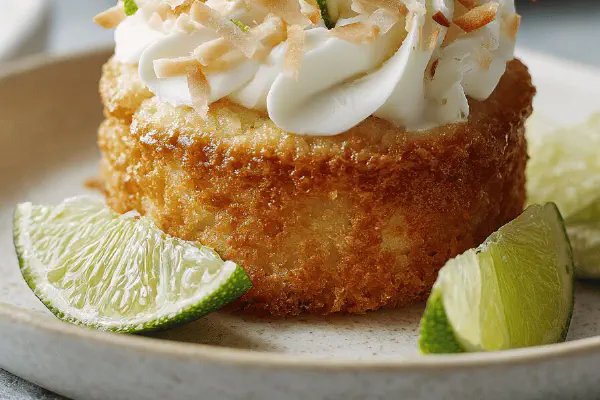
Lime Coconut Mini-Cakes
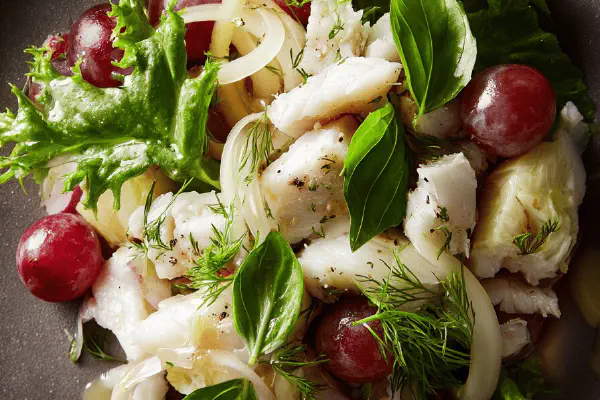
Warm Fennel Grape Fish Salad
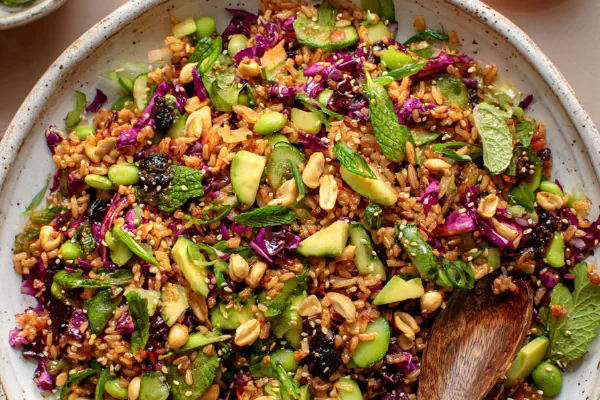
Crunchy Wild Rice Salad
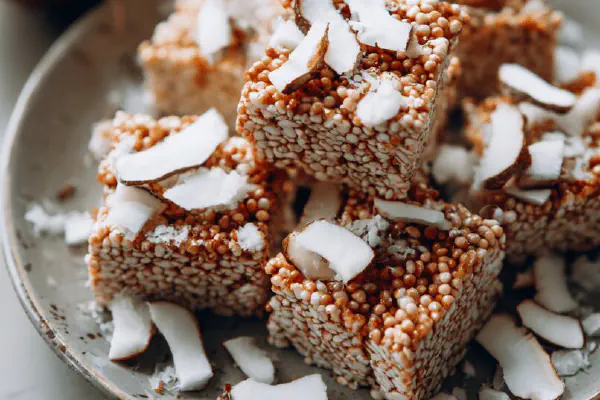
Nutty Butter Bites
Marshmallow Rice Crispy Bars Twist
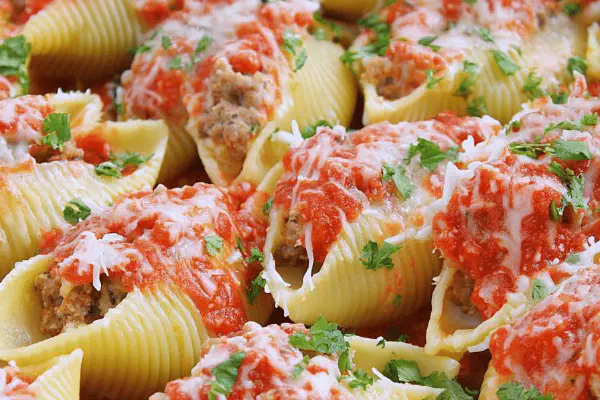
Sausage Pepper Shells