Featured Recipe
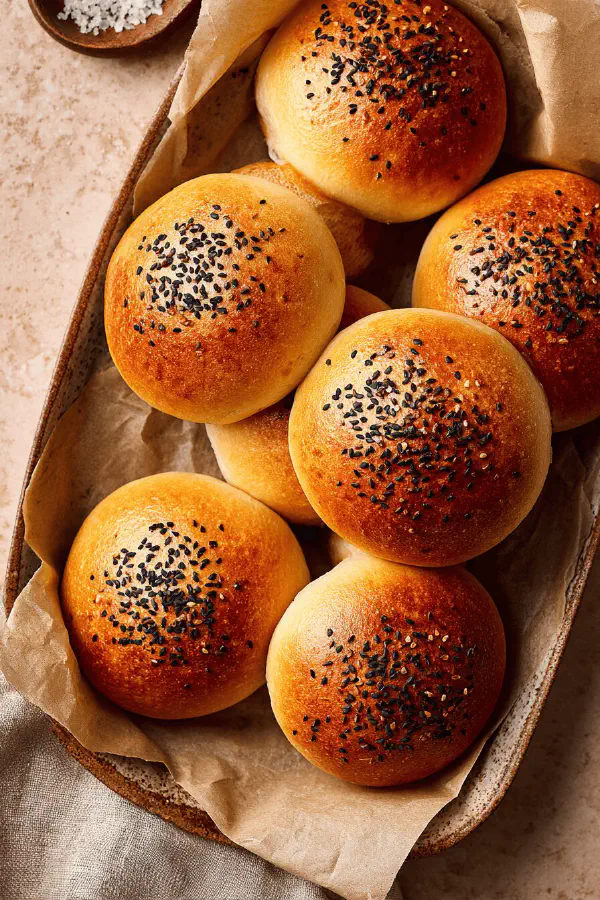
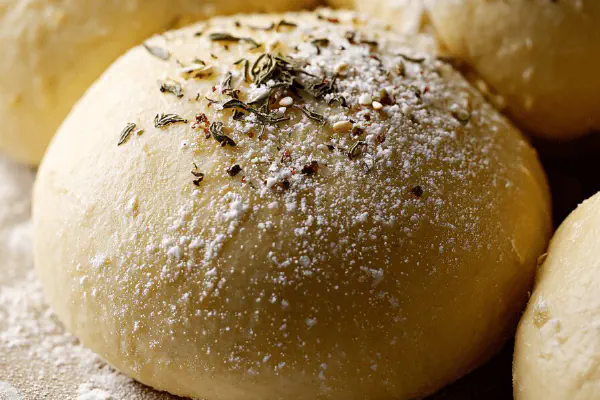
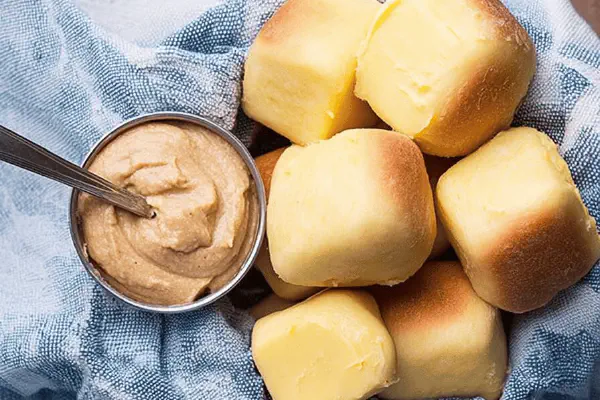
Homemade Burger Buns
By Kate
"
Soft, golden burger buns made with a slight twist on hydrating liquids and a touch of honey instead of sugar. Yeast activation is crucial; dough texture signals readiness. Seeds optional but add crunch. Requires gentle heat and patient proofing. Baking cues are smell and color rather than clock watching. Makes 7 buns, slightly smaller size. Butter replaced with olive oil for a lighter crumb.
"
Prep:
25 min
Cook:
18 min
Total:
43 min
Serves:
7 buns
burger
baking
homemade
bread
Introduction
Buns rarely get the credit they deserve. Store-bought? Too dense or crumbly; often overly sweet or full of preservatives. Push past the sugar and butter defaults. Coconut milk in place of dairy milk gives subtle richness and moisture, especially if you’re avoiding lactose. Olive oil replaces butter for easier dough handling and less chance of squeezing out the fat during kneading. Use honey instead of white sugar; yeast loves it, fermentation speeds, aroma develops. Mixing technique impacts crumb — too rough, you’ll end with crumbly buns; too soft, they spread flat during proofing. Proofing temperature crucial. Aim for a steady warm spot where the dough wakes slowly — think body temp. The shiny egg wash is your crust’s patina and natural glue for seeds. Bake until golden, smell yeasty and sweet, tap bottom for hollow sound — these sensory cues trump any timer.
Ingredients
In The Same Category · Homemade Breads
Explore all →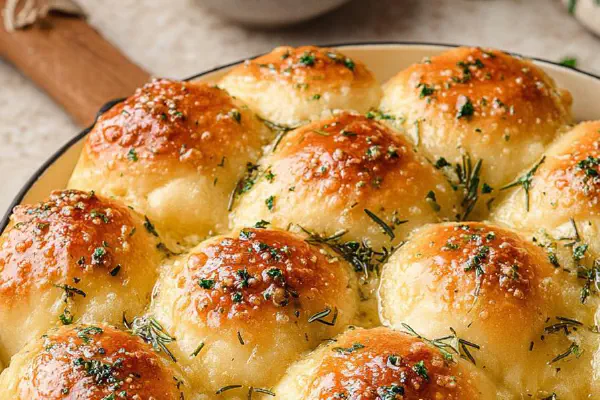
Garlic Rosemary Pull-Apart Rolls
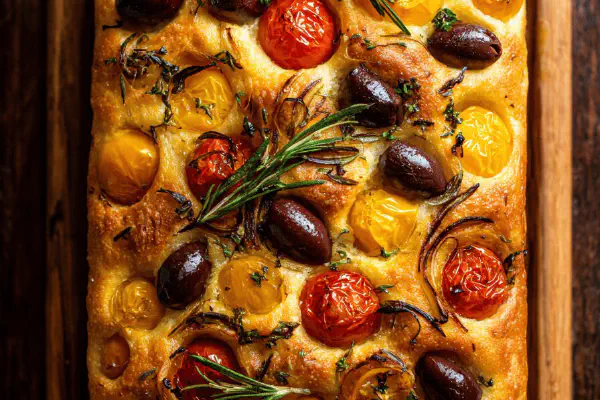
Cherry Tomato Focaccia

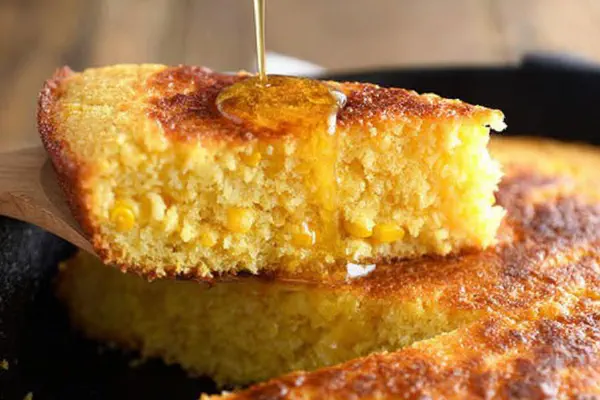
Twisted Iron-Crust Cornbread
Basic Vegan Pizza Dough
Buttery Dinner Rolls Twist
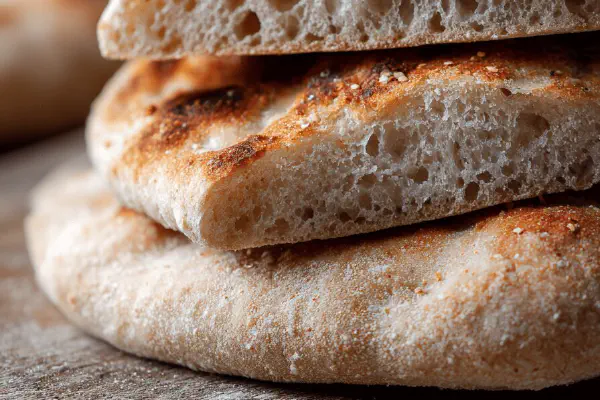
Homemade Rustic Pizza Dough
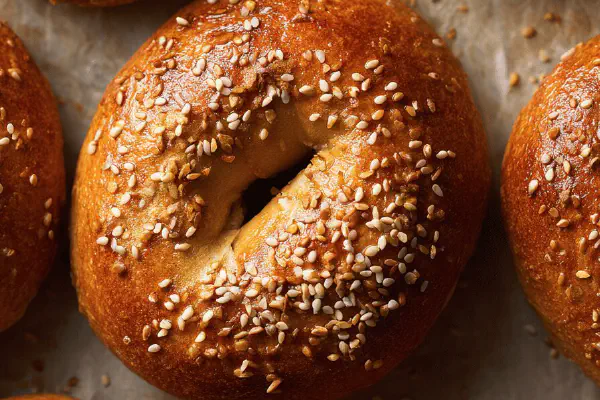
Sesame Bagels with Molasses Twist

Rustic Pizza Dough
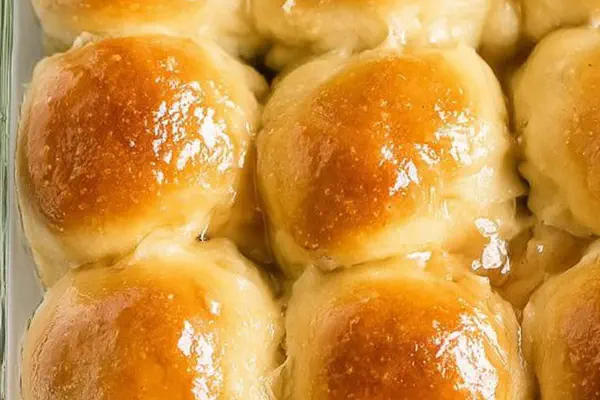
Honey Butter Rolls
No-Yeast Potato Bread
Twisted Kouglof
Spiced Apple-Zucchini Loaf
Keto Cloud Bread Twist
Lazy Skillet Creamed Cornbread

Hearty Tex-Mex Cornbread
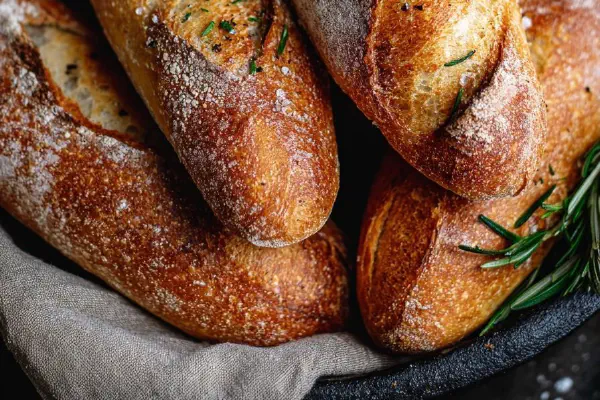
Rustic French Baguettes
About the ingredients
Eggs must be room temperature to activate yeast properly. Coconut milk can be canned or carton — if canned, stir well beforehand to mix cream and water for even hydration. Extra virgin olive oil substitutes butter here, offering a lighter crumb with less risk of dough tightening. Honey isn’t just sweetener; it’s also antimicrobial and feeds yeast more gently than refined sugar. Instant yeast used here skips proofing step but still verify freshness with bubble test; expired yeast means flat buns. Flour measured by spooning lightly into measuring cup, not scooping aggressively — too much flour makes tough dough. Salt controls yeast fermentation, so don’t skip or overdo it. Sesame seeds optional but add a nutty crunch; substitute with poppy or flax seeds if desired.
Method
Technique Tips
Yeast activation critical. Let the mix rest long enough to verify bubbling; no bubbles, no rise later. Kneading develops gluten structure responsible for rise and texture. Machine kneading preferred for consistent results but hand kneading works if dough becomes stretchy before tears. Shape dough in tight balls to trap air during rising — a slack surface will crack or flatten. Proofing twice is key; first rise develops flavor and gas, second rise shapes buns. Cover with oiled plastic wrap to prevent skin formation; dry spots lead to cracking. Egg wash applied just before baking encourages browning and helps seeds adhere—avoid over applying or buns bake soggy. Oven temp set slightly lower than standard 190 °C to avoid overbrowning before fully cooked inside. Tap buns after baking; hollow sound means air pockets well developed. Cool fully for clean slices; warm bread tears and becomes gummy inside. Store buns airtight to preserve softness but avoid refrigeration which dries out fast.
Chef's Notes
- 💡 Egg temp matters, room temp eggs activate yeast. Don't skip this step. Cold eggs lead to slow rise. Use warm water; yeast loves warmth.
- 💡 Kneading is crucial, aim for texture. Dough should be slightly tacky but smooth. Overworking leads to dense buns; keep it gentle while kneading.
- 💡 Plan your rising time well; find a warm, draft-free spot. Yeast needs warmth—think cozy not hot. Cold spots slow the rise; away from the fridge is key.
- 💡 For shaping, tight balls help buns rise nicely. Gently roll the pieces between your palms. Keep surface smooth to prevent cracks during the second rise.
- 💡 Egg wash adds a beautiful color; brush lightly. Too much drips and flattens buns during baking. If skipped, buns won't have the same sheen.
Kitchen Wisdom
Why did my buns not rise properly?
Check yeast freshness first. Old yeast doesn’t activate well. Room temp is crucial for eggs and dough.
Can I substitute ingredients?
Yes, use any milk alternative if lactose-free. Maple syrup can replace honey. Olive oil works in place of butter.
How do I avoid gummy centers?
Bake until golden, tap bottoms for hollow sound. Right browning cues mean they’re fully baked inside.
Best way to store leftovers?
Keep in airtight container at room temp. If freezing, freeze before cutting. Prevents moisture loss and keeps texture.
You’ll Love These Too
Explore all →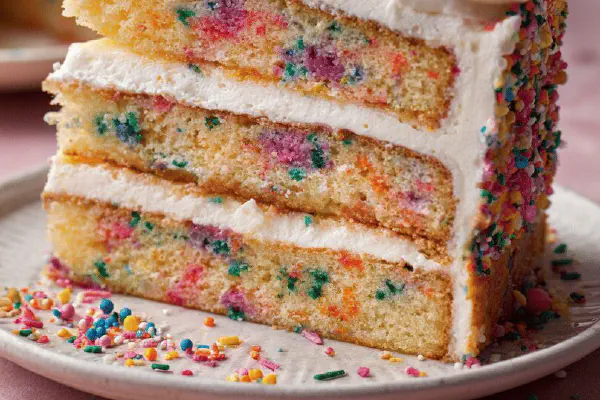
Birthday Confetti Cake
Apple Oat Squares Remix

Fruity Rum Slush

Chorizo Breakfast Burrito

Frozen Treat Cookie Bars
Pineapple Cheddar Bake

Birthday Crumb Delight

White Bean Puree Baby
Confited Peppers with Guanciale

Gravlax Sour Cream Bites
Smoky Spiced Nuts

Spiced Peach Upside Cake
Pumpkin Choc Chip Cookies
Honey Ginger Braised Ribs
Herbed Orzo Salad
Microwave Brownie Mug Twist
Chocolate Bacon Bites

Spicy Creamy Orange Dip

Sesame Wasabi Fried Chicken
Veal Meatball Sub Twist
Twist Oreo Cheesecake

Indian Spiced Chicken Drumsticks
Spiced Honey Butter

Savory Pork-Veal Cretons
Chocolate Biscuit Logs
Ham Cheese Waffles Twist
Kale Celery Waldorf Salad
Honey Nut-Free Baklava
Mini Peanut Butter Cheesecakes