Featured Recipe
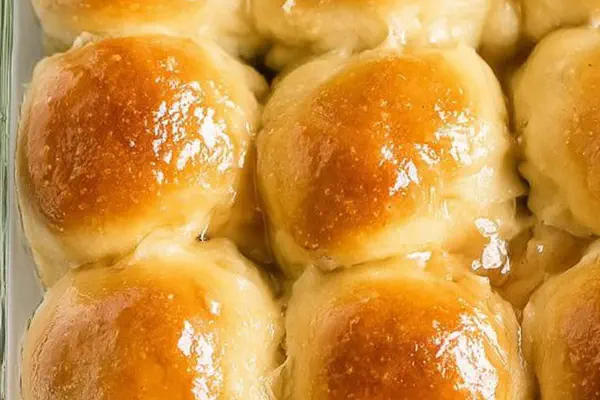
Honey Butter Rolls

By Kate
"
Soft dinner rolls using a mix of milk and honey, yeast activated in warm water, kneaded gently for that slight sticky feel. Dough proofed twice with folds for layers, baked to golden tops then slathered in butter. Yeast activity key for rise, scalded milk adds richness. Folded dough creates tender pull-apart texture. Serve warm with butter. Can swap honey for maple syrup or agave. Bread flour or all-purpose works. Warm place crucial for proving. Recognize dough ready by smooth surface and elasticity. Melted butter brushed hot, not cold, locks moisture and adds shine.
"
Prep:
20 min
Cook:
17 min
Total:
37 min
Serves:
24 servings
bread
rolls
dessert
baking
Introduction
Milk steaming, not boiling, unlocks key flavors but keeps roll tender. Yeast needs just right warmth, foam tells you it’s ready to go. The sticky dough stage is crucial—don’t overdo flour or rolls dry up. Folding dough adds subtle layers without complicated laminating. Proof twice but watch—air bubbles shouldn’t burst or rolls lose fluff. Baking temps close to 350F but a few degrees hotter improves crust browning, not burning. Butter slather right from oven gets absorbed faster and locks softness inside. And that honey? Swapping options adds personality. These rolls serve as blank canvases, reliable and resilient. Forget timing chains—pay attention to feel and look. Hands-on cues beat clocks every time. The aroma, the tactile feedback—your best kitchen compass.
Ingredients
In The Same Category · Homemade Breads
Explore all →
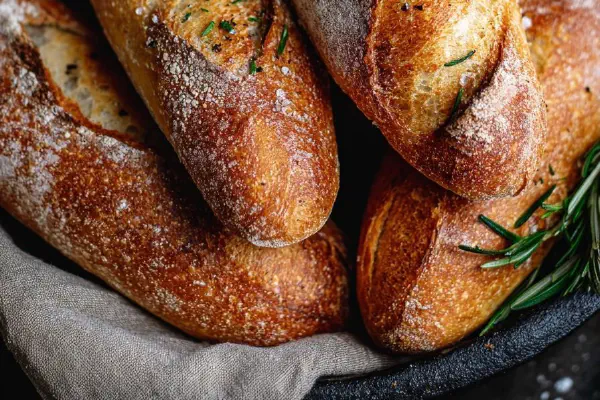
Rosemary Garlic Focaccia Twist
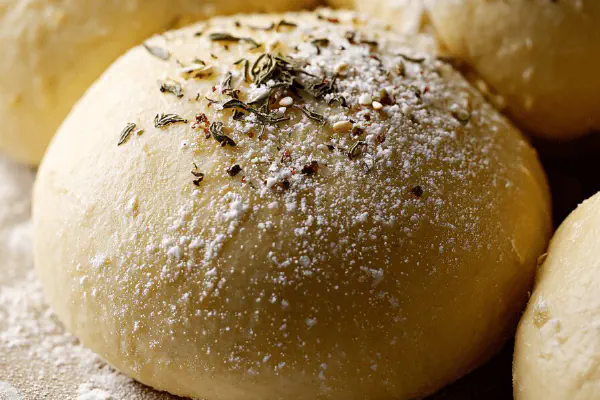
Buttery Dinner Rolls Twist
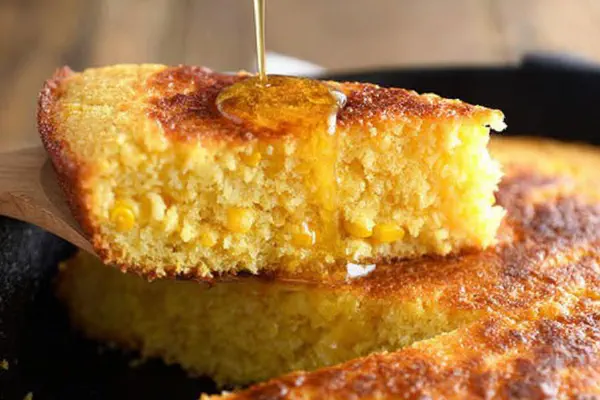
Lazy Skillet Creamed Cornbread
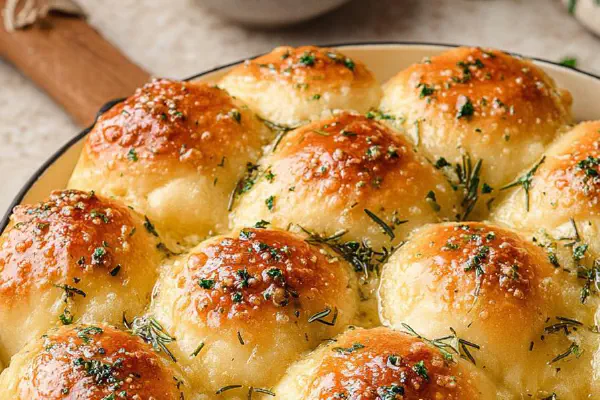
Garlic Rosemary Pull-Apart Rolls
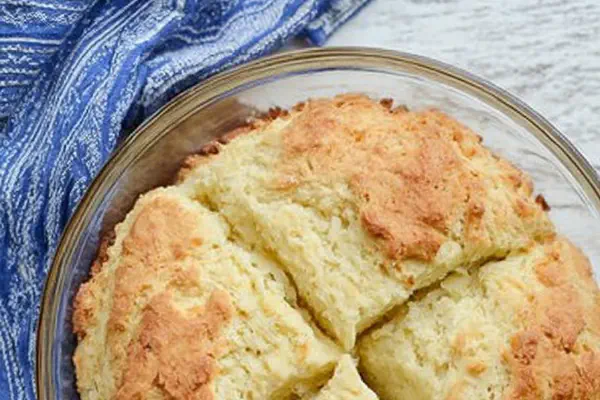
No-Yeast Potato Bread
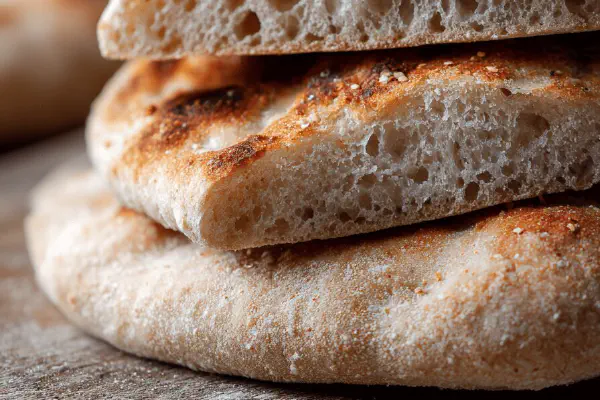
Homemade Rustic Pizza Dough
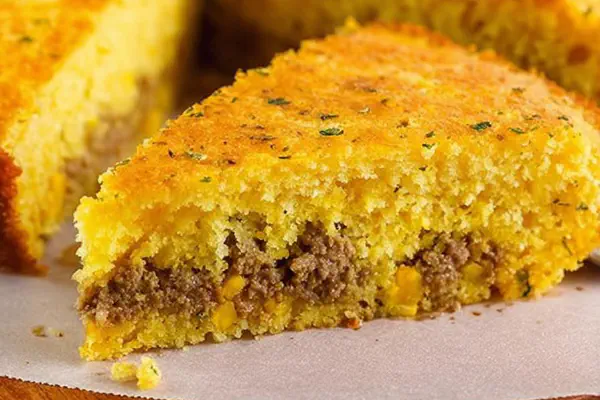
Hearty Tex-Mex Cornbread
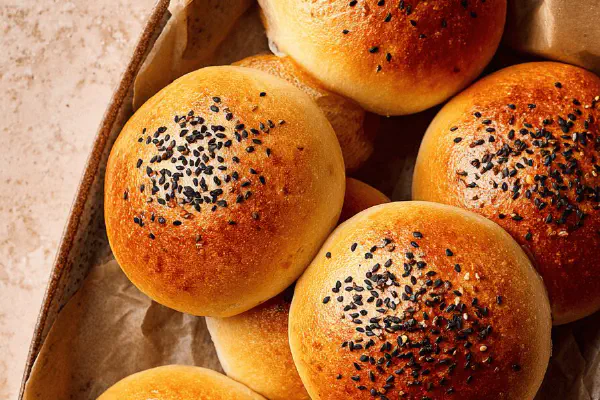
Homemade Burger Buns
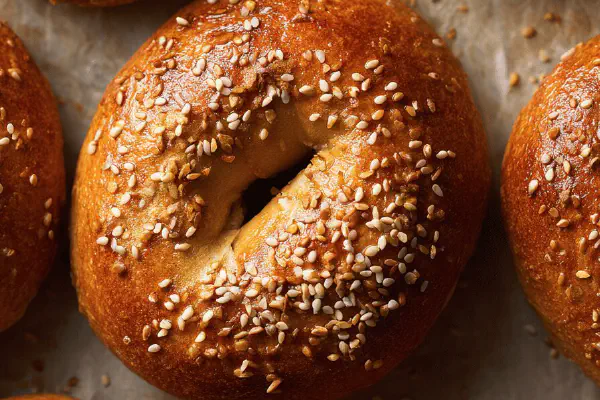
Sesame Bagels with Molasses Twist
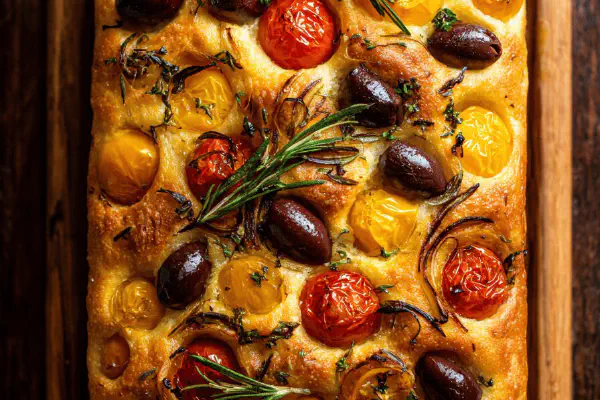
Cherry Tomato Focaccia

Twisted Iron-Crust Cornbread
Basic Vegan Pizza Dough
Twisted Kouglof
Rustic Pizza Dough
Keto Cloud Bread Twist
Spiced Apple-Zucchini Loaf
About the ingredients
Milk scalded just to steaming breaks whey proteins that can inhibit yeast rise. Use whole milk for richer rolls, skim works but texture differs. Active dry yeast needs warm liquid to activate; water between 100-110F ideal. Honey adds sweetness but also aids browning and moisture retention; maple syrup or agave are fine substitutes, though flavor shifts subtly. Bread flour has more gluten for structure, but all-purpose is fine—just watch dough stickiness. The butter split allocation: a third folded in the dough for richness, the rest brushed on after baking adds sheen and soft shell. Salt isn’t just flavor, it regulates yeast - too little leads to overproof and collapse. Eggs add richness and color but skip only if you want vegan; adjust milk and fat accordingly.
Method
Activate Yeast
- Microwave 2 tablespoons butter until melted. Warm water and 1 tablespoon sugar in bowl, sprinkle yeast on top. Wait 7-9 minutes till bubbly foam forms. If yeast fails fluffing, start over with fresh yeast and warmer water, around 105F, no hotter.
- Pour milk into small saucepan, heat till just before simmer, with steam but no boil. Pull from heat immediately. Scalding breaks enzymes that hinder yeast. Let cool until lukewarm, finger test before adding to dough.
- In mixer with dough hook, mix yeast mixture, remaining sugar, honey, scalded milk, and 2 1/2 cups flour. Beat on medium-low for 2 minutes. Add 3 tablespoons melted butter, eggs, salt. Gradually add remaining flour while mixing. Dough will feel tacky, slightly sticky but should pull clean from bowl edges.
- Continue kneading 6-9 minutes in mixer or by hand until smooth, elastic, not overly dry. Sticky dough = more flour in small doses. Dough elasticity means gluten forming well—snap back when touched.
- Spray large bowl lightly with oil. Shape dough into ball, toss to coat all sides lightly. Cover with damp towel in warm, draft-free place. After about 1 hour look for doubled size and airy soft surface. If still dense, add more time.
- Turn dough onto floured surface. Punch down firmly to release large gas bubbles. Roll into half-inch thick rectangle, fold in half, roll again, fold once more. Creates soft layers inside the roll.
- Cut dough into 2 by 2 inch squares, place spaced on greased baking sheet. Cover with moistened towel. Let rest about 35 minutes until nearly doubled, puffy but not overproofed or squishy.
- Preheat oven to 355F. Rolls bake 12 to 17 minutes until tops light amber, slight crackle when tapped. Remove immediately, brush with last 3 tablespoons melted butter while hot. Butter seals steam, keeps crust soft and shiny.
- Dry dough means add up to 1/4 cup more flour carefully. Dough too sticky? Chill briefly before shaping. No oven thermometer? Check with wooden skewer—it comes out clean when done. If honey isn't available, maple syrup works; brown sugar adds depth but changes texture. Letting dough rise too long turns rolls dense and sour; keep an eye on growth rather than strict timer.
- Cool briefly before serving to let crumb set. Rolls taste best warm but keep airtight up to 2 days; refresh 10 seconds in microwave before serving.
Milk Handling
Dough Assembly
Kneading
First Proof
Shape and Fold
Cut and Rest
Bake and Butter
Troubleshooting & Notes
Technique Tips
Start yeast early for proofing—the foam signals active cultures, skipping this leads to dense rolls or no rise. Make sure milk is lukewarm when added or you’ll kill yeast activity. Initial mixing combines wet with half the flour for hydration; add flour gradually afterward to avoid dry clumps or tough dough. Kneading length directly affects gluten formation and crumb structure—too short, crumb collapses; too long, overly tight. First proof doubles volume and builds flavor; it’s temperature-dependent—find warm spots. Folding the dough brings layers that sweeten texture contrast without full lamination. Watch final rise closely—underproofed rolls are dense, overproofed collapse. Baking involves smell and color cues, not stopwatch alone. Immediate buttering seals moisture and flavor; wait and butter won’t soak in properly. For problem doughs, adjust hydration and knead more or less accordingly.
Chef's Notes
- 💡 Watch dough stickiness. Adjust flour carefully, bit by bit. Too dry, it lacks fluff. Too sticky, just chill it briefly before shaping. Stickiness is key.
- 💡 Kneading makes gluten strong. Mix speed matters—not too fast. Slow and steady is the way for soft rolls. Dough should snap back. Don’t overdo it.
- 💡 Monitor yeast activity closely. Bubble foam is good. If it fails, restart with warmer water. 105F should be the target. Heat matters.
- 💡 Rolling dough into layers adds texture. Fold twice, then roll again. Creates internal pockets. More pull-apart goodness, less dense rolls.
- 💡 For baking, color checks matter. Light amber tops, slight crackle, that’s the ticket. Watch closely, every oven differs; no strict rules.
Kitchen Wisdom
Why is my dough not rising?
Check yeast, was it bubbly? Was the water too hot? Start over if necessary. Warmth or time could be an issue.
Can I use almond milk instead?
Yes, but texture alters. Not too cold—warm it slightly. Softness changes.
I overproofed my rolls. Now what?
Knead gently, shape again. Let rise briefly. Not ideal but can work. Keep that dough moving.
How to store leftovers?
Airtight container keeps them fresh for two days. Microwave for a few seconds revives them nicely.
You’ll Love These Too
Explore all →
Dairy-Free Maple Cream Candy
Baked Caramelized Apples Twist

Homemade Ranch Mix Twist

Cheesy Garlic Pull-Apart

Savory Farmhouse Quiche

Twisted Screwdriver Mix
Spiced Beef Steaks
Almond Sugar Tart Dough
Hearty Morning Flatbread
Cherry Tomato Zucchini Spaghetti
Freezer Pecan Cookies
Stuffed Turkey Roulade

Grilled Veggie Parmesan Spread Sandwiches
Salted Chocolate Panforte
Lemon Paprika Chicken Thighs
Creole Pecan Glazed Ham Twist
Korean-Style Grilled Chicken Kick
Tangy Mediterranean Pasta Salad

Twist Funfetti Flapjacks
Seared Scallops with Peach Salsa
Honey Lime Glazed Carrots
Herb Avocado Dressing
Brown Butter Snickerdoodle Skillet

Chunky Pineapple Cream Ice

Beef Stroganoff Twist

Mango Pitahaya Tart
S'mores Cookie Bars
Flourless PB Chocolate Chip Cookies
Pumpkin Choc Chip Cookies