Featured Recipe
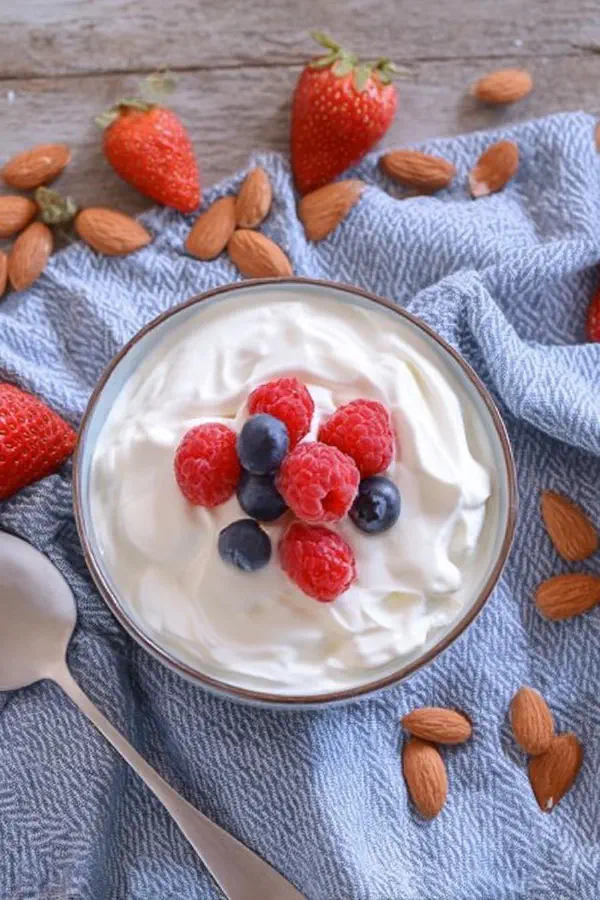
Instant Pot Coconut Yogurt
By Kate
"
Homemade yogurt made with coconut milk and Greek yogurt starter; involves heating milk, cooling to incubation temp, mixing in live cultures, then fermenting. Use a candy or instant-read thermometer to nail temperatures. Substitute dairy with coconut or almond milk for different textures. Thick, tangy, with a subtle coconut aroma. Fermentation time varies; more time equals tangier yogurt. Refrigerate 3 hours minimum to set fully. Keep sealed up to 14 days. Watch milk carefully to avoid burning or overboiling. Stir gently after culturing to retain creamy texture. Expect slight separation, stir before serving. Perfect base for fruit, vanilla, or spices added after chilling.
"
Prep:
10 min
Cook:
35 min
Total:
8h 45min
Serves:
8 servings
yogurt
coconut
Instant Pot
homemade
Introduction
Heat milk till tiny bubbles form, steam swirling up in kitchen. Timing based on temperature, not clocks. Cool down slow, finger test on wrist tells more than numbers. Live cultures are delicate—too hot kills, too cold stalls growth. Add culture gently to avoid breaking milk’s structure; care here means creamier yogurt later. Eight hours at stable warmth. Longer equals tangier puckering bite. Instant Pot’s steady heat is a blessing, no babysitting needed. After culturing, cool down in fridge to firm texture—cold tightens protein network, thickening the yogurt. Simple, hands-off, requires patience, respect for microbiology in your kitchen.
Ingredients
In The Same Category · Plant-Based
Explore all →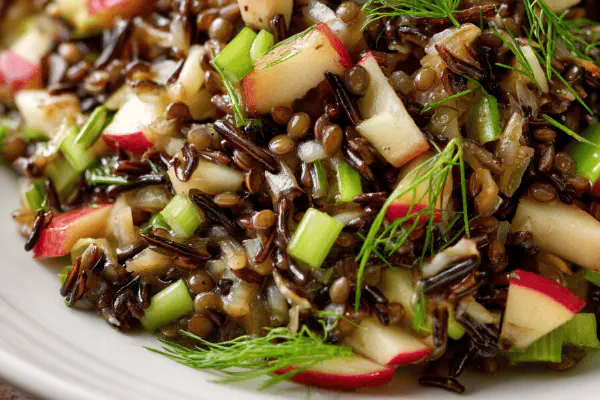
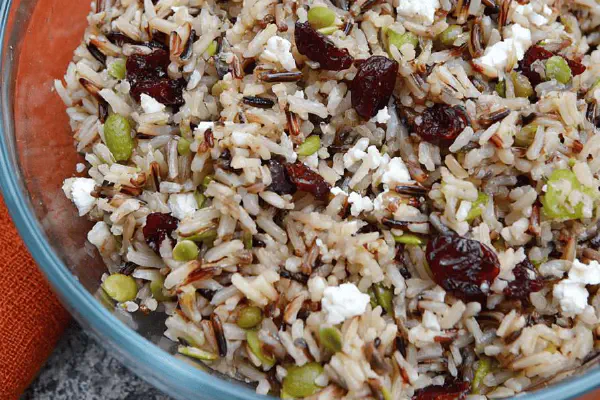
Wild Rice Apple Fennel Salad
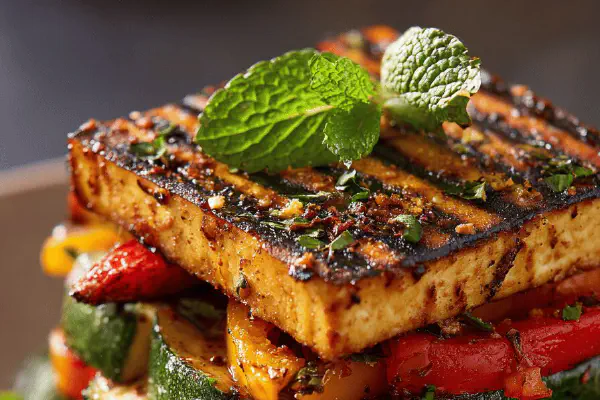
Silken Tofu Peanut Bowls
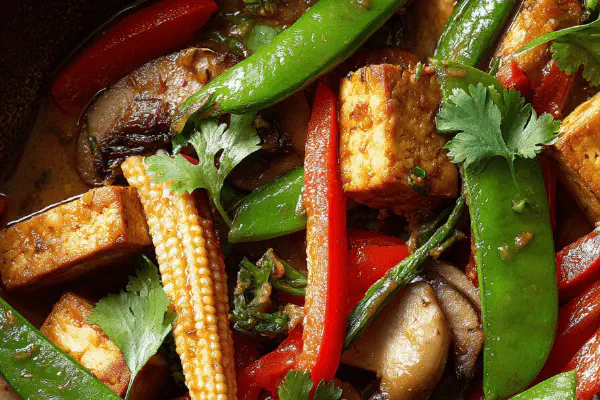
Red Curry Tofu Stir-Fry
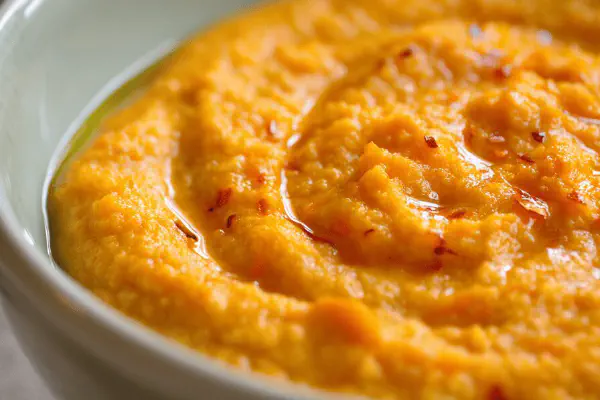
White Bean Puree Baby

Chickpea Apple Salad
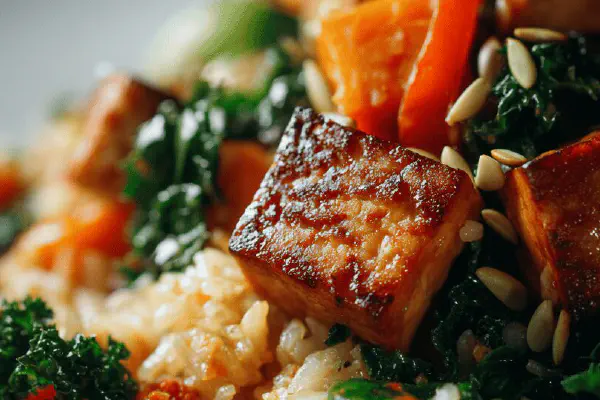
Tofu Veggie Fried Rice

Chickpea Tuna Salad Twist
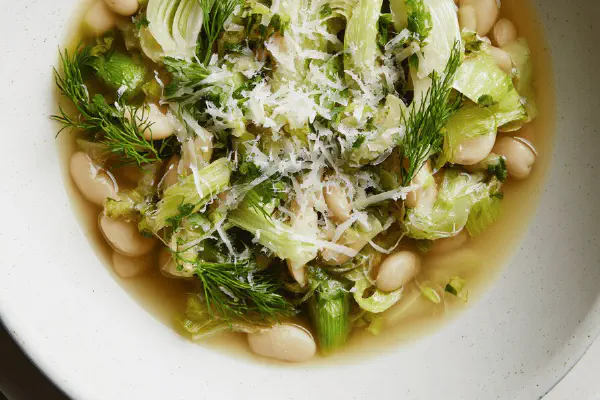
White Minestrone Twist
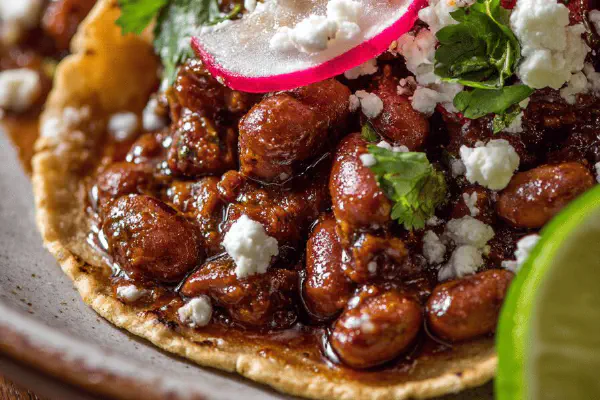
Smoky Red Bean Tacos
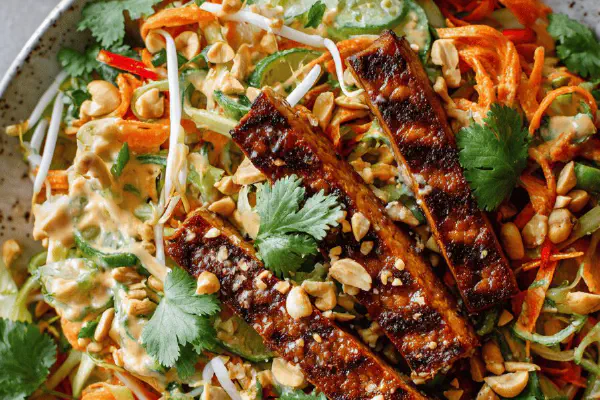
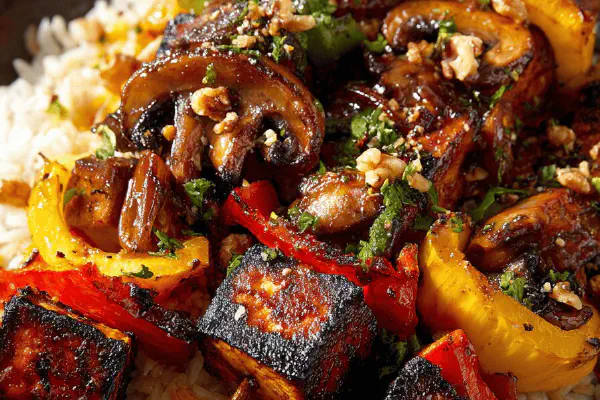
Grilled Tempeh Coconut Carrot Salad
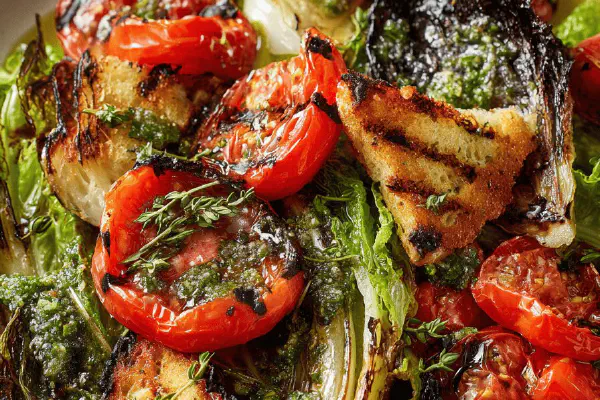
Grilled Romaine Salad Barbecue Style

Vegan Whipped Cream Twist
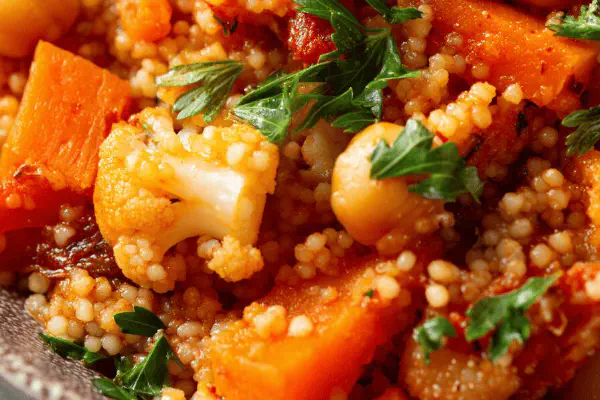
Cauliflower Couscous Stew
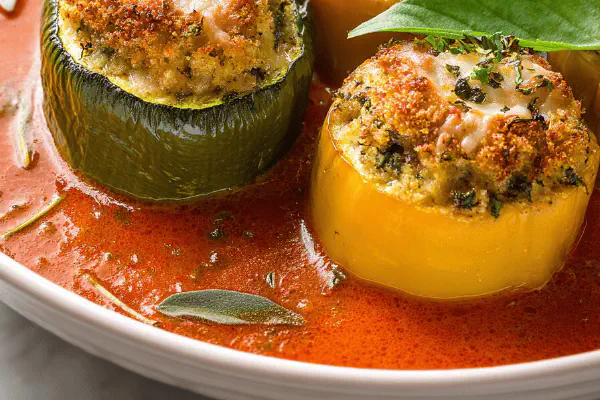
Stuffed Vegetables Parmesan
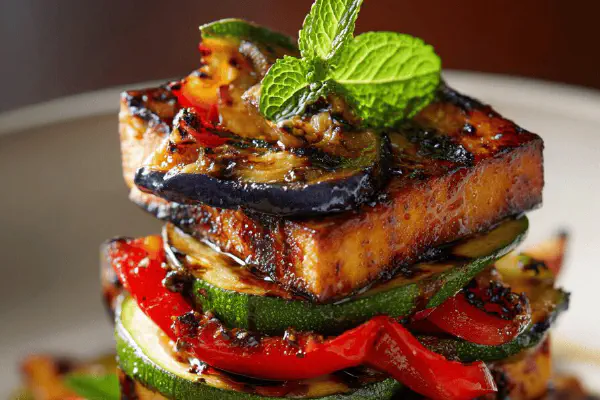
Mediterranean Tofu Veggie Stack
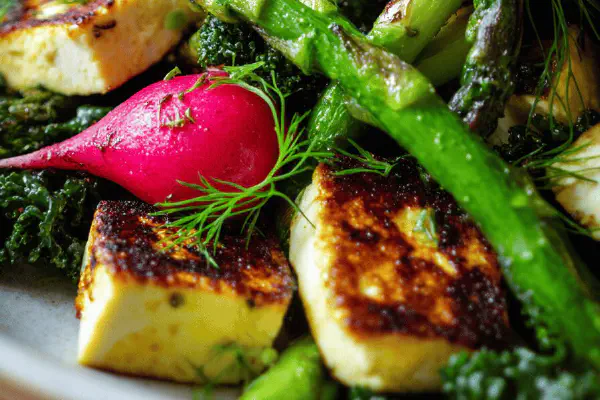
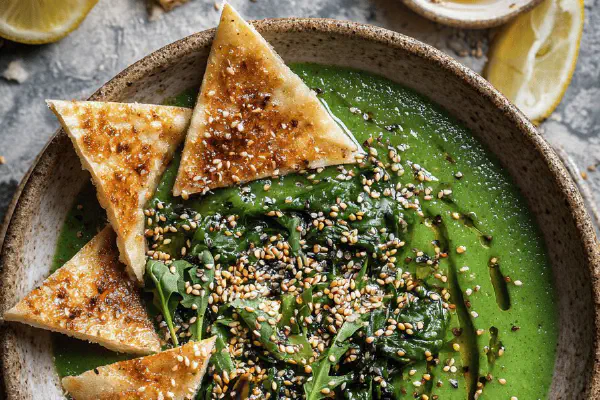
Grilled Asparagus Tofu Salad
Hearts Palm Patties Remix
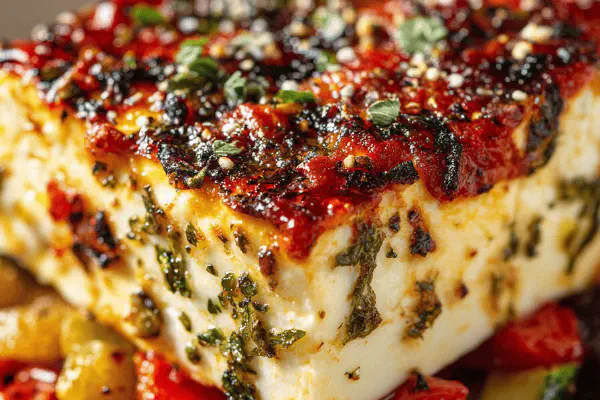
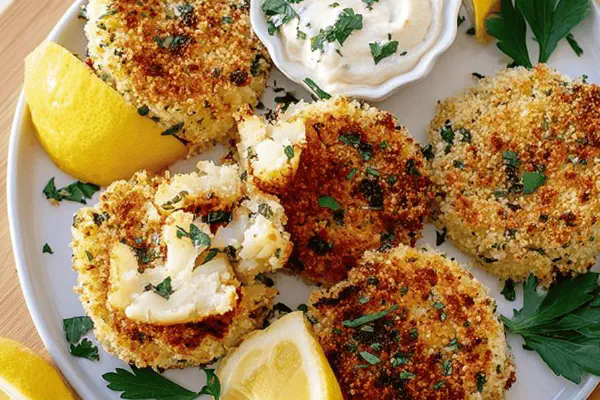
Oven-Baked Feta Medley
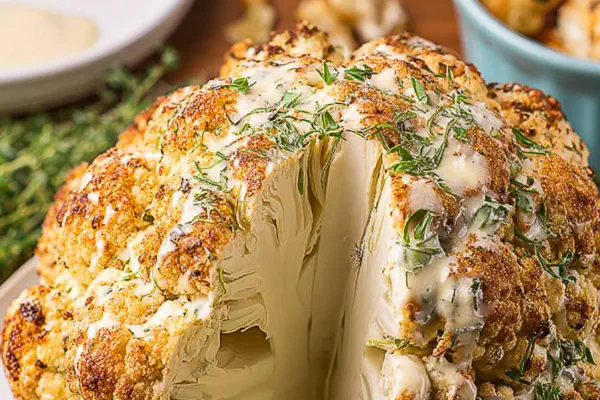
Yogurt Herb Roasted Cauliflower
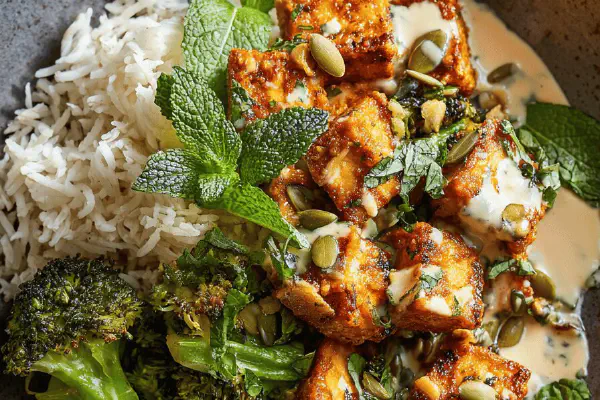
Crispy Air Fryer Tofu Satay
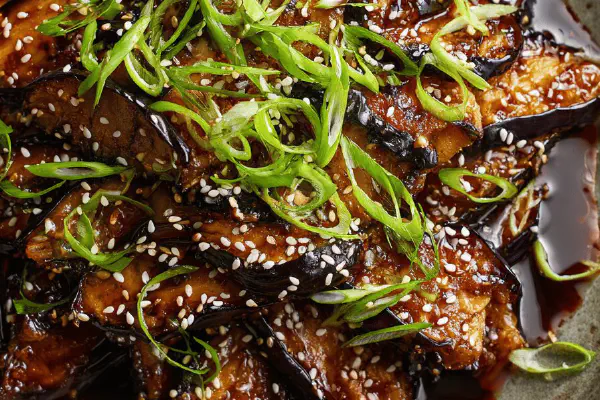
Miso-Glazed Eggplants
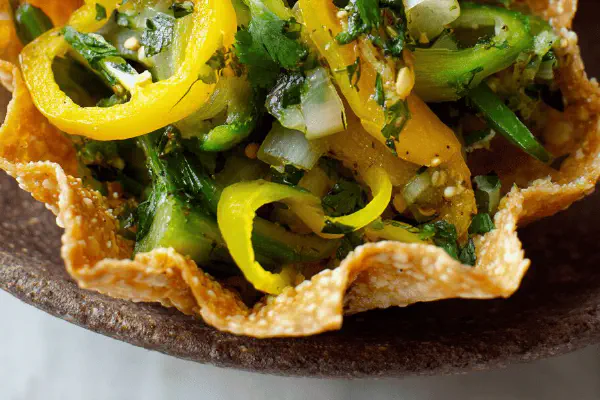
Cactus Salad with Tortilla Bowls
Asian Tofu Skewers

Fennel Balsamic Twist

Spiced Chickpea Patties
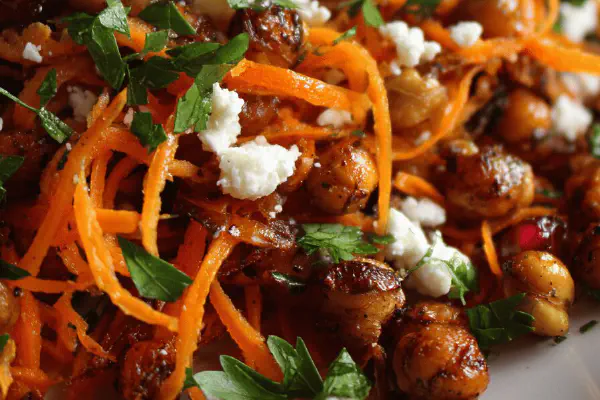
Carrot Chickpea Salad Twist

Artichokes in Tomato Vinaigrette

Grilled Veggie Salad with Goat Cheese
Chickpea Rocket Cold Soup
About the ingredients
Full-fat coconut milk chosen for its creaminess and subtle coconut flavor, richer than skim or low-fat dairy substitutes. Greek yogurt starter must contain live active cultures—a fresh, plain variety works best. Honey optional for mild sweetness, adds substrate for cultures. Vanilla added only post-fermentation to preserve active bacteria. Dairy milk can replace coconut for traditional flavor, but texture and aroma will differ. Powdered milk or gelatin introduce protein or gel agents to boost thickness if yogurt runs thin. Almond and soy milk are alternatives but may require more culture or thickening agents. Freshness of ingredients matters—older milk or starter can stunt culturing. Use glass or stainless steel containers post-fermentation; plastic may affect flavor.
Method
Heat Milk
- Pour coconut milk into 6- or 8-quart Instant Pot insert. Close lid; valve to sealing. Press Yogurt button until display reads Boil. Typically about 30 minutes. Milk surface will bubble lightly or steam rises when hot enough. Avoid full rolling boil to keep texture smooth. Cancel cycle and remove pot carefully using oven mitts, place on trivet or thick towel to protect countertop.
- Stir milk occasionally as it cools to about 105-115°F. Use instant-read thermometer or candy thermometer. If none, test a drop on wrist: warm like body temp—not hot or cold. Key here is to avoid killing live cultures with heat and prevent cold that stalls incubation. This step crucial for proper fermentation.
- Mix starter yogurt into a small bowl first to smooth; then stir gently into cooled coconut milk. Avoid vigorous stirring to keep some air bubbles. Return insert to Instant Pot.
- Lock lid again, set valve to sealing. Press Yogurt, select Normal temperature, adjust time to 7-9 hours depending on desired tartness. Longer fermentation develops more tang, but risk thicker separation. Set timer to 8 hours as baseline. Instant Pot maintains steady warm temp, consistent environment for cultures.
- When done, cancel, remove lid, gently stir yogurt once. Transfer to airtight containers—large or single-serve. Refrigerate minimum 3 hours to let yogurt thicken fully. Texture firms, flavor matures. Add vanilla or sweeteners only after chilling. Coconut aroma more present cold.
- If texture too thin, try adding 1 tablespoon powdered milk or gelatin before heating next batch to boost creaminess. Separation normal; stir before serving. For non-dairy option, almond milk works but thinner. Use double the culture for quicker set but can lead to sourness. If yogurt smells off or slimy, discard; likely contamination. Store below 40°F to prolong shelf life.
- Swirl in pureed berries, cinnamon, or maple syrup after chilling. Avoid adding fruit during incubation to prevent spoilage. Experiment with probiotic capsules instead of yogurt starter for variety.
Cool to Incubation Temp
Prepare Culture
Incubate
Finishing and Storing
Notes and Troubleshooting
Flavor Variations
Technique Tips
Heating milk to near boiling solubilizes proteins and sterilizes. Avoid full rolling boil—risk of scorched taste and grainy texture. Cooling to 110°F (body temp) crucial, prevents culture death while allowing bacteria to thrive. Mixing starter yogurt before adding prevents clumps, ensures even culture distribution. Incubation phase depends on maintaining consistent temperature—Instant Pot’s yogurt function is key here. Stir only once after culturing; too much agitation breaks protein network, leading to thinner yogurt. Transfer to air-tight containers to prevent contamination and drying. Refrigeration time locks in texture and flavor; skipping this risks runny yogurt. Flavorings always add after chilling for best results. Patience pays off—rushing culturing compromises tang and set. Use thermometer or skin test to read temps accurately. Always err cooler than hotter during cooling step.
Chef's Notes
- 💡 Watch milk closely while heating. Bubbles mean it's almost ready. Don't let it boil hard; risk burning. When bubbles start at edges, that’s your cue. Perfect heat creates a creamy base. Instant read thermometer shows true temps. Wait till it cools down to right range—a small but big step.
- 💡 Cooling process is crucial. Touch test on wrist, warm like human body. Too hot? Cultures die. Too cold? It stalls out. Stir occasionally to keep temp uniform; don’t rush. Patience is key here. Too quick can spoil the batch. Respect the microbes leading to creamy yogurt.
- 💡 Mix yogurt starter in a bowl first. Helps distribute culture evenly into milk. Clumps ruin yogurt. Gentle stirring; don’t overdo it. Too much air breaks structure. This affects the creamy texture later. Incubation under right temps is what you want. Instant Pot does that—no babysitting.
- 💡 For thicker yogurt, consider adding powdered milk or gelatin in initial heating phase. They fortify texture. If becomes runny, it’s a common issue. Altering milk types? Almond or soy might require different amounts of culture. Test and see what works best. Flavors? Add only after chilling. Keep fruit out during fermentation or risk spoilage.
- 💡 Storage matters. Airtight containers are a must; prevent drying. Refrigerate under 40°F to last longer. For long shelf life, ensure cleanliness in prep. If yogurt ends up too tangy; reduce fermentation time next go-around. Adjust and learn; kitchen is all about fine-tuning.
Kitchen Wisdom
You’ll Love These Too
Explore all →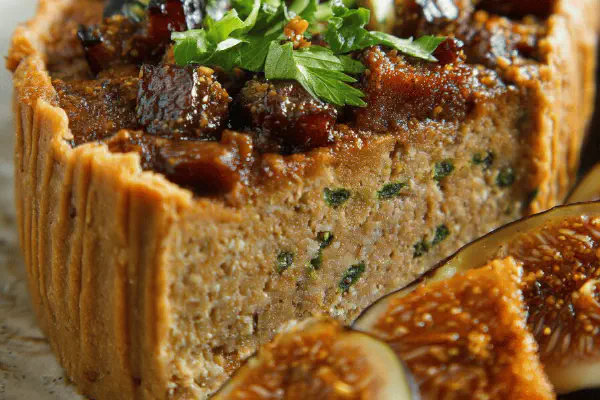
Rustic Vegan Gluten-Free Pâté
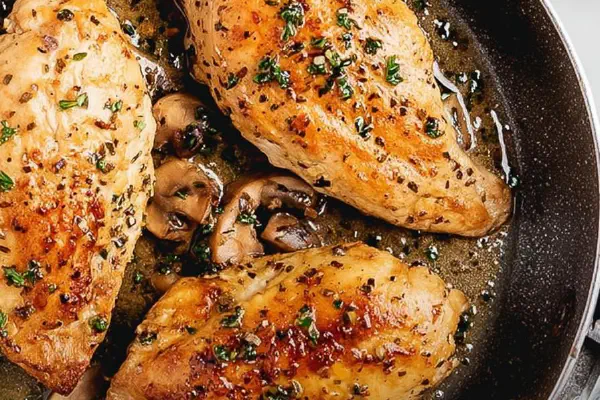
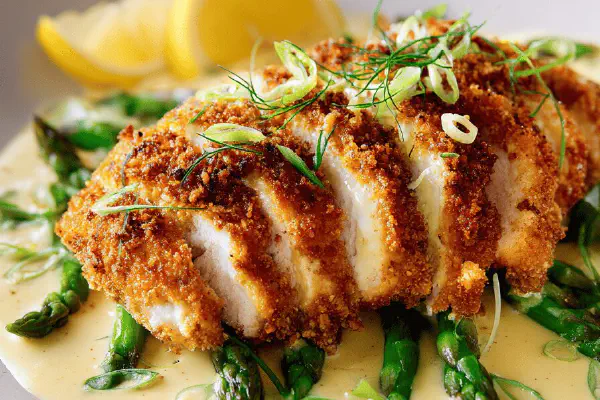
Herb-Infused Pan-Seared Chicken
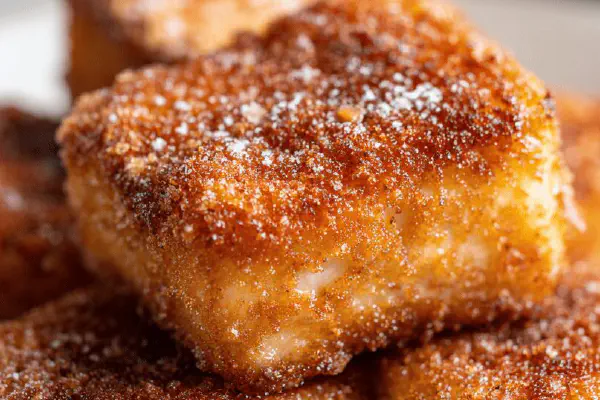
Fried Custard Squares
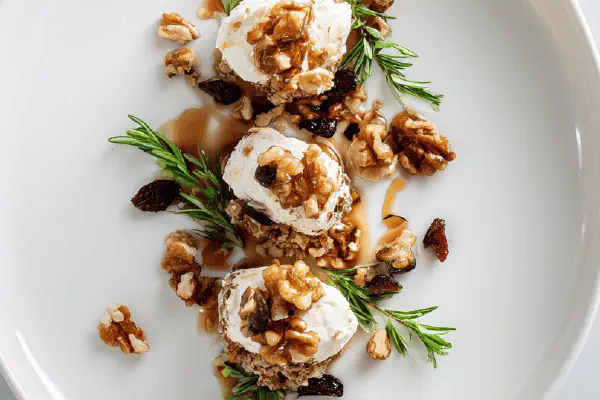
Cheese Crackers with Hiker Mix

Gluten-Free Strawberry Rhubarb Crisp
Cactus Salad with Tortilla Bowls
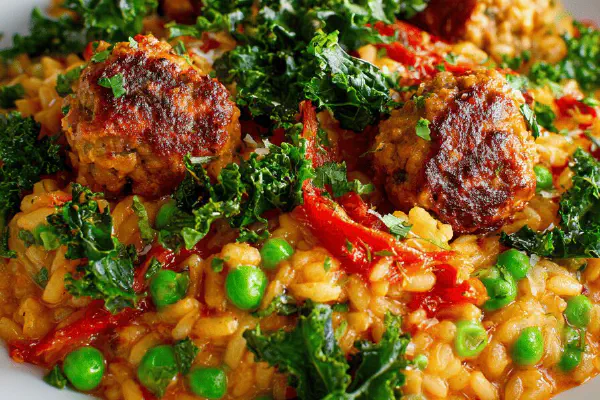
Pork Meatball Sweet Pea Risotto

No Bake Chocolate Cherry Lush

Caramelized Pork Ribs Greens
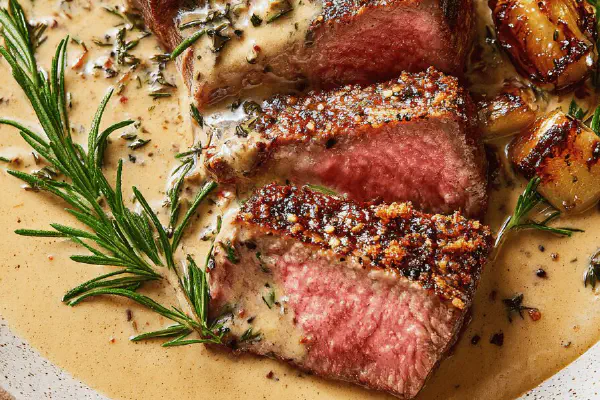
Grilled NY Steaks with Brown Butter Cream

Cherry Tomato Pasta Gremolata

St Pat's Dip Remix
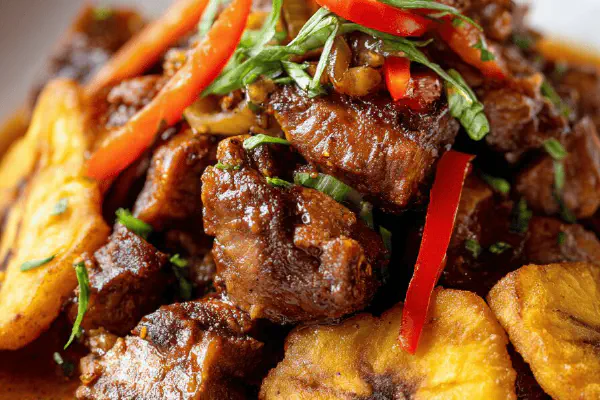
Twisted Griot du Agrikol

Hummingbird Cake Twist

Homemade Cocoa Mix

Rustic Peanut Butter Loaf
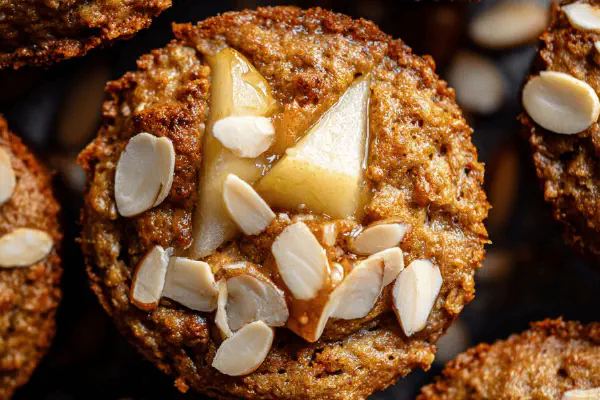
Pear Almond Muffins with Oats

Chocolate-Dipped Nutty Butter Cookies
Air Fryer Spiced Chicken Breast
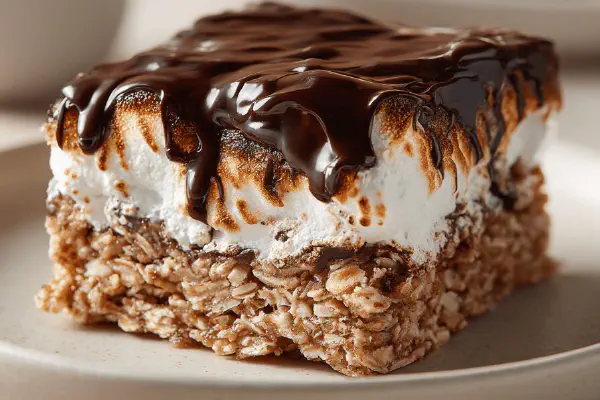
Maple Marshmallow Chocolate Bars
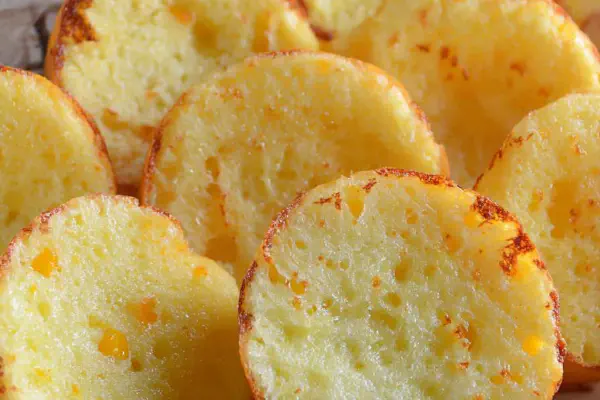
Altered Cheese Puff Bread
Citrus Wild Grain Mix

Chocolate Pound Cake Twist
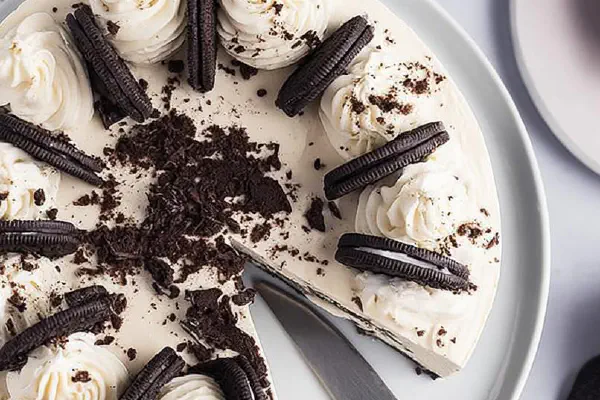
Twist Oreo Cheesecake
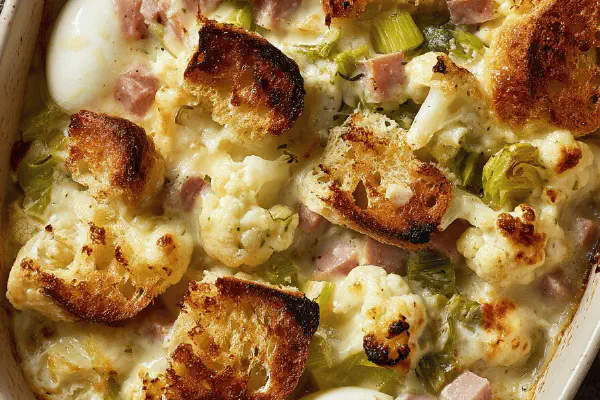
Cauliflower Ham Egg Gratin
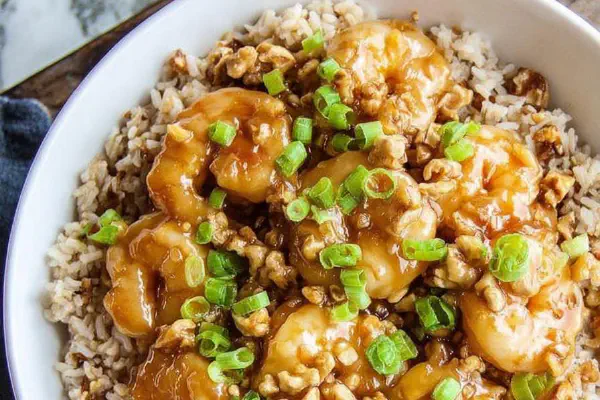
Honey Pecan Shrimp
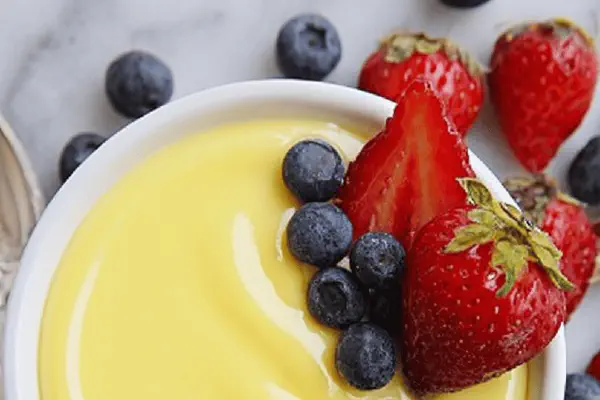
Rich Vanilla Custard Twist
Hearty Cassoulet Redux
Stuffed Mini Peppers