
Featured Recipe
Lean Mint-Coated Dips

By Kate
"
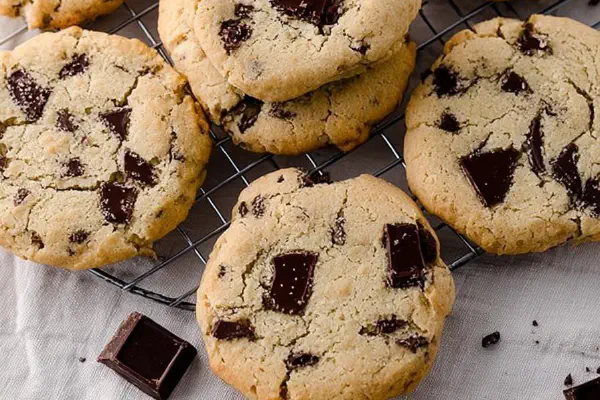
Almond bark melted down coats thin sandwich cookies for a crisp snap and smooth finish. Oreos swapped for creme-filled wafer rounds. White almond bark replaced with compound chocolate, imparts different melt and shine. Dipped, dripped, tapped to clear excess. Cooled on parchment until set. Stored airtight to avoid bloom or soft spots. Quick prep under 25 minutes. Visual cues—dull sheen to firm crunch—guide the finish. Fork usage important for drainage. Common pitfalls: overheating bark, soggy cookies, bloomed chocolate. Aroma shifts from sweet to slightly roasted signal heat control. Adjust dip times if chocolate thickens fast. Work quickly. Bonus zest sprinkle inside the fill adds subtle aroma burst. Practical, unflashy tweaks.
"
Prep:
25 min
Cook:
0 min
Total:
25 min
Serves:
12 servings
cookies
snacks
quick recipes
chocolate
dipping
Introduction
Melted compound chocolate covers wafer cookies in one slick move. Skip the almond bark if unavailable; compound bark-like chocolate works just fine—different melt, but the crunch remains. Thin sandwich wafers make a light base. Dipping demands fast hands and fork finesse to avoid drippy mess. Watch for that glossy sheen fading to dull matte when chocolate sets—sign that coat is hardened and crack-ready. Adding a bright zing of orange zest on wet chocolate ups flavor complexity without fuss. Patience when cooling pays off. Soggy cookies mean rushed timing or excess chocolate lingering. Store in cool, dry places. Room temp if low humidity. Common errors include overheating chocolate or dipping broken wafers. Quick fixes: stirring, short remelts, careful handling. Fewer steps, lots of sensory checks. Simple snacks, smart prep.
Ingredients
In The Same Category · Little Bites
Explore all →


About the ingredients
Substitutions matter here. Compound chocolate replaces white almond bark for a less temper-sensitive melt—less shine, more forgiving. Thin creme wafers instead of mint-flavored cookies for crunch and subtle sweetness. Orange zest adds citrus aromatics, optional but impactful. Pecans add texture contrast without overpowering. For allergies, replace nuts with crushed freeze-dried raspberries or toasted coconut flakes. Chocolate melt temperature critical—too hot burns flavor; too cold means thick coating and drag. Keep water out—no moisture allowed—chocolate seizes instantly if contaminated. Pouring off excess coating makes texture crisp, prevents clumps and pooling gloss. Use parchment or silicone liners for easy removal—wax paper can stick and tear fragile edges. Handling cookies gently avoids damage, especially for super thin wafers.
Method
Melt Chocolate
- Break compound chocolate into small chunks. Use double boiler or microwave in 20-second bursts, stirring between each, until fully melted but not scalding. Stop stirring once smooth with slight shine. Avoid water contact to prevent seizing.
- Line a baking sheet with parchment paper. Select wafers carefully, avoid broken edges for easier dip. Have fork ready for dipping extraction.
- Submerge one cookie fully in the melted chocolate. Use fork underneath to lift out. Pause briefly over bowl edge, tap fork on side lightly to let excess drip off. Too thick coating? Use spatula to scrape bottom of fork back into bowl.
- Transfer dipped cookie onto parchment. Slight sliding motion helps even coating, prevents pooling under edges. Repeat for all cookies.
- Optionally sprinkle grated orange zest or chopped pecans on wet chocolate for aroma and texture contrast. Do this quickly before chocolate firms.
- Leave cookies at room temperature in a draft-free spot. Watch for chocolate to lose gloss and firm up—generally 15-20 minutes, but rely on feel—snappy to touch means ready.
- Peel gently from parchment once hardened to avoid chip damage. Store airtight at cool room temp or fridge if humidity high. Avoid condensation on chocolate surface.
- If chocolate thickens too fast, warm gently in short bursts again but no water. If foggy bloom appears after storage, still safe; melt and reset to refresh appearance.
Prepare Cookies
Dip and Drain
Set for Cooling
Garnish and Flavor
Let Harden
Storage
Troubleshooting
Technique Tips
Melting chocolate best done in double boiler setup or microwave at low power with frequent stops and stirs. Stirring ensures even heat and helps scent develop—sweet roasted notes signal proper temperature. Dipping uses fork for control and drainage. Tap fork on bowl edge to shed too much chocolate—controls thickness, avoids soggy feel. Parchment lining essential to prevent stuck shards. Slow cooling prevents cracking or bloom formation. Don’t rush with fridge or freezer blasts; condensation causes white bloom. Wait until surface feels dry to touch but not sticky. Storage in airtight container keeps moisture and outside odors out. Chocolate bloom is cosmetic, no flavor loss—can reset with gentle remelt and re-dip. Timing flexible, let sensory cues guide—thumb press for firm coating, dull sheen over shine is key. Garnish while chocolate wet for best adhesion—dry chocolate won’t hold zest or nuts.
Chef's Notes
- 💡 Always keep an eye on chocolate melt. Double boiler recommended. Don’t forget to stir often. If you use a microwave, do it in bursts. Chocolate can burn quickly. Watch for glossy sheen.
- 💡 Select cookies without broken edges. Broken cookies will crumble in chocolate. Choose firm wafers for best results. Thin as they are, they shatter easy when dipped.
- 💡 If chocolate thickens quickly, a gentle reheat is crucial. Use short bursts, quick stirs. No moisture contact. Water will ruin texture. Keep stirring to get aroma and smoothness.
- 💡 Parchment paper is key for cooling. Avoid wax paper; it can stick. Let the cookies cool in a draft-free spot. Look for the gloss to fade. Firm touch indicates readiness.
- 💡 To store, keep in an airtight container, at room temperature or fridge in high humidity. Prevent touch and condensation on chocolate. Chocolate bloom isn’t harmful, can be remelted.
Kitchen Wisdom
What chocolate works best?
Use compound chocolate over almond bark, it melts easier. Less fragile, no tempering needed. Don’t add water or it seizes.
How long do I cool them?
Room temp is key, usually 15-20 minutes. Watch for glossy sheen fading. Firm touch signals they are done.
What if chocolate clumps?
If thickens, gentle heat can help. Keep stirring, no water on it. Don’t rush, allow time.
How can I avoid soft spots?
Store airtight, humidity free is vital. If bloomed, can remelt and recloak. Set in cooler temps to help.
You’ll Love These Too
Explore all →
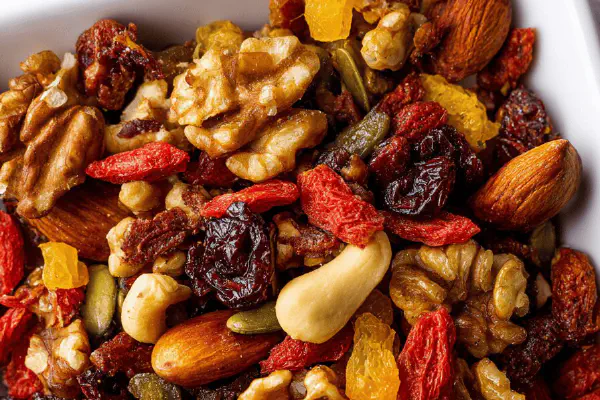
Blueberry Pancake Mix

Peanut Butter Chocolate Bars
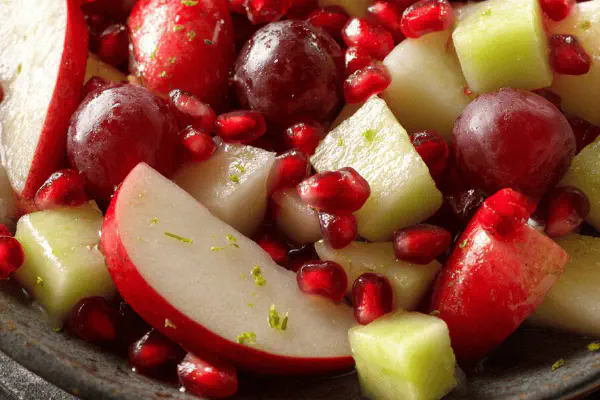
Red Fruit Salad Twist

Marinated White Melon Julienne

Smoky Black Bean Chile Soup

Yellow Split Pea Soup with Cheese Dumplings
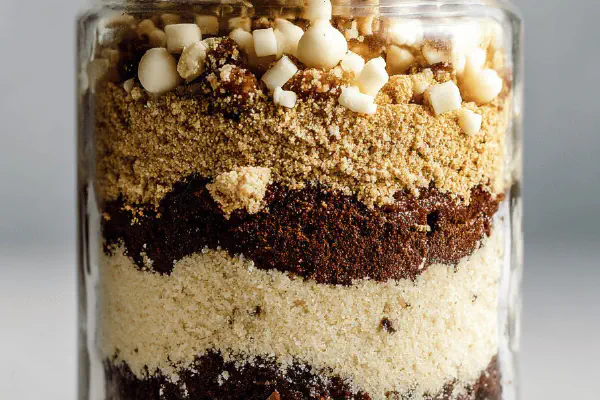
Brownie Mix Jar Gift
Chunky Chewy Choc Cookies

Vanilla Vodka Extract

Fluffy Whipped Pudding Frosting

Trio Citrus Vodka Infusion

Lima Beans Green Coconut Sauce

Corn Potato Mash Twist

Sweet Potato Chicken Pie

Sausage Tortellini Soup

Swiss Bacon Herb Pull-Apart

Mediterranean Tofu Veg Stack
Red Wine Fudge Cake

Spiced Jalapeño Roll-Ups
Peach Cherry Cobbler Remix

Peach Crumble Bars

Greek-Style Veal Roast

Cajun-Spiced Salmon Veggies

Caramelized Onion Beef Bagels

Pork Filets Apple-Onion Stuffed

Country Cabbage Soup Twist

No-Bake Avalanche Squares

Tangy Teriyaki Pork Kabobs
Garlic Sautéed Zucchini Medley