Featured Recipe
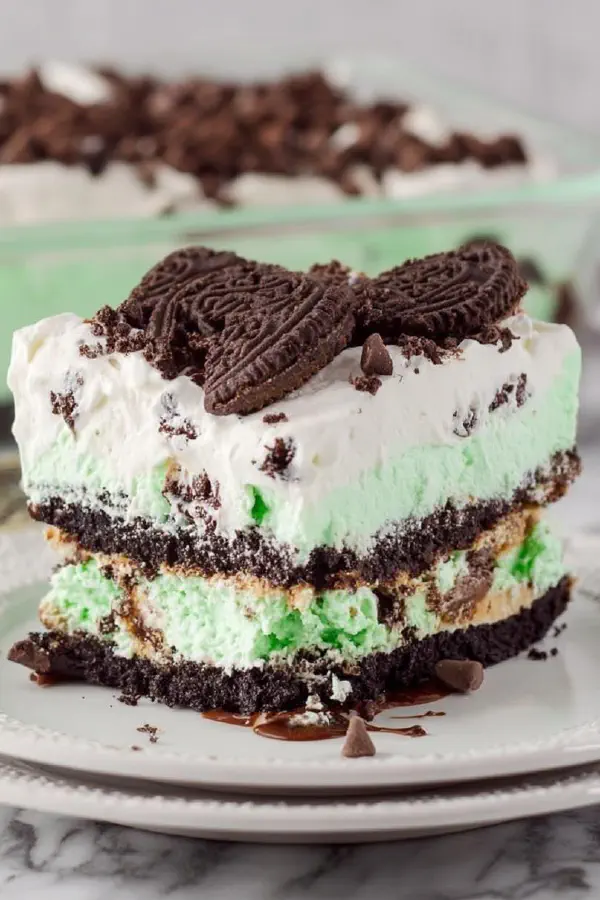
Mint Chocolate Chip Ice Cream Cake
By Kate
"
Set softened ice cream over semi-frozen chocolate crust made from crushed Dark chocolate sandwich cookies mixed with browned butter, not regular melted. Layer rich caramel sauce instead of hot fudge halfway through. Spread softened ice cream carefully, freeze solid, then finish with caramel glaze and whipped coconut cream. Garnished with dark chocolate shavings and chopped toasted almonds for crunch. Adjust freezing times slightly. Learn to read ice cream softness—too melted ruins texture. Work fast to avoid melting. Browned butter adds nuttiness; caramel adds complexity. Substitute Oreos with gluten-free chocolate cookies. Coconut whip stands up better than Cool Whip if dairy-free needed. Watch freezer timing, textures, and visual cues over clocks.
"
Prep:
35 min
Cook:
0 min
Total:
3h 20min
Serves:
12 servings
dessert
cake
ice cream
party
gluten-free
Introduction
Mint chocolate chip ice cream cake demands finesse. Not just dumping softened ice cream in a pan. Softened means soft enough to spread without melting liquid. Crust? Not ordinary crushed cookies. Browned butter here is game changer—nutty undertones, tighter binding. Caramel replaces hot fudge to deepen flavor complexity and avoids overly sweet sticky texture of fudge. Coconut cream instead of Cool Whip to stand up better when frozen, and ideal for dairy-free substitutes. Toasted almonds add crunch, dark chocolate shavings bring bittersweet bite. Timing freedom with freezer but know look and feel of each layer. Press crumbs well, chill crust till firm but not frozen solid, layer caramel, spread ice cream gently, freeze fully before layering final glaze. A challenging dessert but worth mastering.
Ingredients
In The Same Category · Sweet Treats
Explore all →
Crockpot Sticky Toffee Pudding
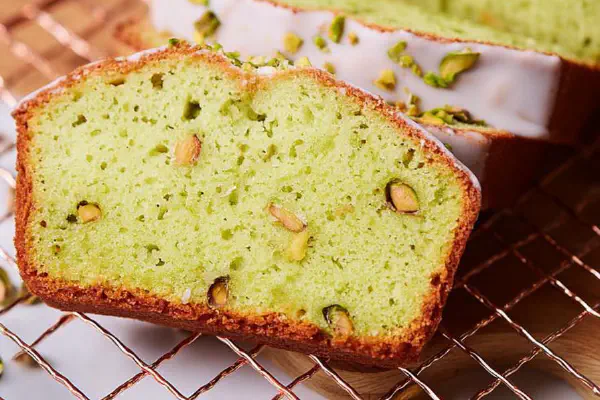
Pistachio Loaf Cake

Amish Sugar Cookies Remix
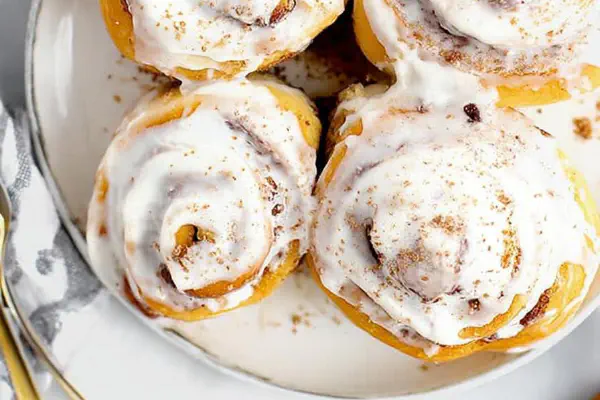
Air Fryer Cinnamon Rolls Twist
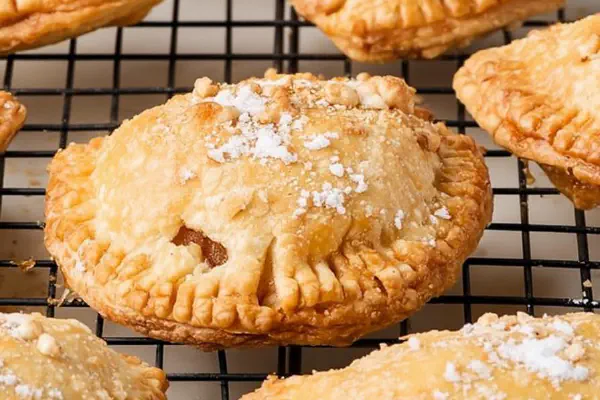
Air Fryer Apple Hand Pies
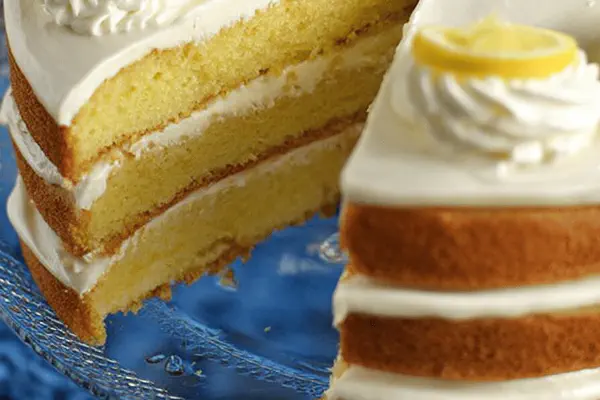
Lemon Cream Layer Cake
Oat Chocolate Chip Air Fryer Cookies

Apple Streusel Cheesecake
Strawberry Foldover Tart

White Chocolate Pistachio Blondies
Confetti Yogurt Dip
No Bake Citrus Swirl Cheesecake
Caramelized Bread Pudding with Spiced Rum Sauce
Québec Color Cake Remix
Vegan Hazelnut Chocolate Cookies

No-Bake Avalanche Squares
Candied Rhubarb Twist
Spiked Eggnog Cookies
Brownie Cookie Mashup

Crunchy Cereal Chocolate Bites
Gingerbread House Cookies
Spiced Rum Eggnog Crème Brûlée

Blueberry Choc Chip Muffins Reimagined
Brown Sugar Blondies with Creamy Swirl
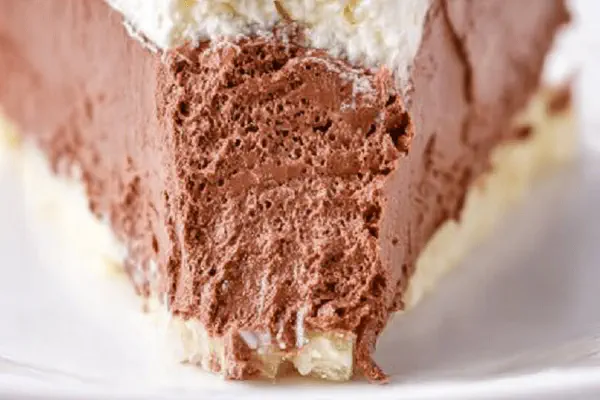
Silky Chocolate Cream Pie
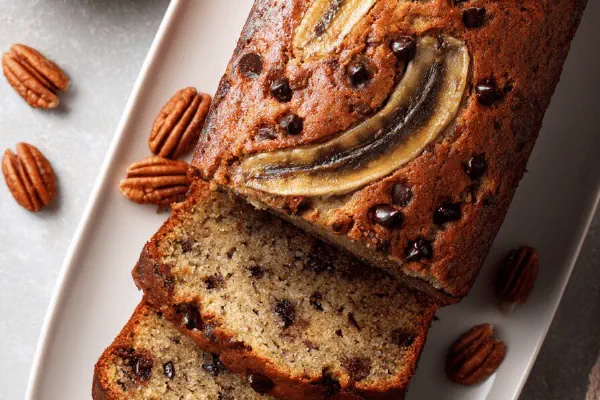
Banana Double Chocolate Loaf
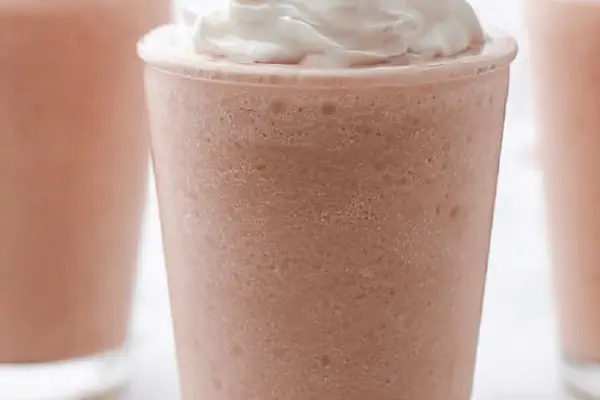
Chocolate Frozen Cream
Cream Cheese Peppermint Mints
Cinnamon Twisted Pastry Sticks
About the ingredients
Softening ice cream properly means about 25 minutes at room temp; soft enough to spread with spatula but hold form. Gluten-free chocolate sandwich cookies offer allergy-friendly swap; brown butter essential for flavor depth and structural integrity of crust—skip if you want simpler, regular melted butter works but no same aroma nor firmness. Caramel sauce cuts the cold bitterness of ice cream, replaces fudge’s heavy sweetness and sticky texture. Whipped coconut cream works well when chilled, won’t weep or separate like dairy whip might under freezer conditions. Garnish with toasted almonds for crunch—not just texture but visual contrast and taste. Dark chocolate shavings instead of mini chips elevate bitterness and sophistication. Freeze must be cold enough to keep layers intact without frost buildup or melting.
Method
Crust preparation
- Set ice cream on counter 25 minutes so it softens slightly but not melting liquid.
- Pulse crushed gluten-free chocolate cookies in food processor until they resemble fine crumbs, not powder but no chunks.
- Combine cookie crumbs with browned butter in processor until evenly moistened. Browned butter imparts nutty depth missing in plain melted.
- Press crumb mixture into 9x13 inch pan firmly to keep crumb base intact once chilled.
- Freeze base minimum of 15 minutes, till set but not rock hard. Should feel cold and firm under gentle finger pressure.
- Spread ¾ jar caramel sauce evenly onto chilled crust, filling crevices for moisture barrier.
- Return to freezer at least 15 more minutes allowing caramel to firm up slightly but still spreadable.
- Scoop softened ice cream onto caramel layer. Press gently with spatula—avoid aggressive smearing or melting. Aim for smooth even layer about 1.5 inches thick.
- Tactile test: surface should feel cold and hold shape with faint frost, no puddles or drip.
- Freeze pan 2 hours plus to ensure full firming. Ice cream solid but scoopable, no mush or ice crystals.
- Spread remaining ¼ jar of caramel sauce over frozen ice cream. Leave some to drizzle.
- Top with chilled whipped coconut cream—no defrost prior to spreading, works best cold.
- Sprinkle dark chocolate shavings and chopped toasted almonds for texture contrast and visual appeal.
- Serve immediately from freezer or keep fully frozen until needed.
- Let cake rest 5 minutes before slicing for cleaner cuts. Use hot knife pressed briefly under hot water between slices to prevent cracking.
Mid-layer caramel
Ice cream layer
Finishing glaze and garnish
Technique Tips
Softening ice cream on counter means watch tactile cues; too soft equals pooling and destroyed texture. Crust pressed firmly to meet pan edges prevents crumb escape when cutting later; watch for overly dry crumbs which will drop apart, add extra butter bit by bit if necessary. Freezing crust 15 minutes minimum ensures it’s set but not glass-like or too frozen to spread caramel on. Caramel layer must be spread evenly but keep chilled to prevent mixing into base. Ice cream layer pressure balanced—too hard and ice crystals form, too soft and layers merge. Freezing ice cream layer minimum 2 hours critical to stabilize cake for cutting. Final glaze cold to maintain shape; finish with cold coconut whip to avoid melting swirl. Hot knife slicing technique gets clean lines every time, pressing warm knife between cuts helps prevent cracking through frozen layers.
Chef's Notes
- 💡 Softening ice cream crucial. About 25 minutes on counter. Too soft? Texture ruined. Just enough firmness to scoop. Press with spatula gently. Watch for drips. Crust pressed firmly. Too loose crumble apart. Cold butter works. Browned butter adds depth, skip if tight on time, but flavor difference is huge.
- 💡 Caramel layer tricky. Even spread but keep cold. Freezer timing important too. Not rock solid, just firm yet spreadable. Test with fingers, feel cold, not mushy. Ice cream pressure? Too hard, crystals form. Too soft, layers mix. Balance pressure carefully. Use spatula lightly.
- 💡 Chilled whipped coconut cream stays better. Don't let it thaw. Use right from can. Watch for separation—smooth, stable, and doesn't weep. Enhance texture—rough whip, fine bits, not pudding-like. Dark chocolate shavings for bites. Don't skip almonds—adds crunch, texture. Looks appealing too.
- 💡 Freezing times adjust based on freezer. Every unit varies. Always rely on visual cues: surface temperature, firmness. Intervals of 15-30 minutes work well for layers. If too hard, leave out briefly at room temp. Test with knife edges.
- 💡 Hot knife slicing cleaning method. Not cutting through frozen layers efficiently? Briefly warm knife under hot water. Wipe between slices. Prevents cracking. Keeps presentation clean. Allow cake rest 5 minutes before cutting. Otherwise, messy lines, chunks come off.
Kitchen Wisdom
Can I use other ice cream flavors?
Sure, swap mint for chocolate or vanilla, but flavors need balance with crust and filling. Consider texture differences.
Allergies?
Use coconut cream for dairy-free. Gluten-free chocolate cookies are perfect. Check labels on caramel sauce. Some have flour or additives.
How do I fix too-soft layers?
Refreeze briefly. Check every 15-20 minutes till firm. If layers merge, harden with longer freezing times.
Best way to store leftovers?
Seal tightly with plastic wrap. Freeze for weeks without losing flavor. Separate layers with parchment to avoid sticking.
You’ll Love These Too
Explore all →Québec Color Cake Remix
Olive Thyme Focaccias
Spiced Carrot Muffins Reimagined

Creamy Chicken Pot Pie
Maple Pineapple Ham
Strawberry Crunch Cupcakes
Chicken Lemon Rice Soup
Crunchy Garden Salad Twist
Pear Citrus Gelatin Salad
Twisted Cincinnati Chili

Clementine Mint Infused Water
Fresh Oysters with Shallot Foam

Spiced Rye Manhattan Twist
Rustic Tomato Basil Pici
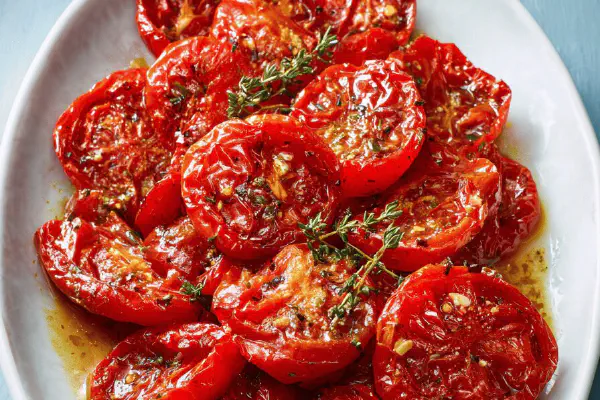
Slow-Roasted Confited Tomatoes
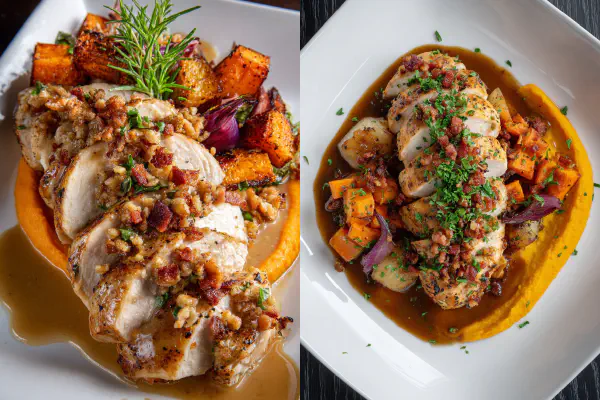
Roast Turkey Breast with Apples and Squash
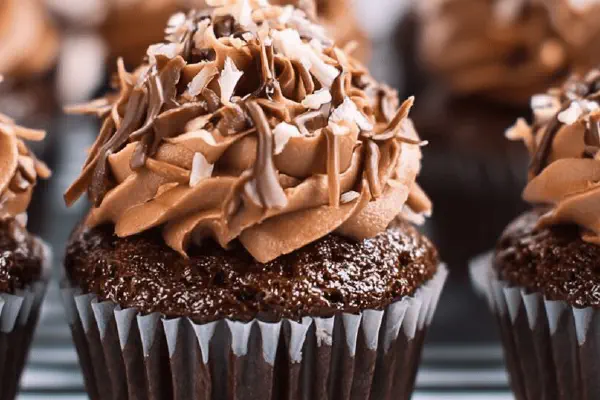
Twisted German Chocolate Cupcakes
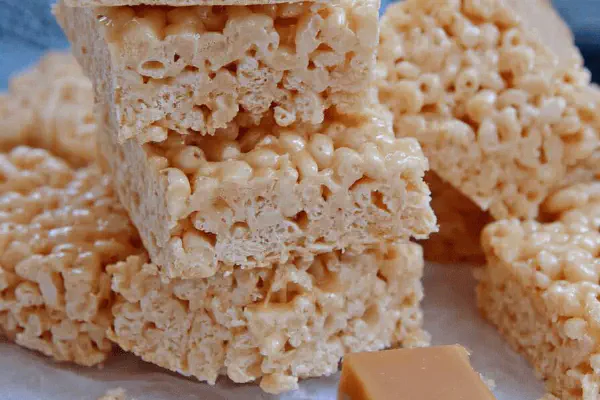
Salted Caramel Crispy Treats
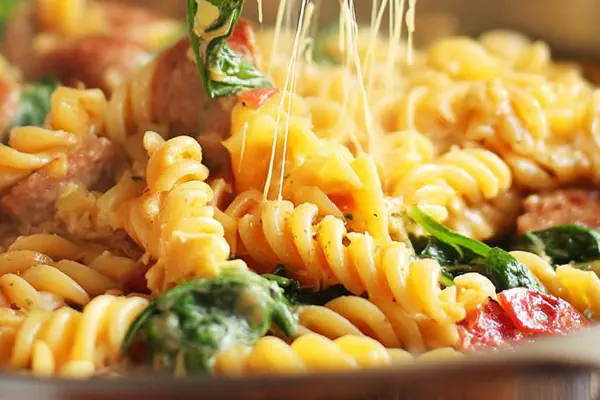
Creamy Sausage Spinach Pasta
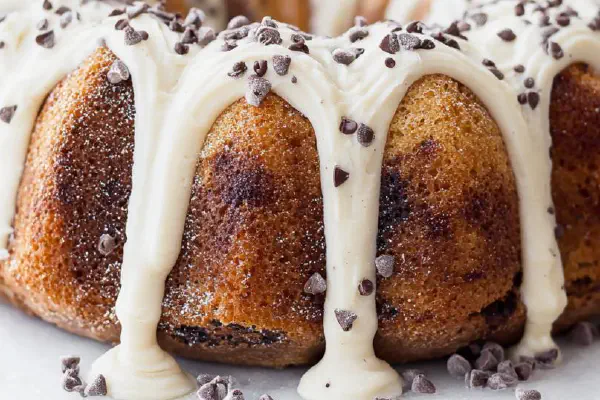
Chocolate Chip Swirl Bundt Cake
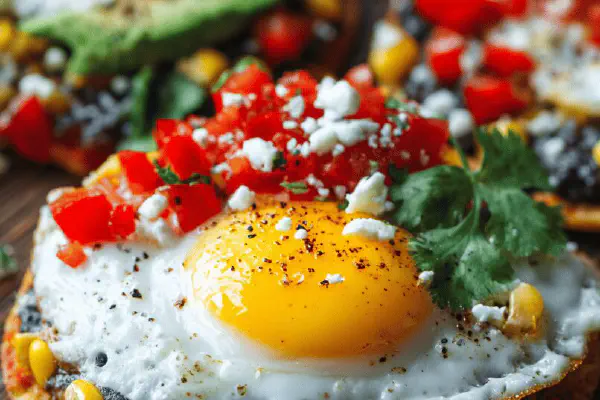
Egg Tostadas with Black Beans
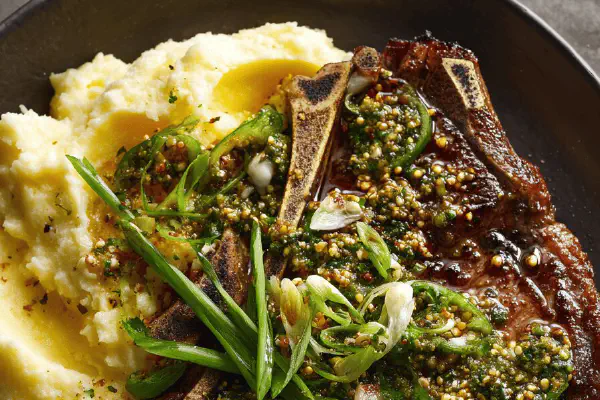
Spiced Marinated T-Bones
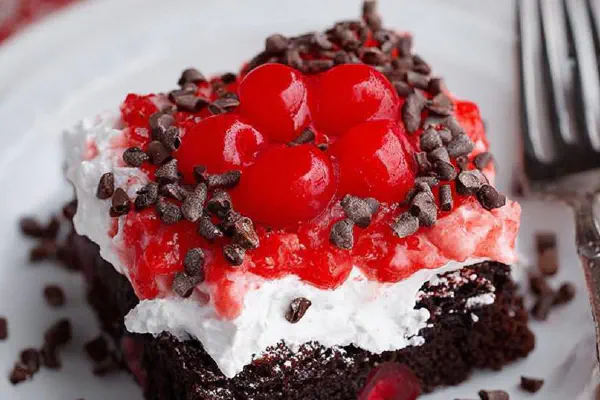
Black Forest Poke Cake Twist
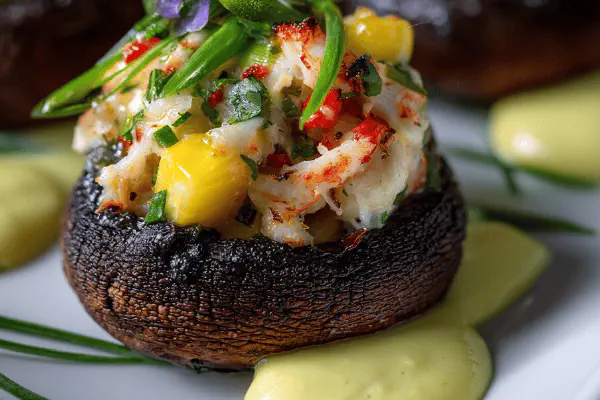
Crab Mango Stuffed Mushrooms

Chicken Ranch Pinwheels

Cilantro-Lime Vierge Sauce
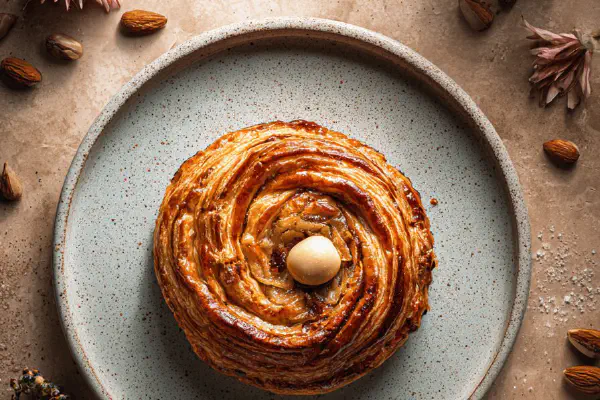
Galette Royale Twist
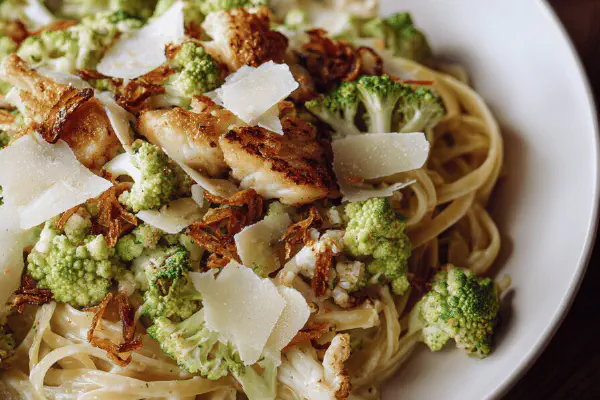
Garlic Cream Linguines Twist
Smoky Citrus Chicken Skewers