Featured Recipe
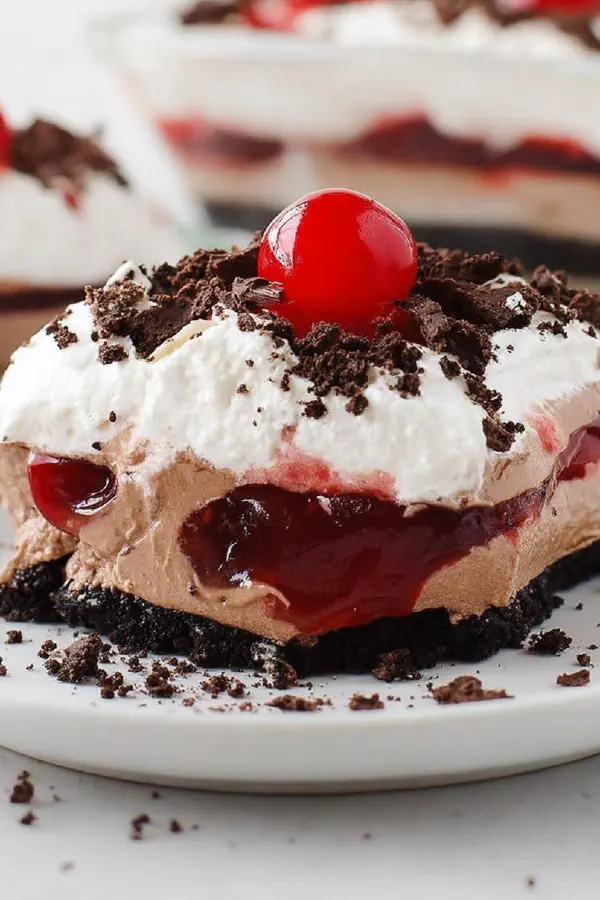
No Bake Chocolate Cherry Lush
By Kate
"
Crust crushed Oreos with melted coconut oil replacing butter. Cream cheese meets powdered sugar, dark cocoa powder swapped for Dutch-process cocoa, vanilla and half-and-half smooth the mix. Cherry pie filling changes to raspberry preserves for tang. Layers chilled slightly longer to set better. Whipped topping smoothed, piped swirls, topped each with dark chocolate shavings and fresh raspberries instead of cherries. Texture plays a big role; firmness guides layering, chill between each step. Sweet, rich, not sickly; chocolate bitterness balancing fruit tartness. Oreo crust firm yet crumbly; cream cheese layer whipped enough for loft but stable; piping done on firm but soft surface. Freeze for 2.5 hours or until fully firm for clean slices.
"
Prep:
25 min
Cook:
0 min
Total:
2h 25min
Serves:
16 servings
no bake
dessert
chocolate
raspberry
layered
Introduction
Break down Oreo crust first. No baking needed. Just crumbs plus oil, pressed and chilled. Texture here crucial. Oil method stabilizes crust for easier cutting. Cream cheese whipped with powdered sugar and Dutch-process cocoa powder gets dense, rich flavor but lighter than regular. Vanilla’s subtle. Half-and-half balances thickness without heavy cream. Preserves choice matters; raspberry swaps from cherry for added tartness—helps cut sweetness. Spread with care. Chill between layers when necessary. Piping whipped topping last adds elegance and texture contrast after freezing long enough to firm up layers but not become rock hard. Fresh fruit garnish instead of canned cherries—a fresh twist. Cutting is a test in patience; warmer knife essential for clean slices.
Ingredients
In The Same Category · Sweet Treats
Explore all →
Chunky Strawberry Sauce
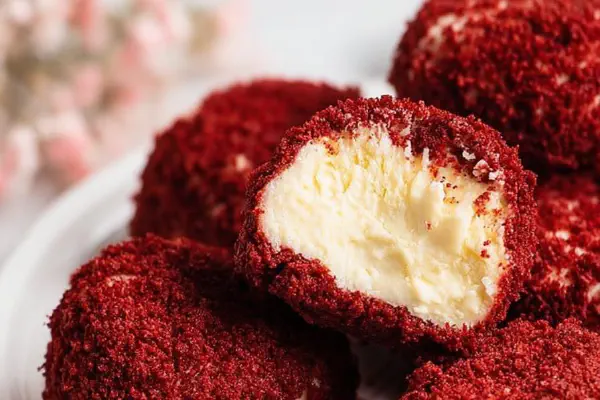
Red Velvet Cheesecake Bites
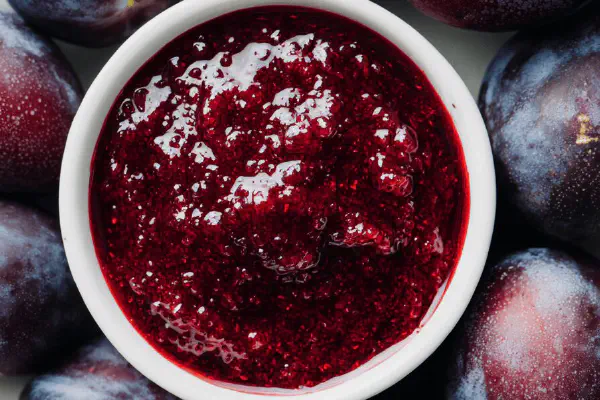
Rustic Plum Jam
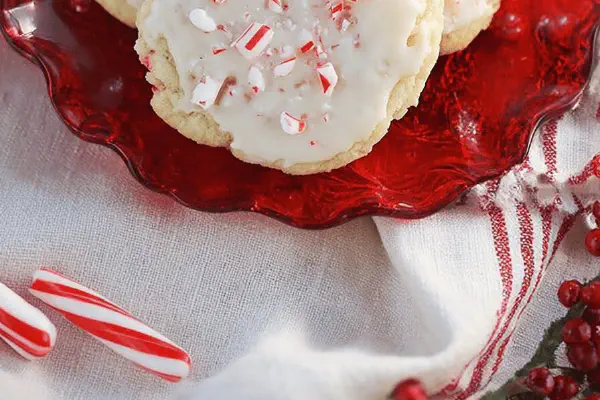
Peppermint Candy Cookies
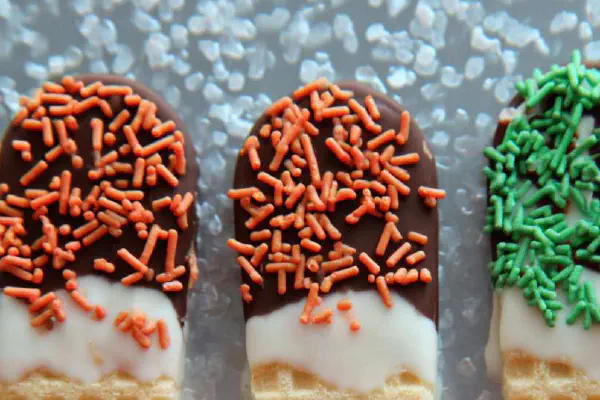
Choco-Almond Sugar Wafers
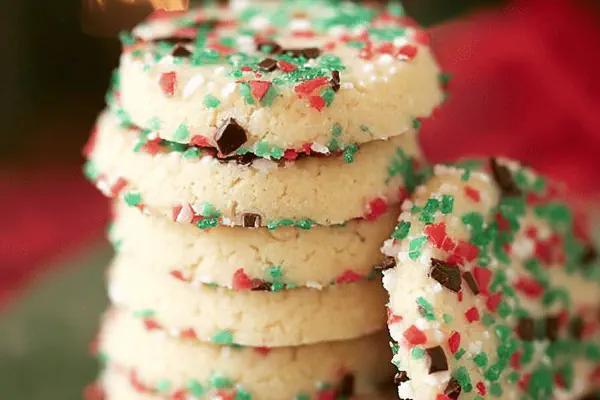
Almond Slice and Bake Cookies
Vanilla Bean Buttercream Twist
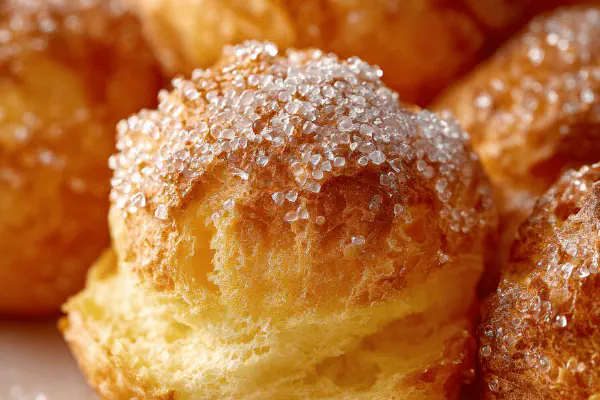
Sugar Pearled Choux Puffs
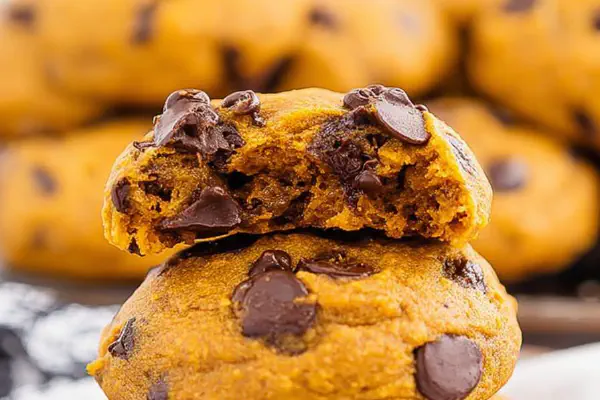
Pumpkin Choc Chip Cookies
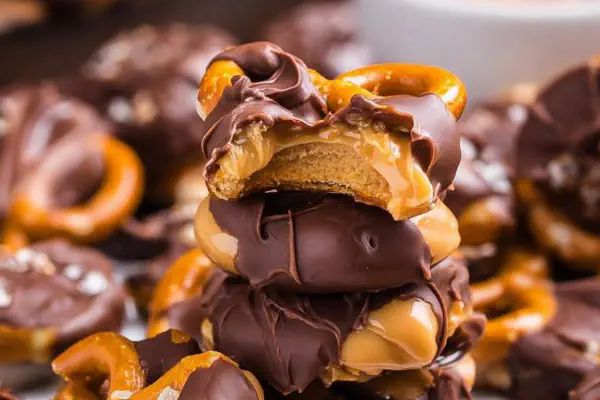
Peanut Butter Pretzel Nuggets
Cinnamon Whiskey Truffles
Chocolate Ganache Bites

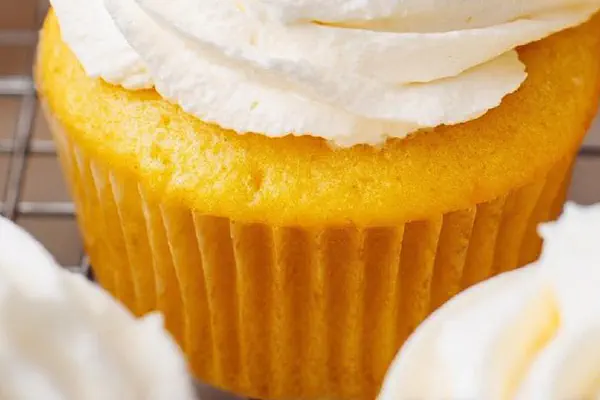
Pink Lemonade Cupcakes Remix
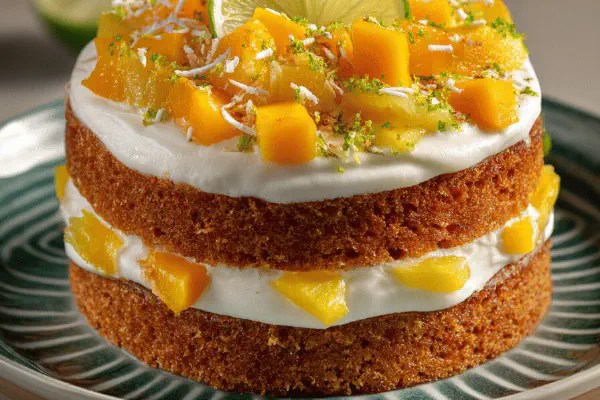
Coconut Tres Leches Poke Cake
Funnel Cake Pops
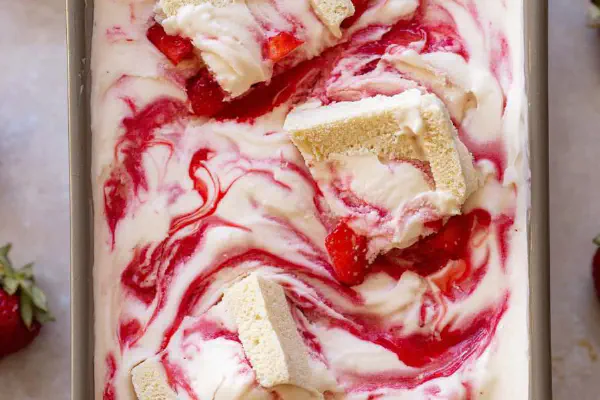
Strawberry Cheesecake Swirl Ice Cream
Chocolate Pudding Dump Cake
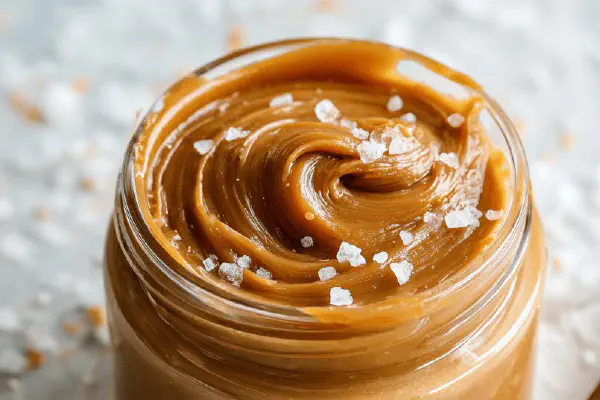
Salted Butter Caramel Spread
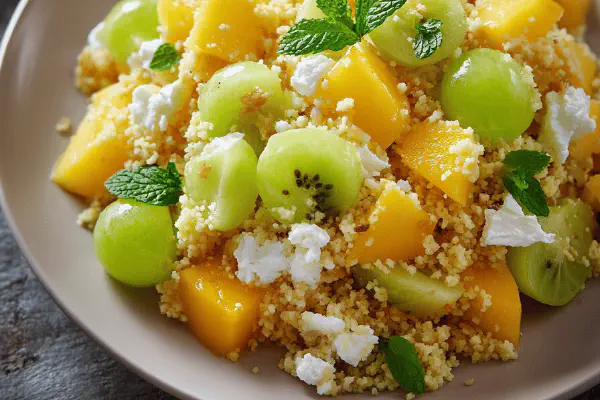
Couscous Fruit Salad Remix
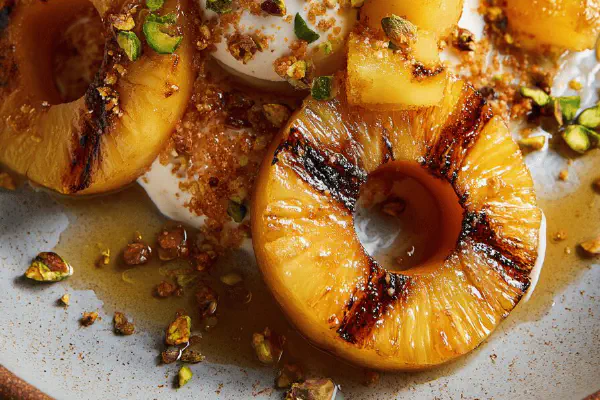
Grilled Pineapple and Donuts with Spiked Rum Syrup
Pumpkin Cream Cheese Frosting Upgrade
Twisted Cream Cheese King Cake
Raspberry Mascarpone Tart Twist
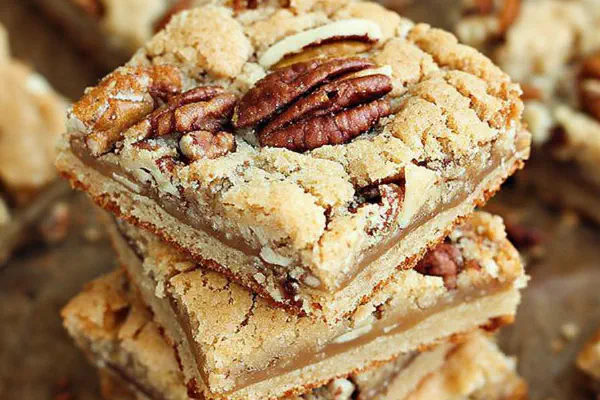
Buttery Pecan Blondies
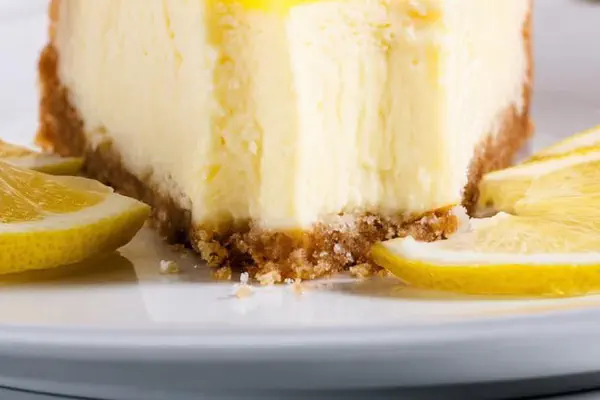
Tangy Lemon Cheesecake
Hummingbird Cake Twist
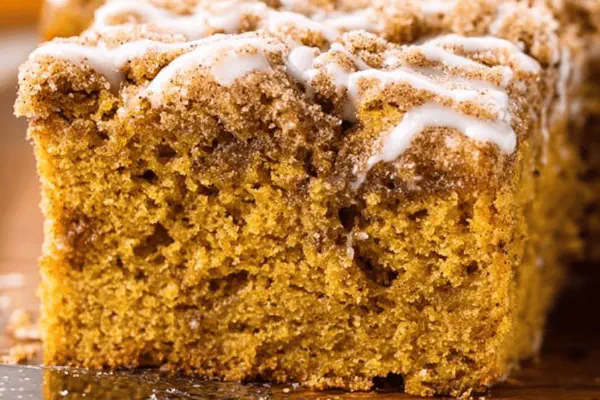
Twist Pumpkin Coffee Cake

White Chocolate Pistachio Blondies
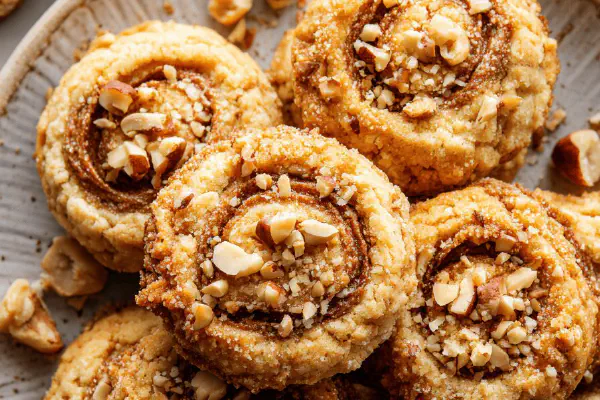
Crunchy Hazelnut Cookies
About the ingredients
Oreos are classic but choose cookies with chocolate lining if you want richer crust. Melted coconut oil works well for crust; can substitute with clarified butter or browned butter for nutty aroma but coconut oil keeps it stable at room temp. Cream cheese must be softened and free of lumps to avoid texture issues; whipping well is key. Dutch-process cocoa powder preferred here for mellow bitterness and smooth color, but natural cocoa can work—just add pinch baking soda if using. Half-and-half or whole milk loosens cream cheese mixture to pipe easily but avoid thin milk or whipping cream unless whipping separately. Raspberry preserves add bright acidity; cherry pie filling can be sticky sweet. Whipped topping can be store-bought Cool Whip or homemade stabilized whipped cream. Chocolate shavings provide crunch; dark chocolate’s slight bitterness balances sweetness of lush. Fresh berries for garnish add brightness and fresh texture contrast. Avoid syrupy canned cherries unless drained well. Work with what’s on hand but keep balancing sweet, tart, creamy, and crunchy.
Method
Technique Tips
Pulse Oreo crumbs finely but avoid pulverizing into powder—gritty crust improves texture and helps crust hold better. Proper moisture with melted coconut oil critical as too much makes crust greasy and oily; too little and crust crumbles apart when sliced. Press crust firmly and chill 20-25 minutes minimum to become firm. Beat cream cheese first alone to avoid clumps. Powdered sugar added gradually prevents grit and lumps. Cocoa and vanilla blend flavors, half-and-half loosens mix to pipe easier but watch texture carefully; too liquid means layers might blend and lose structure. When spreading each layer, use a light hand with offset spatula to avoid mixing layers and creating color swirls. Chill cheesecake layer before fruit layer to avoid sinking. Preserve thickness by simmering if necessary to avoid fruit layer bleeding into cheesecake. Whipped topping needs to be spread, not smooshed, preserves softness and pipeability. Reserve some whipped topping for piping; use star tip for structured decoration. Freeze long enough to firm up but check softness, won’t want it frozen solid or too hard to bite. Use warmed knife between cuts for clean slices. Clean knife between slices to maintain neat edges. Last-minute garnish of fresh berries adds contrast, injects bright flavor before serving.
Chef's Notes
- 💡 Oreo crust needs precise texture. Pulse just enough. Hold together but not greasy. Adjust oil based on feel. Too much oil? Crust soggy. Use a firm touch when pressing in dish.
- 💡 Cream cheese first. Beat until creamy. No lumps allowed. Add sugar gradually; helps emulsify. Cocoa for flavor; vanilla adds depth. Too runny? Chill to firm up before spreading. Avoid overbeating.
- 💡 Fruit layer matters; raspberry preserves can be runny. Consider thickening by simmering for a couple minutes. Watch for mix-ins. Light touch needed. No aggressive spreading—keep layers distinct.
- 💡 Whipped topping is key. Need a spreadable texture, not soupy. Reserve some for piping. Use star tip for style. Chill before piping for structure. Watch temperatures when layering.
- 💡 Slice cleanly with warm knife. Heat means less sticky turns. Wipe between cuts. Too much pressure squishes layers out. Try softer cuts for neat edges. Keep crust intact.
Kitchen Wisdom
What if crust isn't firm enough?
Try freezing longer. Chilling helps. If too much oil mixed, adjust next time. Sticking? Reduce the melted oil amount.
Can I use other fruit preserves?
Yes for sure. Blueberry or strawberry also work well. Adjust sweetness depending on fruit. Consider tart vs sweet options; balance is key.
How do I store leftovers?
Keep chilled in airtight container. Lasts few days, but layers might soften. Can freeze but texture changes. Best to eat fresh.
What if layers start blending?
Wait to chill each layer before adding next. Chilling pie filling can help. If runny, thicken before spreading. Always check consistency.
You’ll Love These Too
Explore all →
Persimmon Walnut Cookies
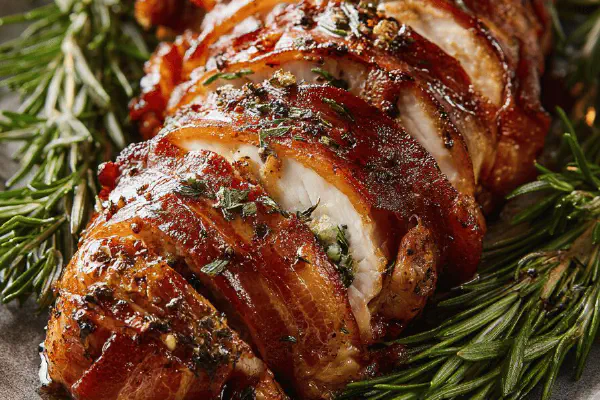
Sous Vide Turkey Bacon Roll
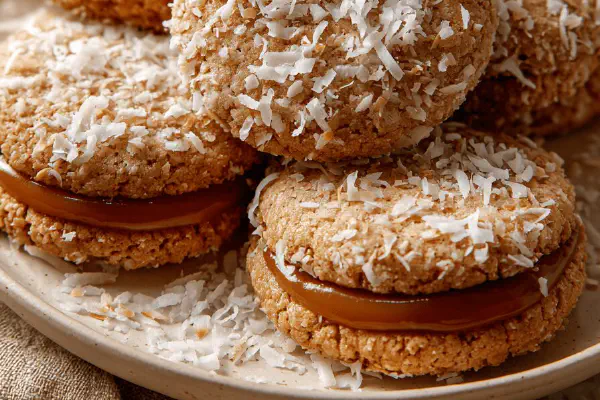
Soft Dulce de Leche Sandwiches
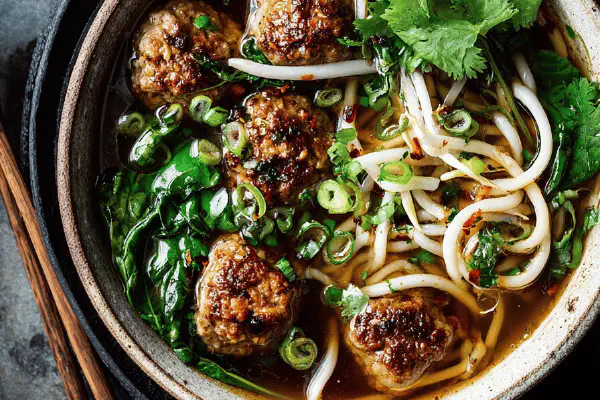
Quinoa Pork Meatball Soup

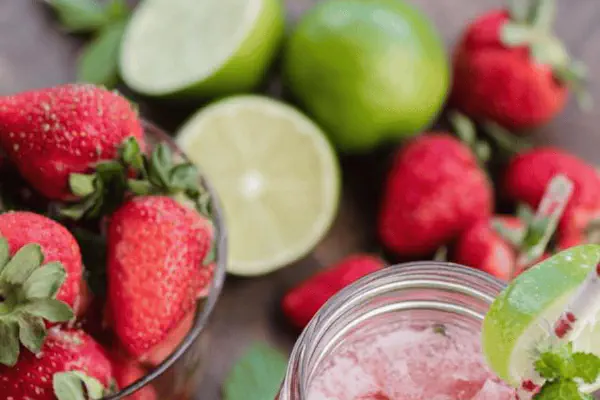
Amaretto Ginger Fizz
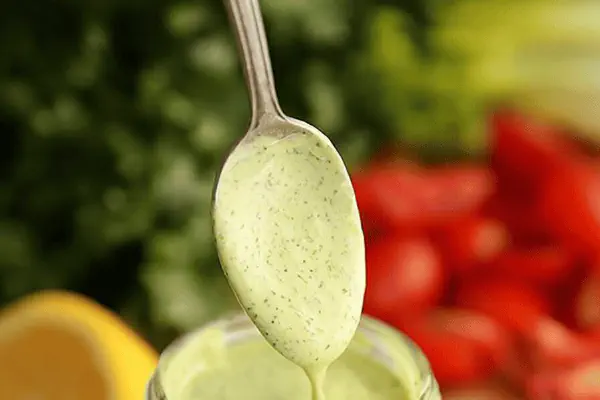
Herb Avocado Dressing
Berry Basil Kombucha Fizz
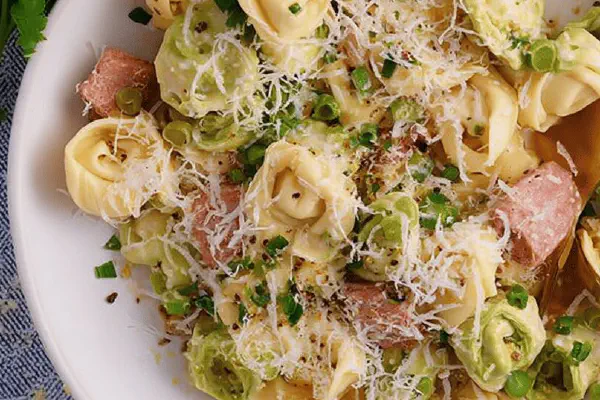
Creamy Tortellini Ham
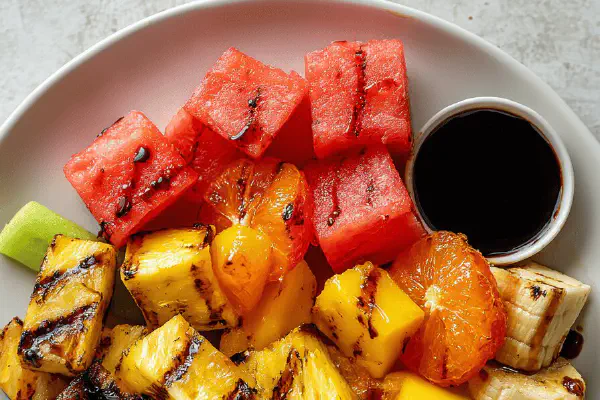
Grilled Mixed Fruit Platter
Twist Pumpkin Coffee Cake
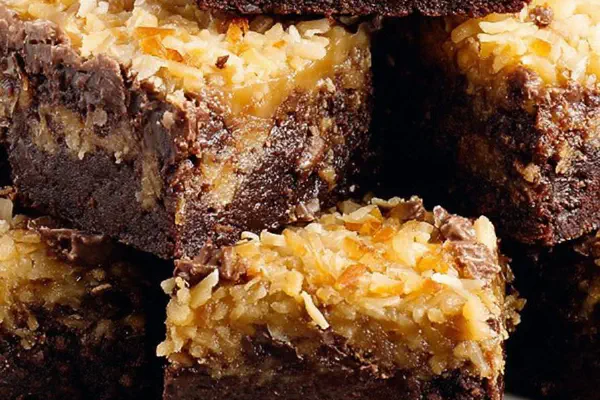
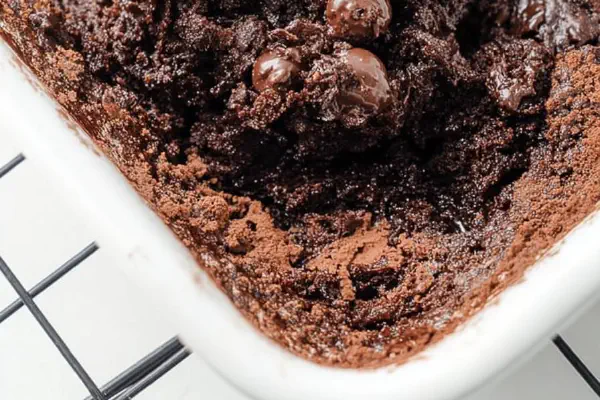
Twisted German Choco Brownies
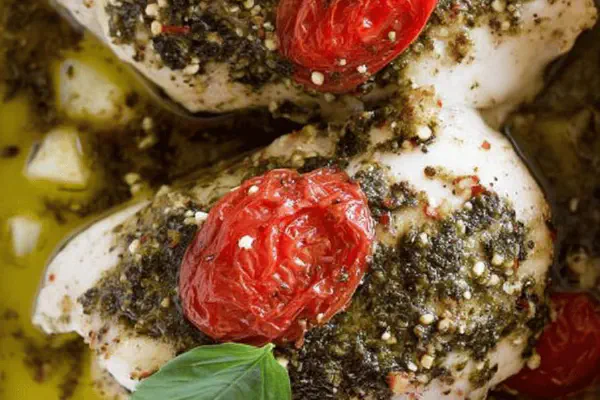
Pesto Stuffed Chicken Bake

Gluten-Free Tuna Fritters
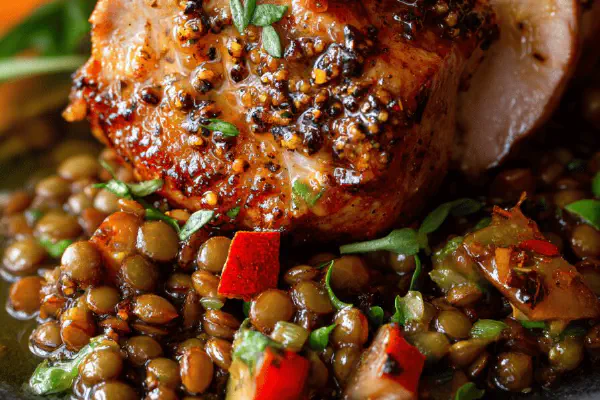
Pork Tenderloin Espelette
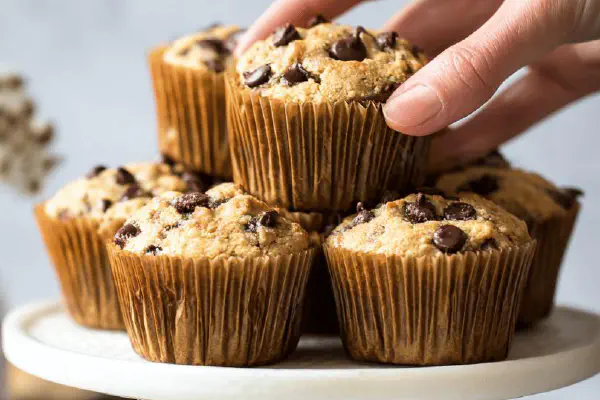
Banana Almond Muffins

Flank Steak Cobb Salad with Avocado Dressing

Chilled Peanut Noodle Salad

Caramelized Pork Ribs Greens
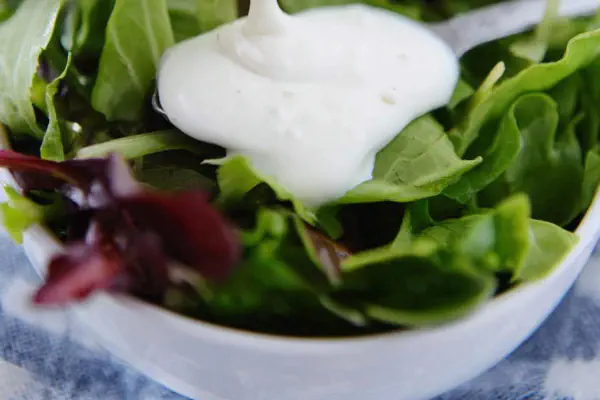
Tangy Blue Cheese Dressing
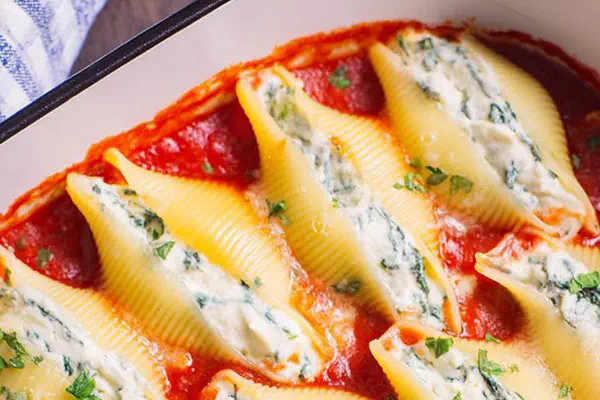
Spinach Ricotta Shells
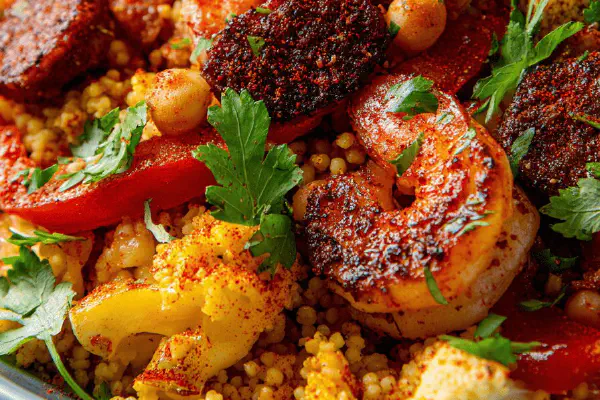
Shrimp and Spiced Sausage Couscous
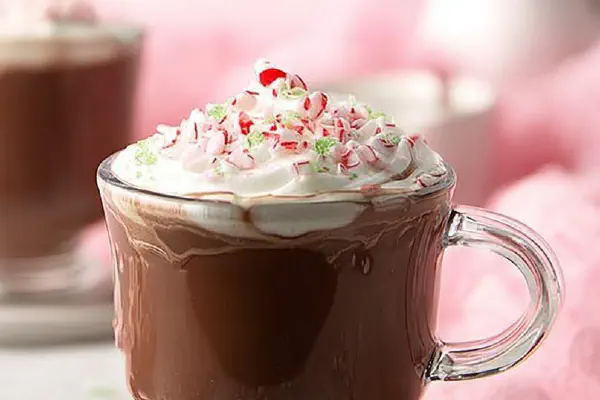
Peppermint White Hot Cocoa
Brown Butter Herb Infusion
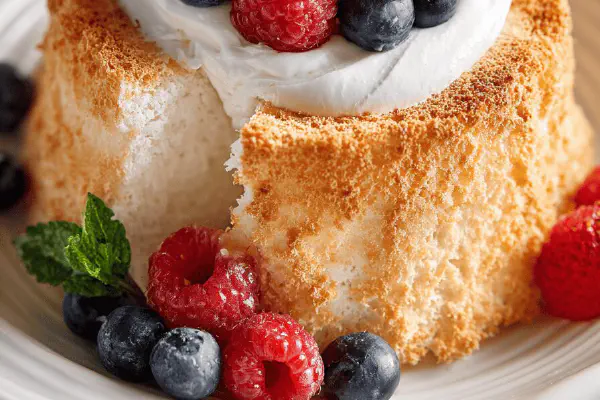
Angel Food Cake Remix
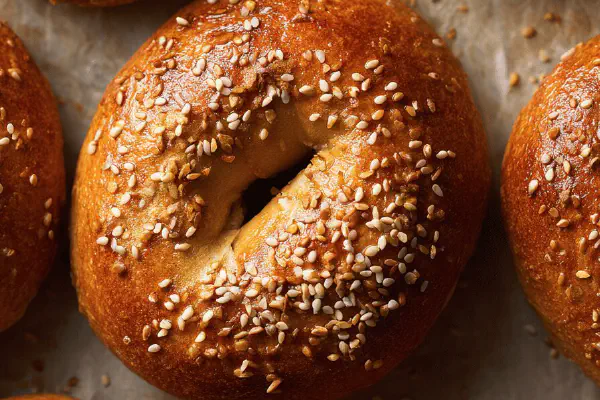
Sesame Bagels with Molasses Twist
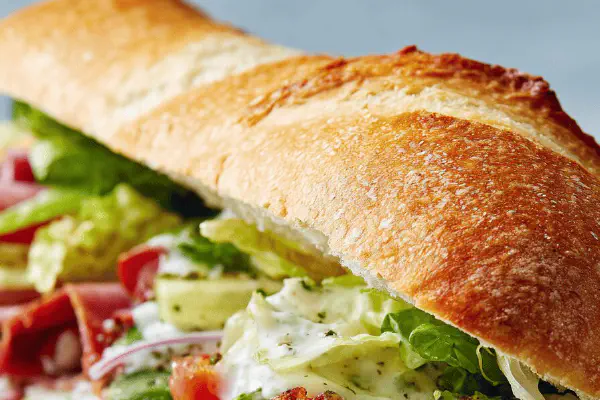
Italian-style subs
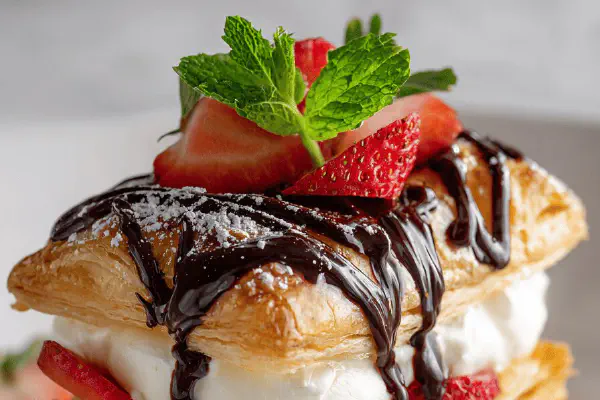
Frozen Strawberry Cream Puff Pastry
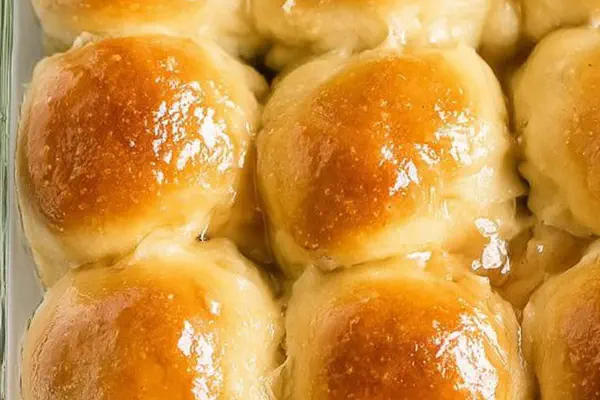
Buttery Dinner Rolls Twist
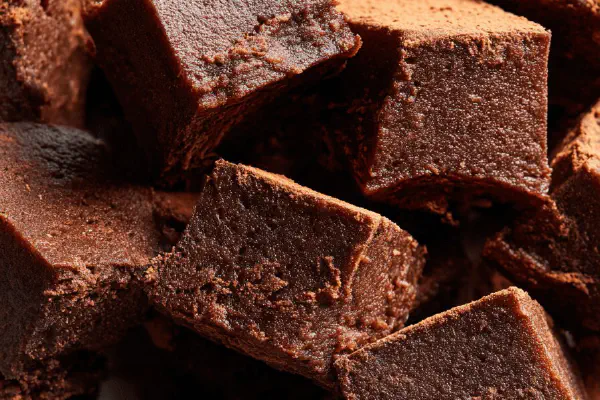
Mini fudge squares