Featured Recipe
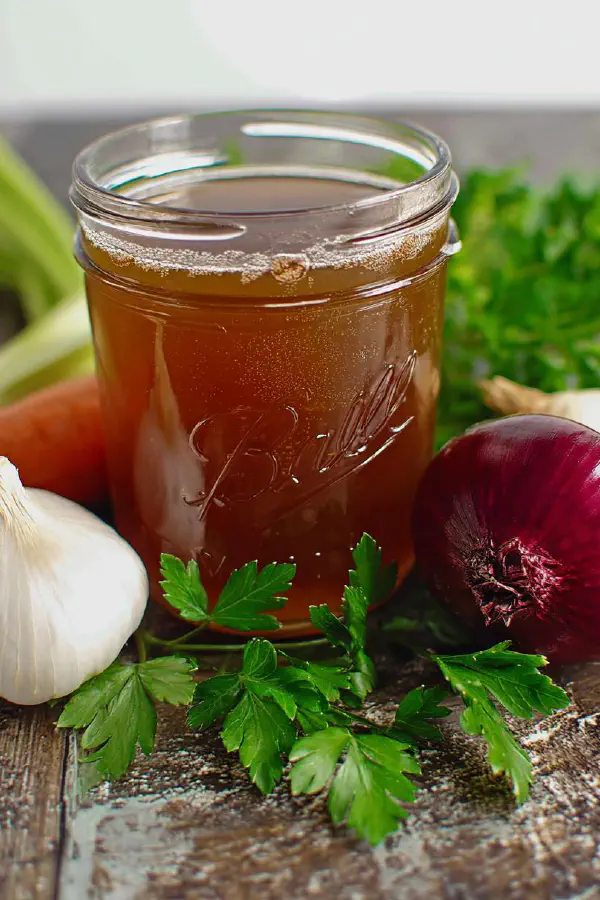
Roasted Beef Bone Broth
By Kate
"
Slow-simmered broth using roasted beef bones, stew meat, aromatic roots, fresh herbs, and red wine. Roasting bones and veggies first builds deep color and rich flavor. Marrow extraction mid-simmer enhances mouthfeel and umami. Deglazing pan captures browned bits. Finished stock chilled for fat removal. Perfect base for soups, stews, sauces. Versatile with optional ingredients to tweak flavor and nutrition. Extended simmer time develops complexity. Clear, brown, concentrated broth with gelatinous texture when cooled.
"
Prep:
35 min
Cook:
4h
Total:
4h 35min
Serves:
6 servings
broth
soup base
homemade
Introduction
Bones roasting in oven. That rich sizzle, the smell thick and caramelting, locking in flavor you can’t fake with raw simmering. You want color—not black, just deep chestnut. Toss in hearty stew meat, vegetables rough-cut, herbs still on stems. Begin low and slow once it hits the pot. No boiling, just coax out gelatin and marrow flavor. Pull bones mid-way, pry marrow out with sharp tip. Marrow adds silk and body. Skim fat after chilling; you want clear, deep beef essence, not cloudy grease. Red wine pan deglaze traps those browned bits, no flavor lost. Work smart. Slow simmer means patience, but also attention—skimming, monitoring. This isn’t quick. It’s foundational. A broth that stands up in sauces, soups, braises. Learn to read your broth’s color, scent, and texture. Soil and root substitutions shift tone. Don’t fear experimenting. Keep a stash frozen—it’s kitchen gold. Bone broth ain’t fussy if you respect the basics.
Ingredients
In The Same Category · Kitchen Staples
Explore all →
About the ingredients
Use marrow and knuckle bones—marrow for richness, knuckle for collagen. Substitute celery base with celery salt if fresh celery scarce; two stalks works but celery salt carries aroma further. Parsnip or celery root adds earthiness; swap for parsnip’s sweeter bite or omit in tight budget. Tomato paste boosts Maillard reaction compounds; can substitute with roasted red pepper purée for complexity and subtle sweetness. Red wine does double duty—acidity cuts fat, aroma layers. Cheap bottle’s fine but no sweet blends. Fresh herbs—thyme, rosemary, parsley stems—tied together or scattered; fresh works better here for brightness. Garlic crushes open flavor pockets but don’t overdo; subdued in long cook. Water should cover thoroughly but don’t overfill—steam space matters. Olive oil helps roasting, optional canola for higher smoke point. If bones too big, split or crack to expose marrow and connective tissue for better extraction. Keep knife and spoon handy after roasting for marrow picking. Waste not—frozen broth cubes later for emergency flavor splash.
Method
Technique Tips
Roasting drives flavor development—brown, crisp edges on bones and veggies means more compounds to break down in the simmer. Watch for burnt spots; bitter ruins broth. Deglazing pan not optional—brown bits are concentrated flavor locked tight. A quick simmer is key—too hot, broth turns cloudy and bitter as fat emulsifies. Use a wide pot to maximize surface area for evaporation. Remove scum early and often to ensure clear stock. Marrow scrap midway because marrow fat releases better when chilled bones warm slowly in broth. Straining through triple cheesecloth triple-filters impurities, yielding clarity and smooth mouthfeel. After cooling, fat layer solidifies, making removal foolproof; fat left in broth dulls flavor and greasy mouthfeel. Store in shallow trays for rapid cooling and food safety. Frozen portions save hours. Flavor shifts if herbs added too early—better to add fresh at end for brightness or dry herbs early for mellowing. Be patient. Constant watching pays off in clarity and depth. Use a ladle with small holes to skim efficiently. Keep heat low—rolling boil wrecks stock clarity. If broth cloudy, filter through coffee filter one last time. Sound of gentle bubbles is a sign: simmer not boil.
Chef's Notes
- 💡 Roasting bones? Preheat to 425°F; watch color. Aim for deep mahogany. Too dark, bitterness. Airy aroma while roasting means right path.
- 💡 Deglazing pan crucial. After roasting, pour wine to lift all browned bits. Scrape well. Liquid should smell fruity, robust; captures flavors.
- 💡 Simmer gently; low heat is key. No rolling boil. Surface scum? Skim often. Only small bubbles. Clear broth comes from patience.
- 💡 Two hours in, fish out bones. Tip marrow into broth; boosts richness and silkiness. Better extraction when bones warm slowly in broth.
- 💡 Store broth properly. Cool fast; shallow containers help. Skim fat after chilling. Avoid leaving too much fat; clouds broth richness.
Kitchen Wisdom
How long does it take to make?
Total time around 4.5 hours. Simmer 3.5 to 4.5 hours; longer the better, but too long can turn bitter.
Can I freeze it?
Yes, freeze in portions. Airtight jars or trays work. Broth holds flavor, easy emergency ingredient for future.
What if it’s cloudy?
Skimming during simmer preventing this. Last filter through coffee filter can clear it; ensure a clear stock.
Ingredient swaps?
Turnip swaps with celery root; adds earthiness. Fresh herbs at end for brightness, or use dried early for mellow flavor.
You’ll Love These Too
Explore all →
Apple Puddings Air Fryer
Oven Chicken Fajitas Twist

Teriyaki Steak Bites Twist
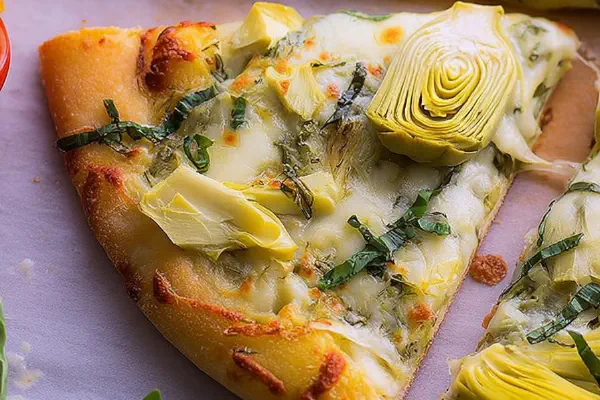
Cheesy Spinach Artichoke Pizza
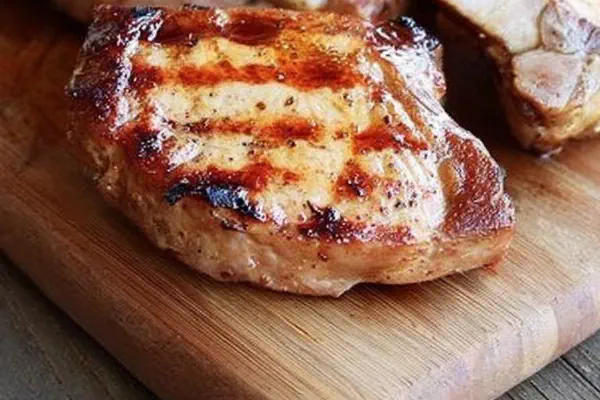
Ginger Tea Brined Pork Chops
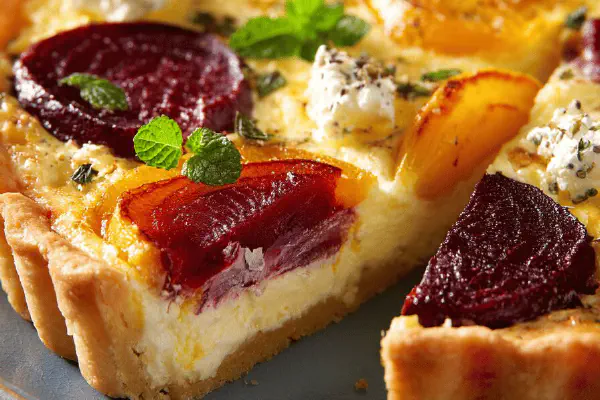
Beet and Feta Tart
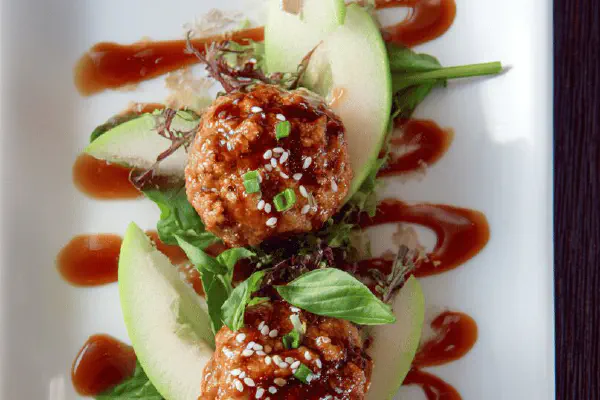
Sticky Pork Meatballs Basil Apple
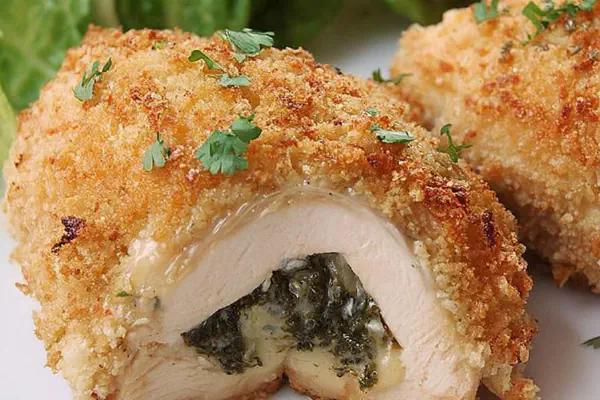
Twist Chicken Kiev
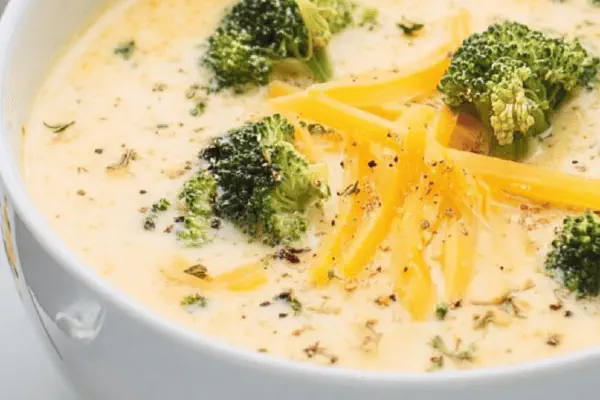
Broccoli Cheese Soup Twist

Salted Caramel Apple Twist

Crispy Green Tomatoes with Smoky Dip
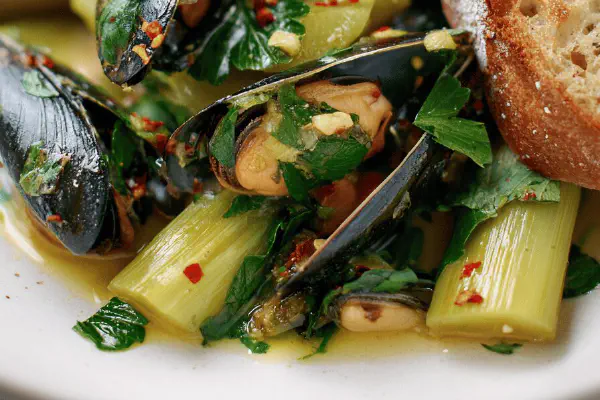
Leeks with Smoked Mussels

Blueberry Turnovers Twist
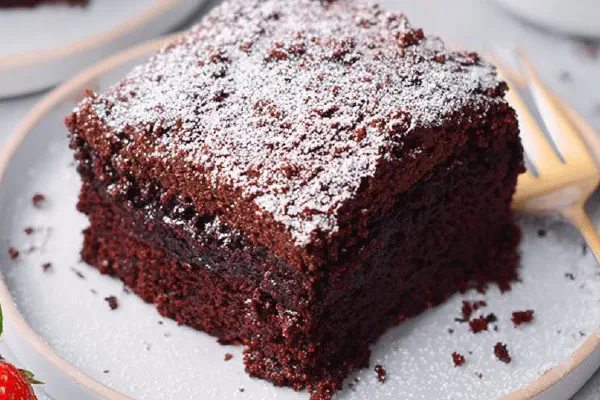
Beet Chocolate Cake Twist

Hearty Chicken Chili Soup
Coconut Mango Popsicles

Instant Pot Spiced Pumpkin Cheesecake
Boozy Cocoa Balls
Tiramisu Cookies Twist
Chunky Apple Bread Twist
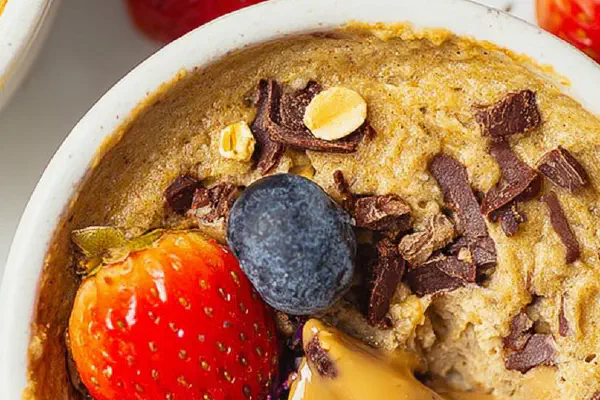
Banana Cocoa Baked Oats
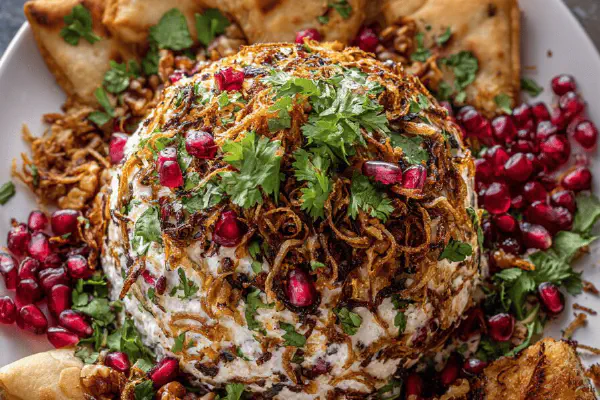
Cheddar Jalapeño Cheese Ball
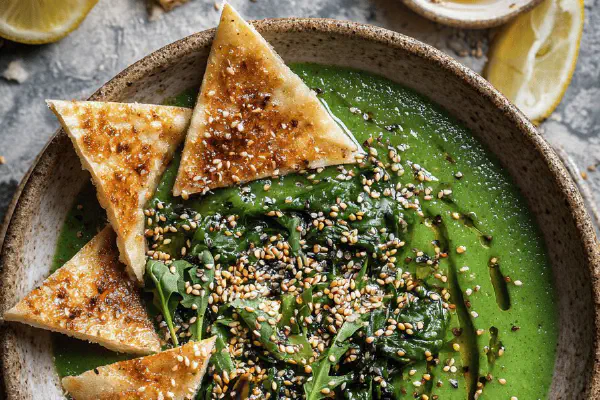
Chickpea Rocket Cold Soup
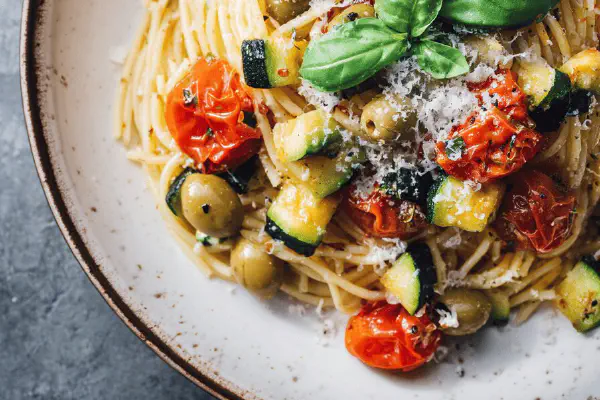
Cherry Tomato Zucchini Spaghetti

Ricotta Chocolate Sicilian Turnovers

Spiced Layer Cake With Dulce Frosting
Spiced Hot Cranberry Punch
Mint White Chocolate Martini

Ham Endive Gratin Twist
