Featured Recipe
Rustic Pumpkin Slab Pie

By Kate
"
Double refrigerated pastry sheets merged into one large slab crust baked in a quarter sheet pan. Pumpkin puree combined with eggs and sweet cream for deeper flavor and silky texture. Baked till crust is golden brown and filling slightly quivers. Rested in the oven with door ajar to finish setting without cracking. Cut into a dozen servings. Extra cinnamon swapped with warm ginger and a hint of allspice for spice complexity. Evaporated milk replaced with heavy cream for richness. Tips on handling dough chill time, flour use, and recognizing doneness included.
"
Prep:
20 min
Cook:
55 min
Total:
5h 15min
Serves:
12 servings
pumpkin
slab pie
fall recipes
desserts
baking
Introduction
Pumpkin filling with custard base that’s carefully balanced for texture – not too wet, never dry. Rolling refrigerated pie crusts into a single slab. Big rectangular pan for easy portioning – no fiddly individual pies. Chill dough edges folded inward to keep structure. Filling—eggs and cream instead of evaporated milk—controls richness and density, forgiving for novice bakers. Bake slow at moderate temp till crust deepens color and filling sets with slight wiggle. Leave in cooling oven for gradual set and to cut cracking risk. Patience is key. Spice swap with ginger and allspice in place of cinnamon for a less expected but familiar warmth. Simple, practical, sturdy pumpkin pie converted to slab style for communal eating. No fluff, just reliable results.
Ingredients
In The Same Category · Sweet Treats
Explore all →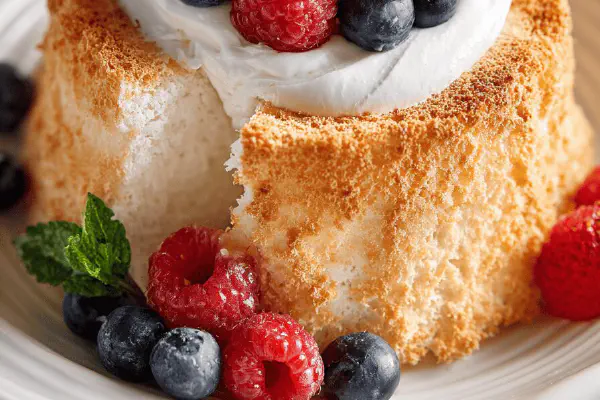
Angel Food Cake Remix
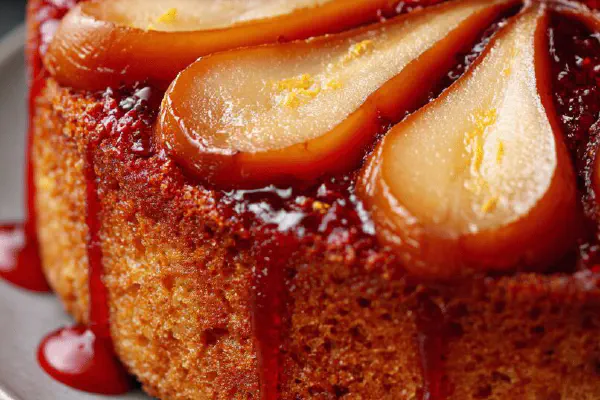
Almond Paste Pear Cake
Twisted Cake Mix Cookies
Choco-Orange Truffle Cake
Flamed Pineapple with Rum
Oatmeal Cream Sandwiches

Pumpkin Cream Cheese Frosting Upgrade
Banana Crisp Bake
Strawberry Cheesecake Swirl Ice Cream
Zesty Sour Cream Pound Cake
Layered Melon Stack
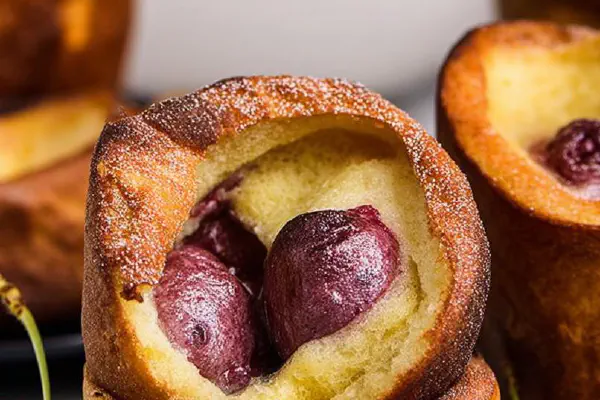
Cherry Almond Popovers
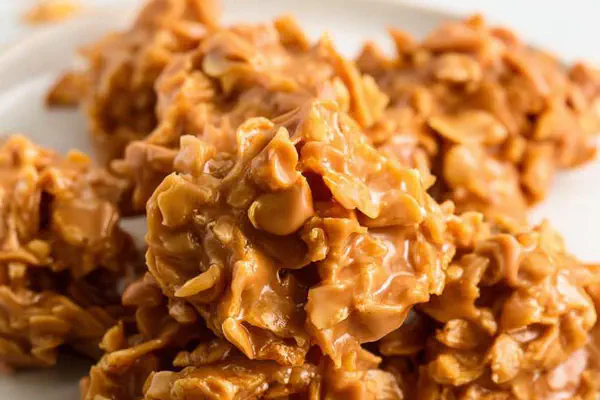
No-Bake Butterscotch Crunch
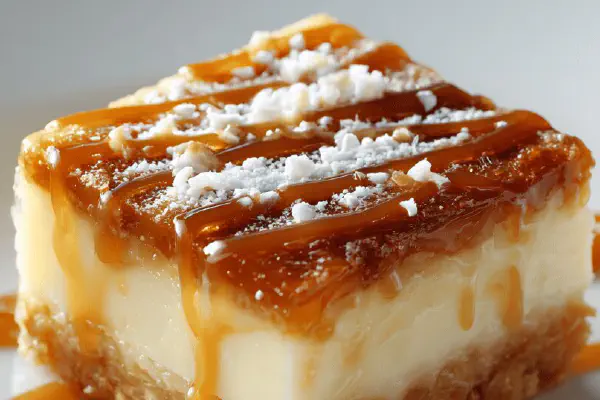
Maple Cream Squares
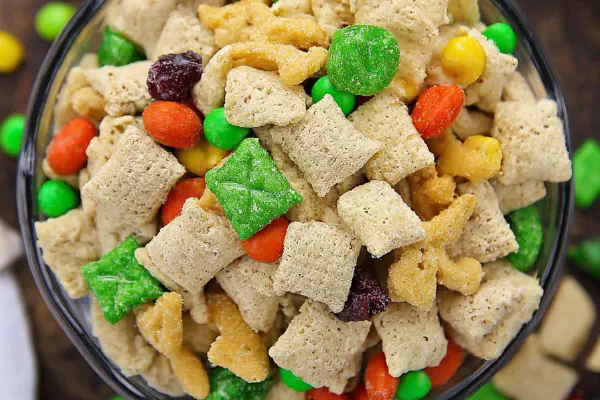
Twisted Peanut Butter Chex
Pistachio Loaf Cake
Nutty Caramel Brittle
Twisted Vanilla Frozen Yogurt

Brownie Cookie Brookies
Vanilla Bean Ice Cream Twist
Vanilla Skillet Cake
Lime Coconut Mini-Cakes
No Churn Swirled Ice Cream
Oatmeal Raisin Cookies Remix
Cadbury-Stuffed Cupcakes
Pumpkin Cream Cheese Cookies
Caramel Apple Nachos Twist
Tangy Citrus Bars
Chocolate Cake Remix
About the ingredients
Refrigerated pie crusts are a time saver but handle with care; cold butter layers mean flaky crust but warm dough tears easily. Keeping crust chilled prevents shrinkage in oven. Using heavy cream adds fat content and richness compared to evaporated milk, yielding silkier mouthfeel. Brown sugar brings moisture and depth, molasses notes more complex than plain white sugar. Ground ginger and allspice replace cinnamon for a spicier aroma, closer to old-fashioned pumpkin desserts. Salt balances sweetness and enhances flavor layering. Avoid electric mixing of filling to prevent air bubbles, which cause cracks and holes after baking. If fresh spices not available, pre-ground staples suffice but freshness elevates aroma and taste. If crust cracks during rolling, patch carefully with little water to maintain integrity.
Method
Technique Tips
Thaw pie crusts fully but keep wrapped until ready to roll; dough relaxes without drying out. Minimal flour on the surface prevents dough from sticking or tearing during rolling. Rolling two crusts stacked speeds up process and creates a thicker, sturdier slab crust. Pressing dough into pan corners avoids air pockets which can cause uneven bake or soggy spots. Rolling edge inward provides a natural barrier against bubbling filling spillover and creates a pleasing rustic lip. Chilling after shaping firms dough, so it maintains shape during baking. Mixing filling by hand preserves smooth texture; electric mixers incorporate bubbles causing cracks after baking. Baking at 350°F allows even cooking of thick custard without burning crust. Visual cues—golden crust, wobbly but not liquid center—signal doneness better than strict timers. Cooling in oven with door cracked prevents cracks by slow setting. Long wire rack cooling avoids condensation and soggy bottom. Cutting after full cool ensures clean slices and intact filling.
Chef's Notes
- 💡 Keep pie crusts cool. Avoid warming up. Relax dough in fridge. Poking holes in bottom keeps crust crisp. Just avoid too much flour. Light touch only.
- 💡 Handling dough matters. Fold edges inward creates crust lip. Stops spills. Firm but gentle pressure keeps it intact. Avoid tearing while shaping.
- 💡 Watch your filling. Whisk by hand to avoid air bubbles. Air makes cracks in custard. Uniform texture key. Creamy over frothy works best.
- 💡 Baking notices. Golden edges mean success. Jiggle center shows doneness. If too loose but crust browning too fast, foil tent helps prevent burning.
- 💡 Cooling isn’t optional. Let pie rest in warm oven cracked open. Avoid sudden temp shifts. Patience means less cracking. Keep covered for storage.
Kitchen Wisdom
Can I use a different crust?
Yep, homemade works. Just chill dough well. Trouble with store-bought? Watch for shrinkage.
How to know when pie is done?
Look for golden crust. Firm edges, slight jiggle still ok. If unsure, poke a knife. Check center.
Storage life?
3-4 days in fridge. Cover tightly. Want longer? Freeze slices. Be mindful about thawing for best texture.
What if filling cracks?
Too much air when mixing. Avoid electric whisks. Helps stabilize. Note: Overbaking is another reason.
You’ll Love These Too
Explore all →
Korean-Style Grilled Chicken Kick

Ultimate Crowd Mac Cheese
Stovetop Cube Steaks with Mushroom Sauce
Egg Salmon Fish Roe Sandwiches
Espresso Chocolate Mug Cake
Cherry Almond Cupcakes
Zesty Coriander Sauce

Apple Puddings Air Fryer
Pressure Cooker Corn Chowder
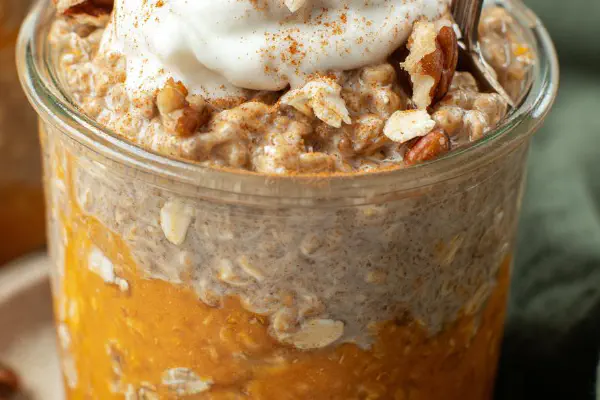
Pumpkin Protein Oats Remix
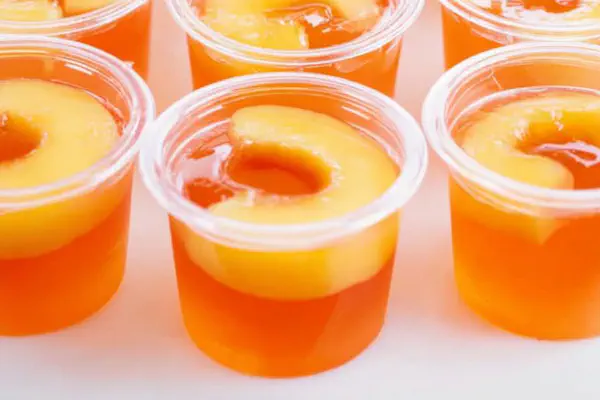
Peach Vodka Jello Shots

Velvet Red Cocoa Pancakes

Crunchy Cereal Chocolate Bites
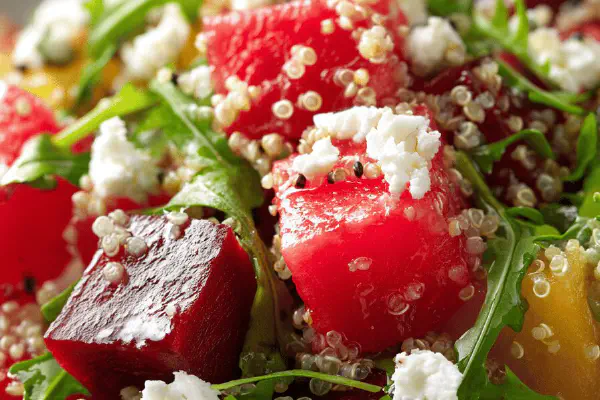
Quinoa Salad with Melon and Beets
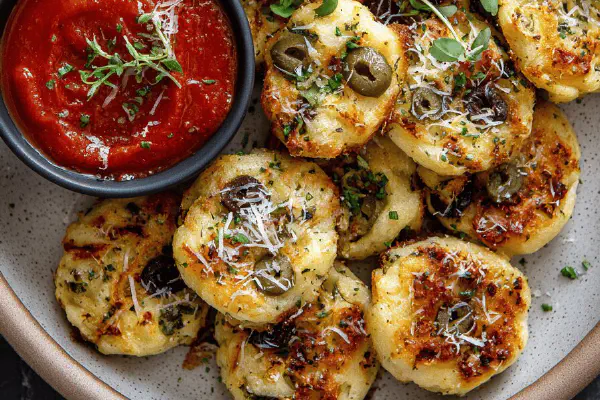
Olive Thyme Focaccias
Tangy Bloom Onion Dip
Savory Olive Vinaigrette
Orange Coconut Mokas
Chicken Fettuccine Alfredo Twist
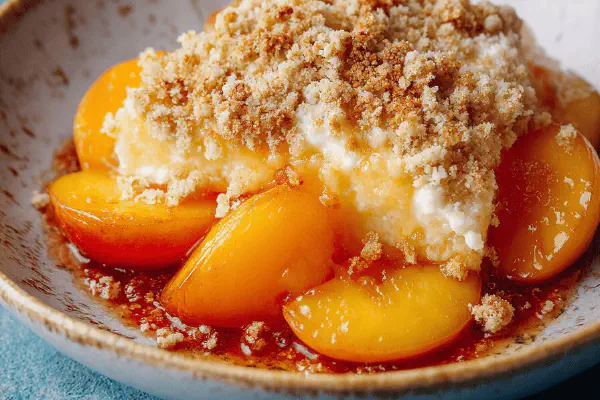
Nectarine Apricot Pouding-Croustade
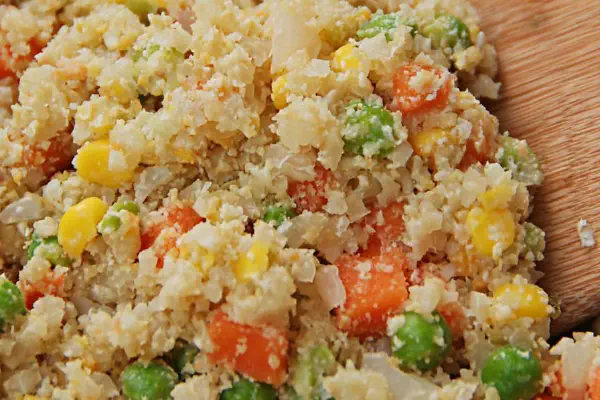
Cauliflower Fried Rice Remix

Gravlax Sour Cream Bites
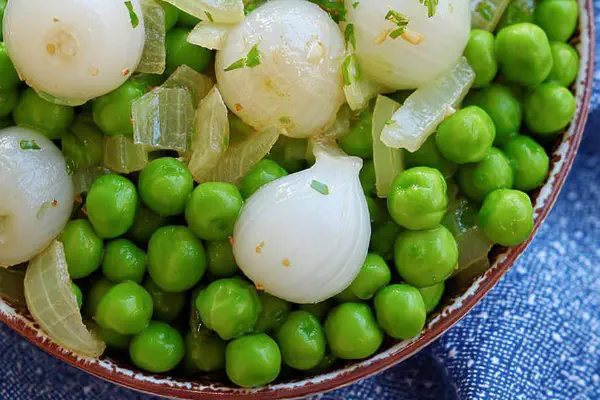
Savory Peas Pearl Onions
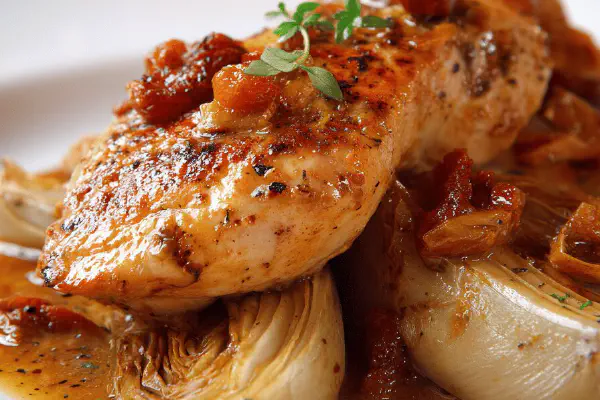
Beer Chicken with Apricots
Silky Tofu Tomato Vegetables
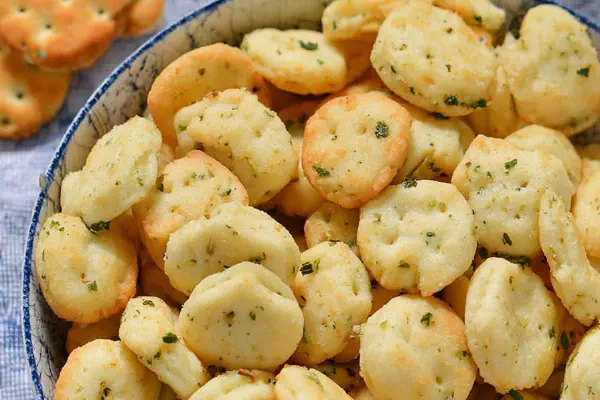
Spiced Ranch Crackers

Amish Sugar Cookies Remix
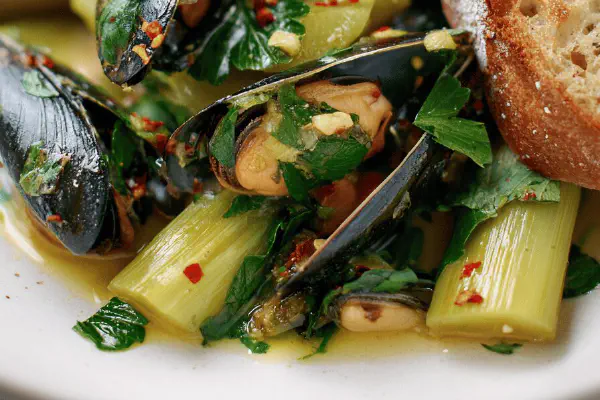
Leeks with Smoked Mussels
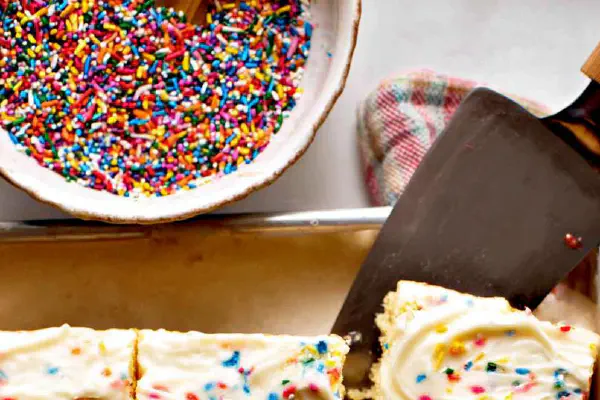
Confetti Sheet Cake Remix