Featured Recipe
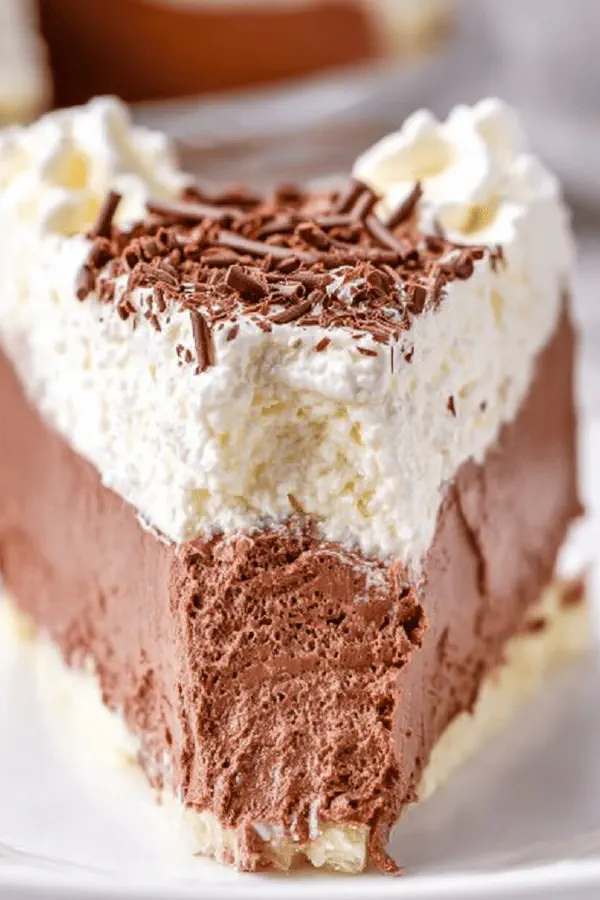
Silky Chocolate Cream Pie
By Kate
"
Silky chocolate cream filling set in a flaky pre-baked crust, made safer by tempering eggs and gently melting dark chocolate. Heavy cream for a fluffy finish. Replaced granulated sugar with coconut sugar for subtle caramel notes. Sour cream folds in for a slight tang. Chill deepens flavors, held overnight to set. Topped with whipped cream thickened by instant pudding powder and sprinkled with toasted hazelnuts instead of plain chopped chocolate for crunch and aroma. Precision on temp and textures avoids grainy, curdled messes.
"
Prep:
25 min
Cook:
15 min
Total:
6h 30min
Serves:
8 servings
dessert
pie
chocolate
cream
Introduction
Chocolate silk with a twist, creamy but grounded with sour cream and coconut sugar for subtle depth. Temperature control here makes or breaks it — eggs must thicken but not scramble; chocolate melts without seizing. That soft whip of cream folded in? Airy, luxurious. Butter beaten first traps air, improves mouthfeel and structure. Pie crust (store-bought or homemade) needs holes pricked or it puffs like a balloon in oven. Chilling overnight isn’t a suggestion — it firms up the filling for clean cuts and consistent bites, no squidgy disaster. Topping whipped with pudding powder holds it firm and teasingly soft, hazelnuts give a crunch contrast in aroma and texture. Flourishes that matter.
Ingredients
In The Same Category · Sweet Treats
Explore all →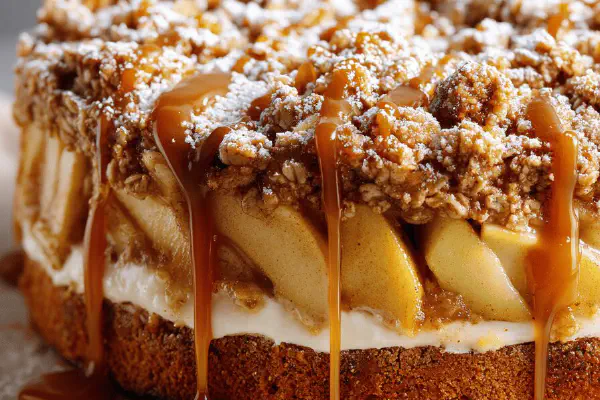
Apple Crumble Cake Twist
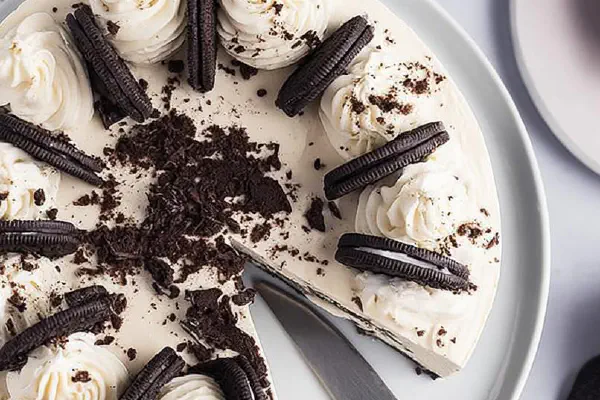
Twist Oreo Cheesecake
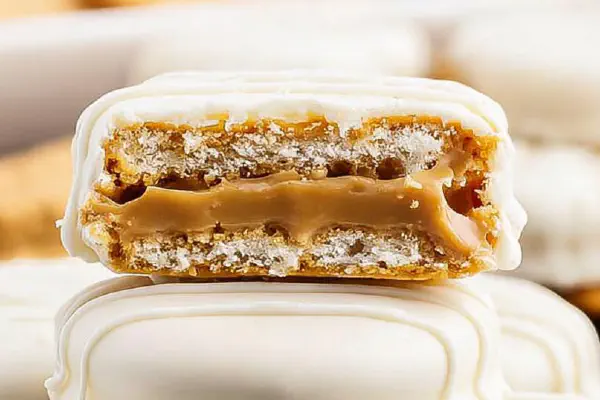
Peanut Butter Crackers Dipped
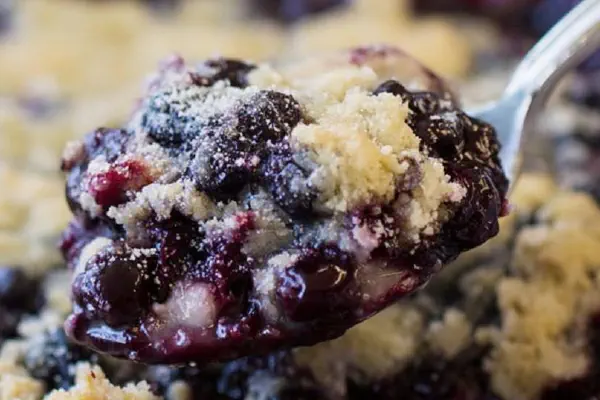
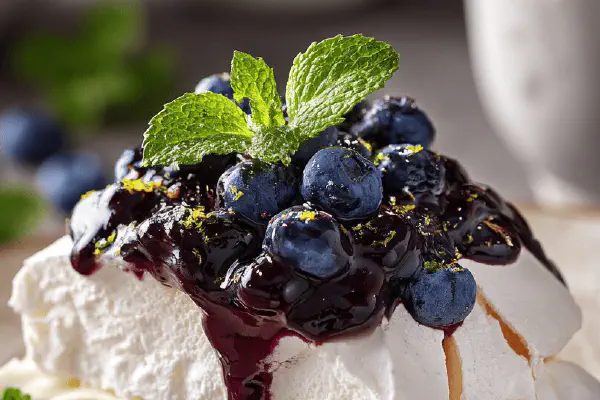
Blueberry Cobbler Twist
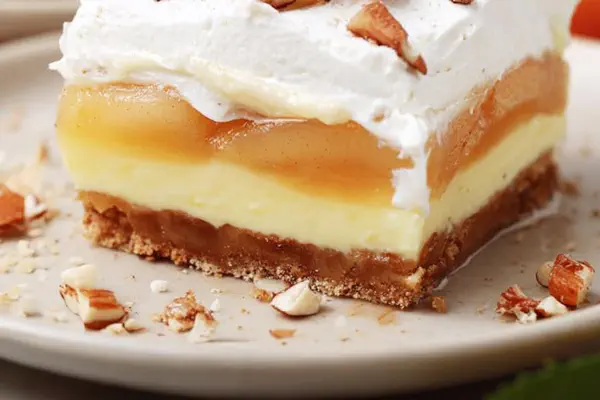
Crunchy Apple Layered Dessert
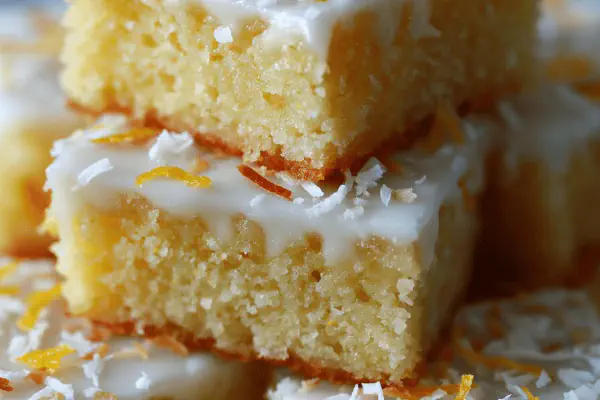
Orange Coconut Mokas
No-Bake Holiday Bars
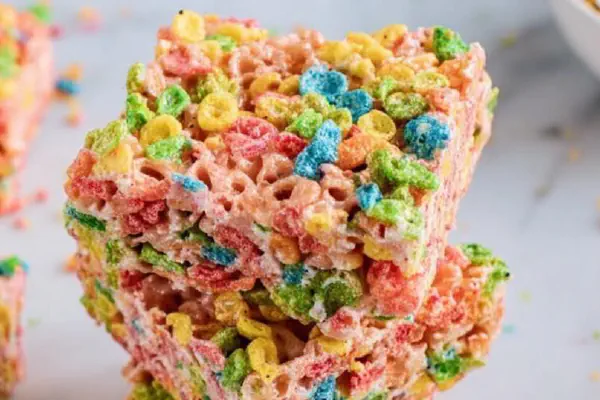
Twisted Fruity Pebble Treats
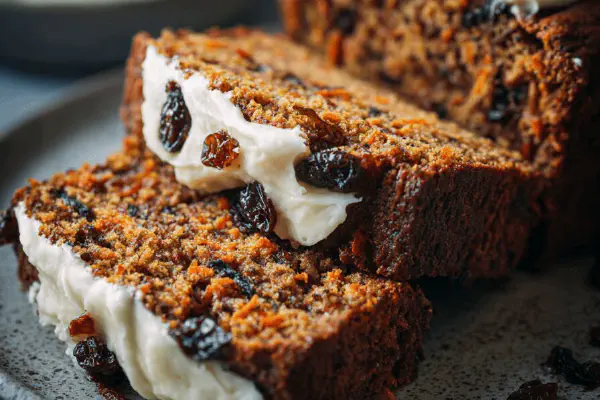
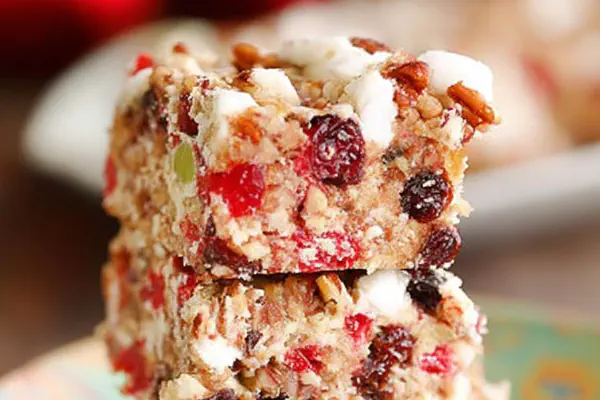
Carrot Cranberry Loaf
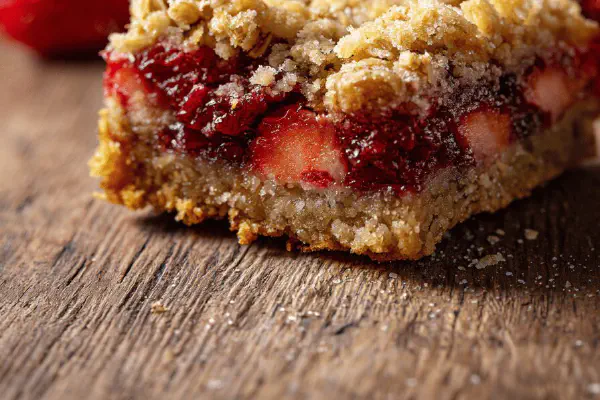
Strawberry Oat Crisps
Crispy Hazelnut Roll
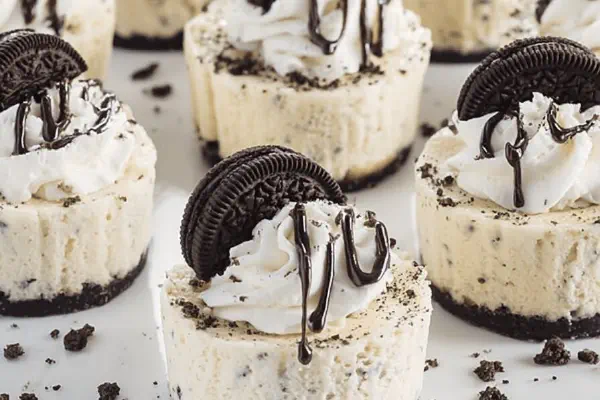
Mini Oreo Cheesecakes Twist

Cinnamon Twisted Pastry Sticks
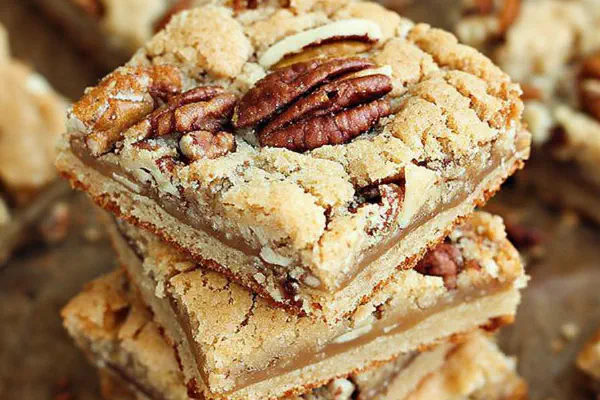
Buttery Pecan Blondies
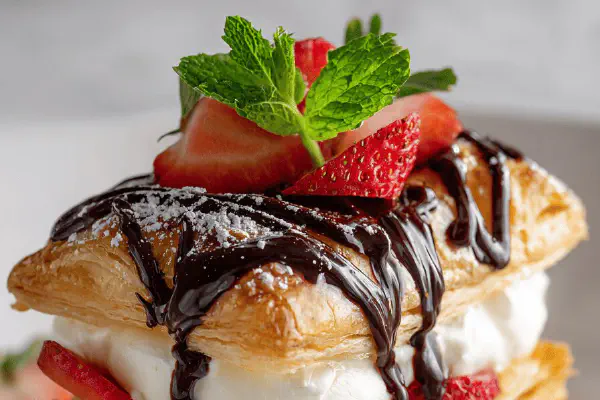
Frozen Strawberry Cream Puff Pastry
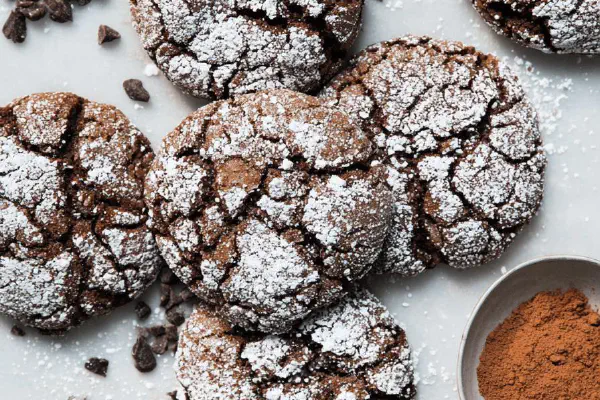
Double Chocolate Crinkle Cookies

Cookie Dough Truffles Twist
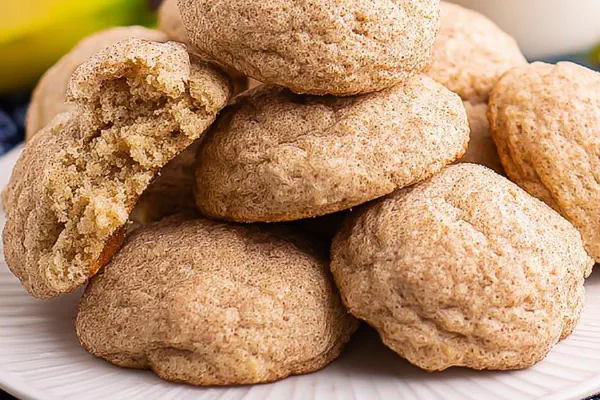
Spiced Banana Cookies
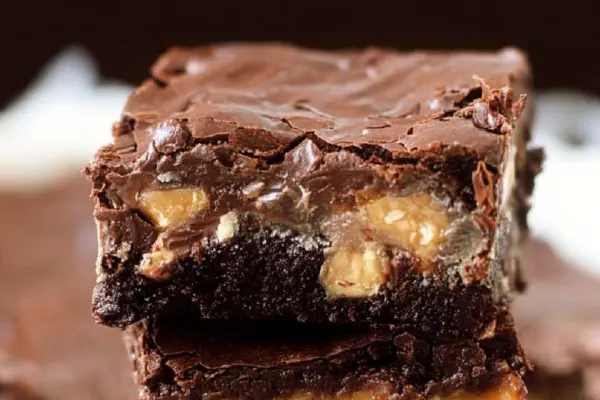
Snickers Caramel Brownies
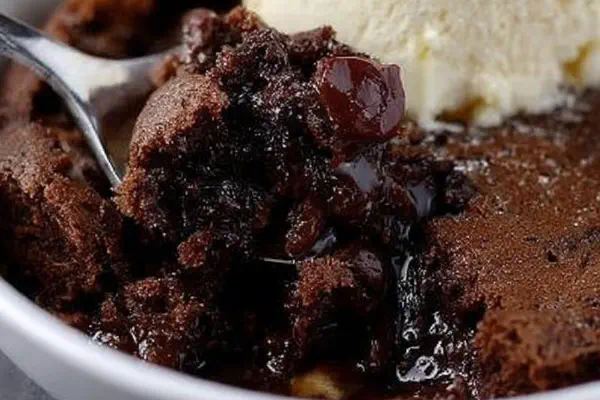
Chocolate Spoon Cake Remix

White Chocolate Pistachio Blondies

Molasses Ginger Galettes
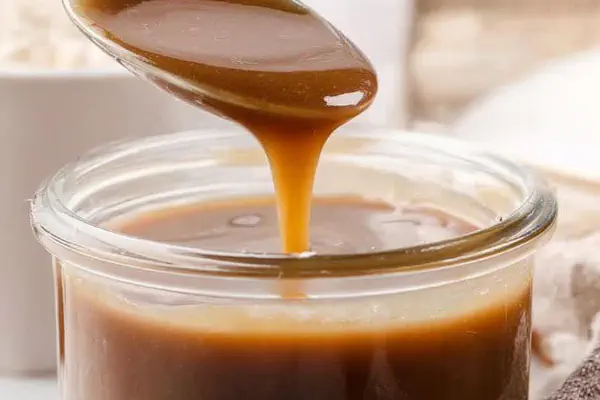
Brown Sugar Cream Sauce
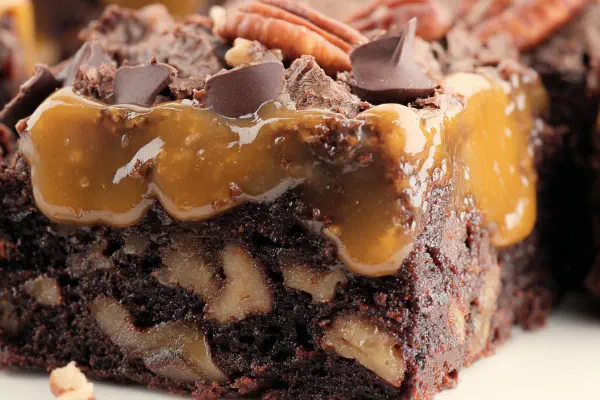
Twisty Turtle Brownies
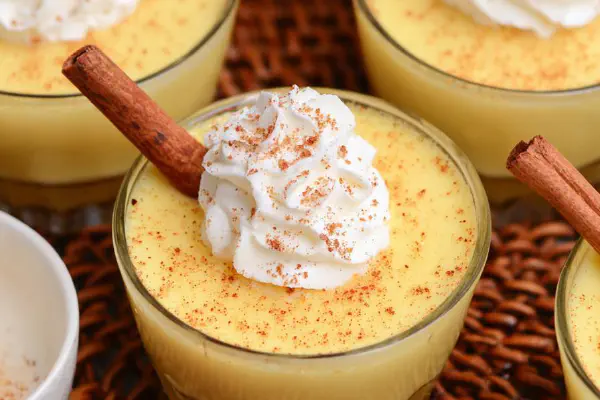
Spiced Eggnog Pudding Remix
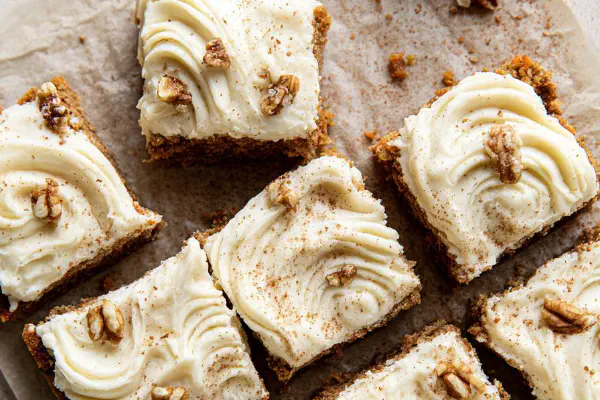
Spiced Carrot Cake Bars
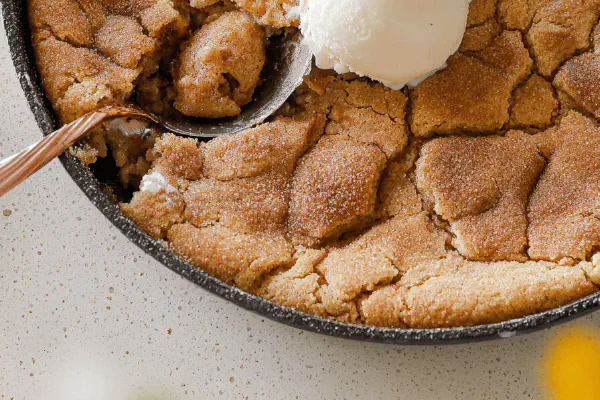
Brown Butter Snickerdoodle Skillet
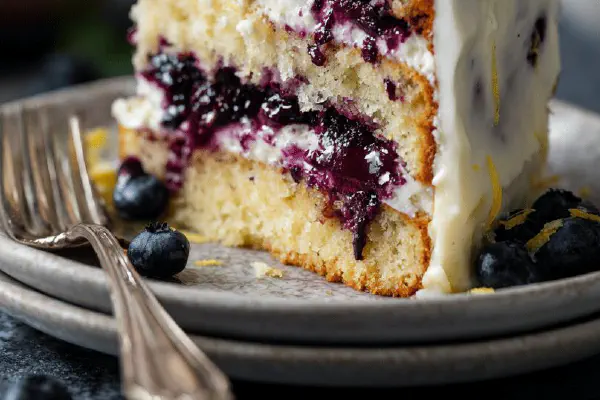
Blueberry Layer Cake

Holiday Almond Shortbread
About the ingredients
Substituting coconut sugar mellows the sweetness, adds caramel notes while lower glycemic index aids digestion. Bittersweet chocolate works better than milk or semi-sweet here — richer, less sweet, balances tart sour cream. Sour cream adds moisture and slight tang, blending in to keep filling from being cloyingly heavy. Butter must be soft but not melted for proper aeration during beating. If no instant pudding on hand, cornstarch plus a pinch of gelatin can stabilize whipped cream, but pudding powder is foolproof shortcut. Toasted hazelnuts give dimension — replace with toasted pecans or almonds if preferred, but drying nuts to a fragrant toasty level is crucial to avoid raw flavors. Use heavy cream over whipping cream for stable peak formation; less fat can cause runny or weepy results.
Method
Bake and prep crust
- Remove crust from freezer. Prick bottom and sides with fork all over. Stops air pockets inflating and cracking. Bake at 375F until golden edges, about 12 minutes but watch closely; bubbles, browning edges tell the story. Cool completely on wire rack to keep flaky.
- In a small saucepan, whisk coconut sugar and eggs over medium heat. Stir constantly. No rush, eggs won’t scramble this way. Look for thickening – coats back of spoon, temp hits around 158F to 160F; if no thermometer, watch carefully for thread-like ribbons when you pull the spoon away. Remove immediately. Pour into mixing bowl to stop cooking further.
- Microwave chopped bittersweet chocolate in 20 second bursts, stirring well between. Hot enough to melt, not scorch — warm to touch, glossy, lump-free. Too hot, it’ll seize; start slower if unsure — double boiler bailout ready.
- Fold melted chocolate into egg mixture with vanilla and sour cream. Sour cream adds balance, keeps richness in check and smooths texture. Stir gently until shiny and combined.
- Beat 1/2 cup heavy cream with powdered sugar until soft peaks form — not too stiff, just enough to hold shape loosely. If overwhipped, it’ll dull and lose volume. Set aside.
- Beat butter on medium-high for 2-3 minutes till fluffy, lighter in color. Adds air, essential for texture. Add chocolate mixture, beat high for 4 minutes — will thicken and get glossy. Fold in whipped cream carefully. Stop as soon as no streaks remain — overmixing breaks air, flattening pie.
- Pour into cooled crust. Smooth top with spatula. Refrigerate minimum 6 hours. Overnight best. Filling firms, texture sets. Cutting beforehand risks collapse.
- Combine remaining 1/2 cup heavy cream with instant pudding mix. Beat until soft peaks form; pudding stabilizes whipped cream so it won’t weep on pie. Spoon over chilled pie. Scatter toasted hazelnuts on top for crunch and nutty aroma instead of plain chopped chocolate.
- Cut with a hot knife (run under hot water, dry) to prevent tearing edges. Store covered in fridge. Eat within 3 days for best flavor and texture.
Temper eggs & cook filling base
Melt chocolate carefully
Combine chocolate & flavors
Whip cream for filling
Beat butter & build filling
Chill filling in crust
Prepare topping
Serve and store
Technique Tips
Pricking pie crust is step one — prevent the dreaded air bubbles will burst or create ugly toppings. Temper eggs by cooking gently over medium heat with constant stirring; rushing will scramble, ruining texture and safety. Temperature matters — target 158-160F for thickened, safe eggs without scrambling. Use a thermometer or visual cues like coating a spoon with mixture and seeing if it forms ribbons when runny drops fall. Melting chocolate slowly in short bursts avoids scorch or seizing — stirring between microwaving critical. Sour cream adds body and breaks up intenseness. Beat butter light and fluffy so air bubbles trap into the structure, giving lightness not heaviness — takes patience and high speed. Folding whipped cream in must be gentle; over mixing causes deflation making filling dense and dull. Refrigerate pie minimum 6 hours, ideally overnight for setting and clean slicing. Whipped topping stabilized with pudding powder prevents weeping and adds hold; fold in using chilled bowls for best volume. Toast nuts until fragrant but not burnt; burnt nuts bitter. Use a hot knife for slicing — a cold or dull knife smears filling and cracks crust.
Chef's Notes
- 💡 Bake crust until golden — watch for bubbling edges, that color hints it’s done. Pierce skin helps steam escape, no air pockets ruining slice.
- 💡 Tempering eggs needs patience — stir constantly, avoid rushing heat. Look for ribbons forming on spoon for thickening. 158F-160F is the mark.
- 💡 Micro chocolate bit by bit till melty — lumps gone but not too hot. Scorched chocolate ruins flavor. Start low; double boiler can save it.
- 💡 Fold whipped cream in gently, don't deflate it. Use spatula, combine until no streaks left. Overmixing? Filling gets heavy, loses airy structure.
- 💡 Chill time matters — pie needs minimum 6 hours to set. Overnight best; flavors meld, filling firms, results in cleaner slices.
Kitchen Wisdom
Why is my filling too runny?
Ensure proper chilling time, whipped cream must hold structure well. Watch those mixes or runny disaster.
Should I skip hazelnuts?
You can, but you're losing crunch contrast. Try pecans instead but toast any nut until fragrant.
My eggs scrambled — how can I avoid?
Temper slowly; stirring prevents curdling — direct heat ruins that silky texture you want.
Can I make it a day in advance?
Yes, just refrigerate tightly. Pie holds well up to 3 days; flavors deepen nicely. But keep it cold.
You’ll Love These Too
Explore all →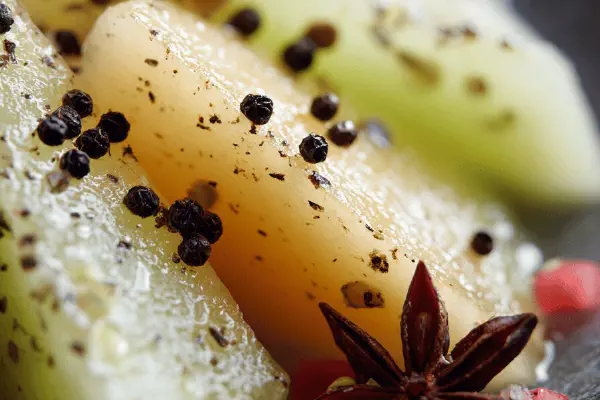
Marinated White Melon Julienne
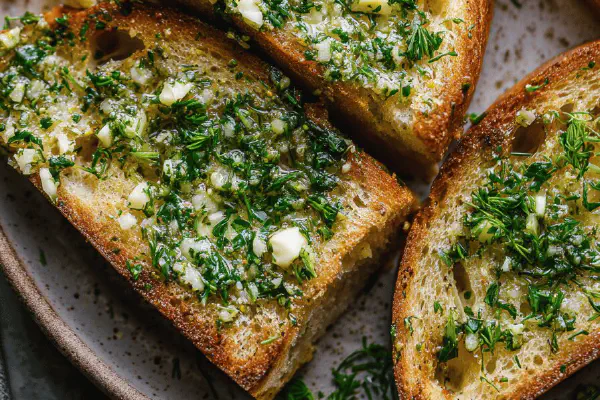
Garlic Herb Butter Toast
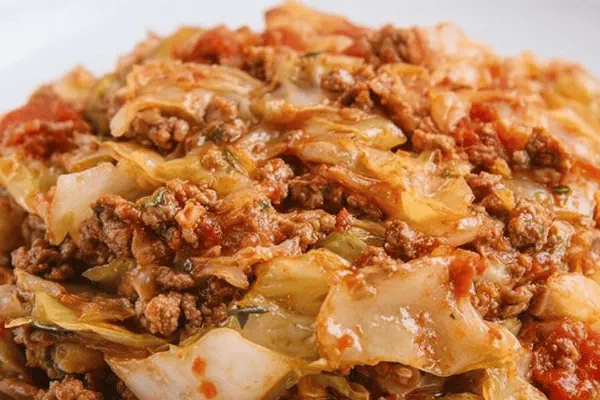
Hearty Cabbage Roll Bake
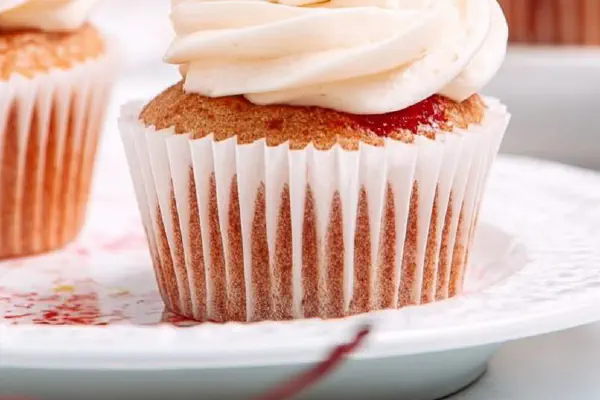
Cherry Almond Cupcakes
Spicy Butter Buffalo Sauce
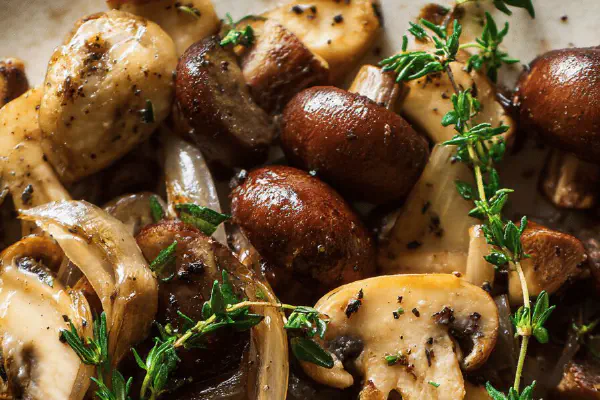
Savory Mushroom Mix
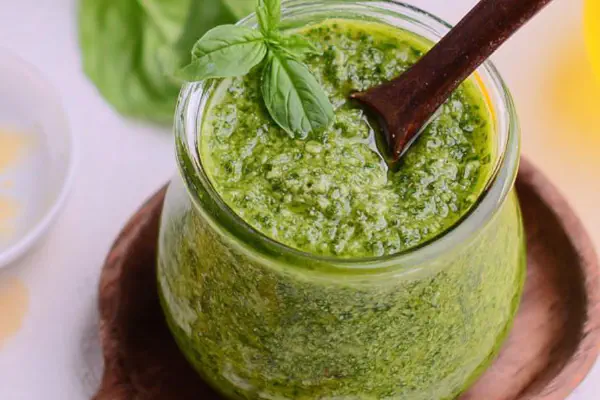
Herb Nut Pesto Twist
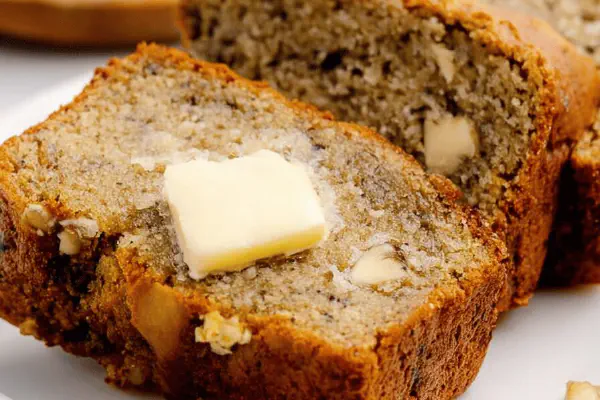
Air Fryer Walnut Banana Bread
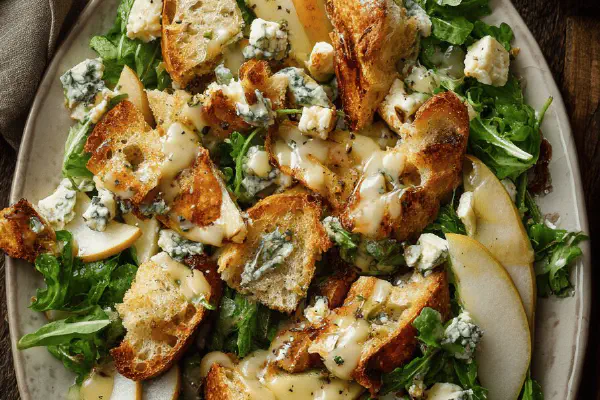
Warm Blue Cheese Salad
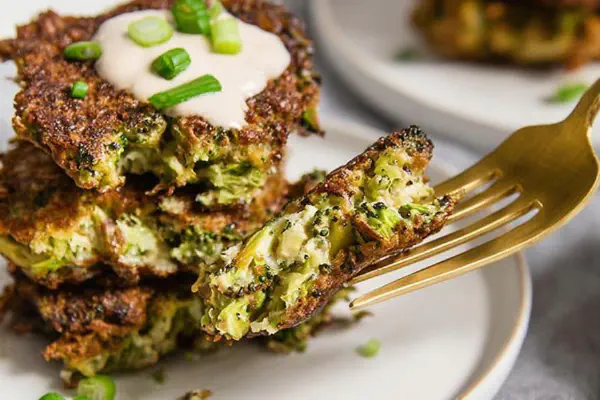
Broccoli Cheddar Fritters
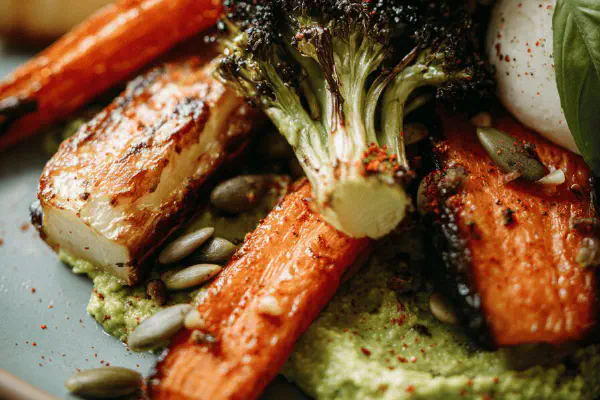
Roasted Veg and Sunflower Salad

Crispy Caesar Salad

Buffalo Chicken Cauliflower Bake
Confetti Yogurt Dip
Cream Cheese Peppermint Mints
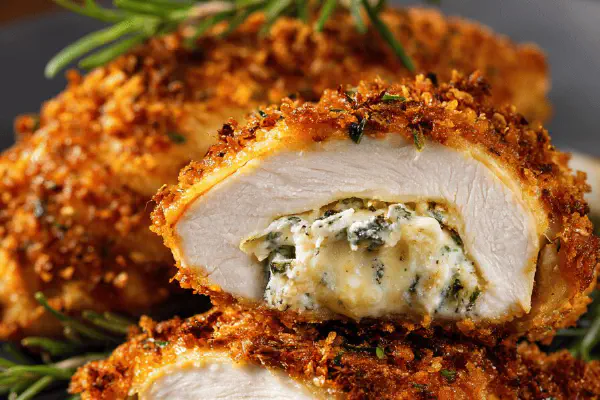
Herb Butter Chicken Kiev
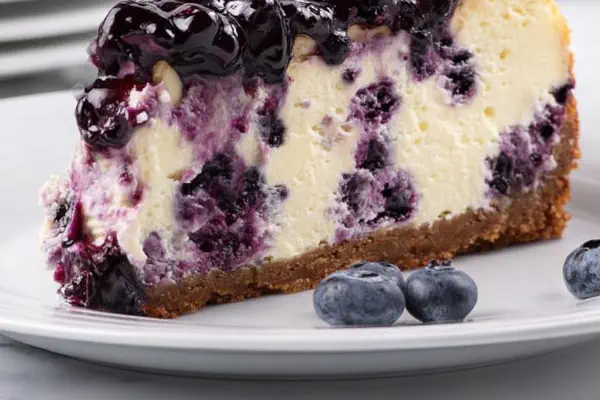
Blueberry Lemon Cheesecake
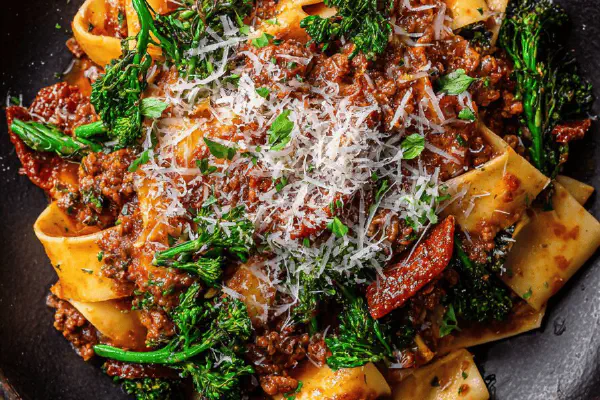
Red Wine Pappardelles with Meat Sauce
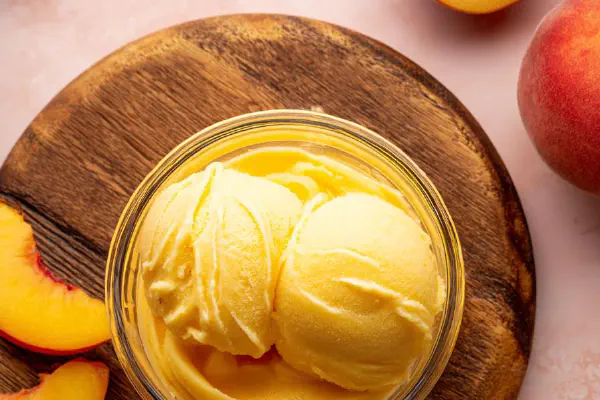
Tangy Nectarine Sorbet
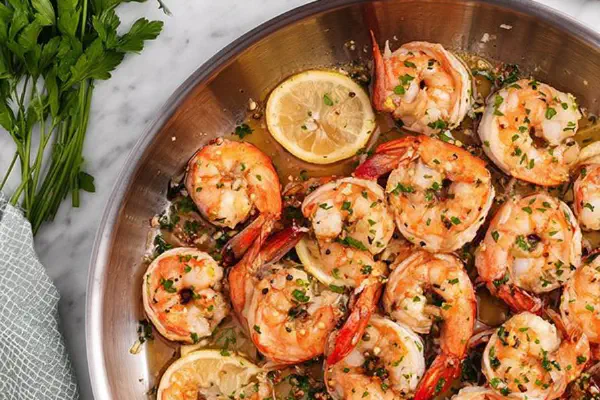
Zesty Garlic Butter Shrimp
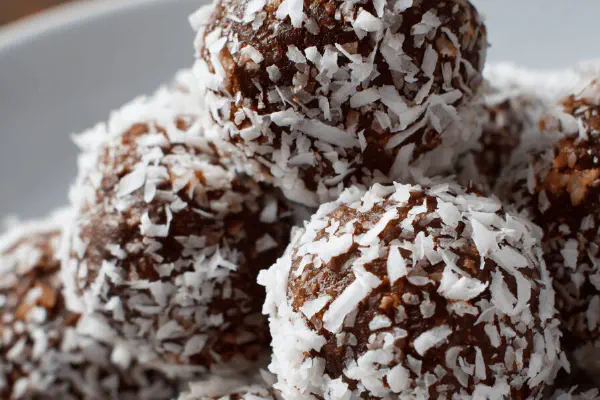
Chocolate Coffee Bites
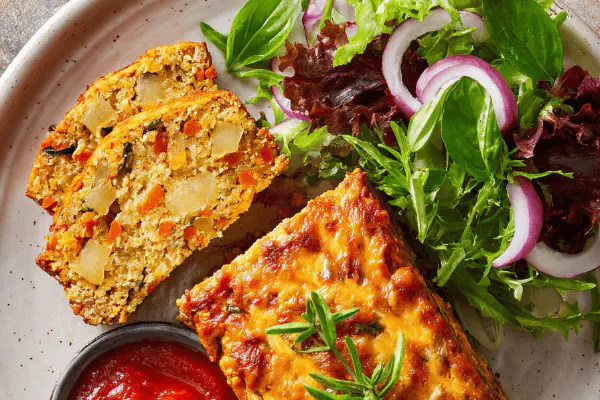
Cheesy Veggie Legume Loaf
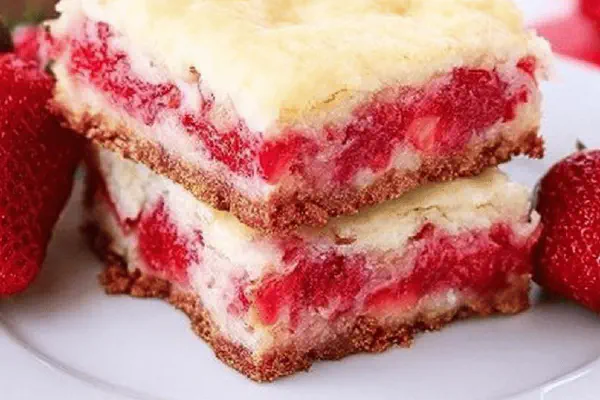
Strawberry Chess Bars Twist

Beef Stroganoff Pressure Cooker
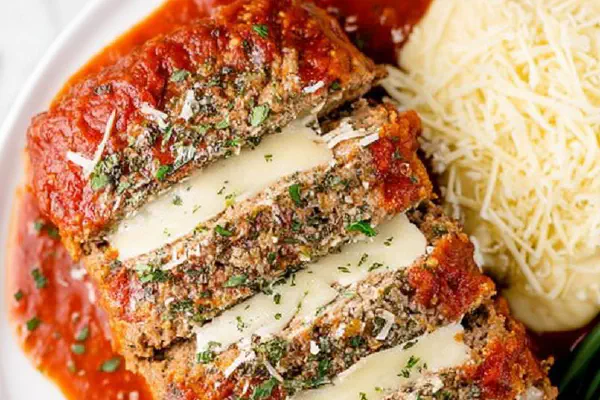
Italian Style Meatloaf Twist
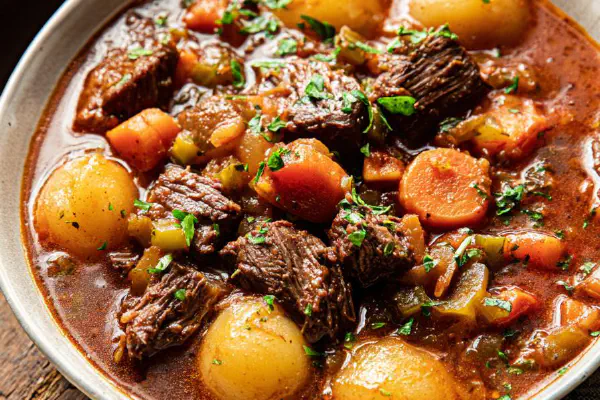
Slow Cooker Rustic Beef Stew
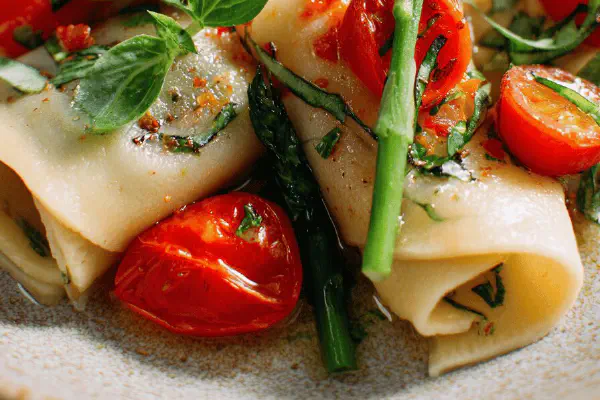
Rustic Tomato Basil Pici
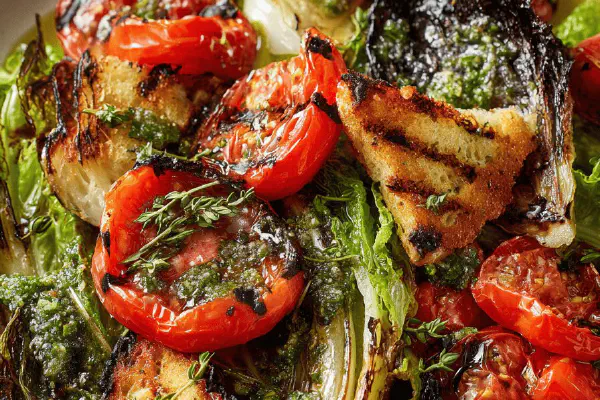
Grilled Romaine Salad Barbecue Style

Argentine Matambre Twist