Featured Recipe
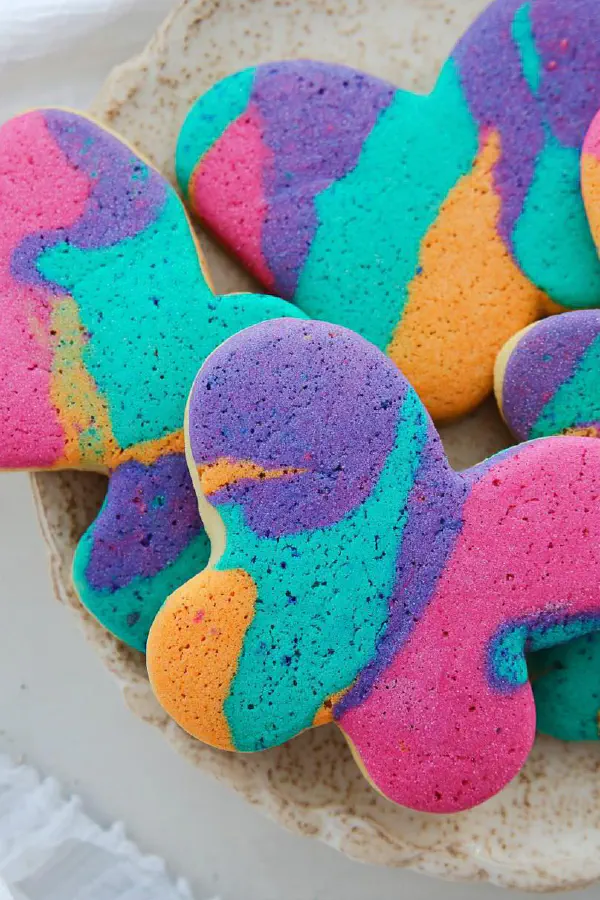
Twist Tie-Dye Cookies
By Kate
"
Shortening and sugar creamed, eggs and maple syrup swapped in for vanilla and eggs. Flour, baking soda, and kosher salt sifted. Dough divided, color mixed in with gel dyes. Chill minimum 45 minutes, max 18 hours. Rolling out to 5 mm thickness. Pinch colors close but distinct, don’t overblend or lose marble effect. 18-22 cookies per batch. Bake at 390°F until edges just color, 7-9 minutes. Let cool on rack to firm up. Visual and tactile cues over clock. Notes on ingredient swaps, texture fixes, and handling color mixing. Flexible but precise to get those swirled patterns right.
"
Prep:
15 min
Cook:
9 min
Total:
24 min
Serves:
22 servings
cookies
baking
desserts
tie-dye
Introduction
Color isn’t just visual — flavor, texture locked in with every step. Cream shortening and sugar until grainy, not fluffy. Eggs replaced by pasture-raised, maple syrup swaps in for vanilla — subtle twist, more chew. Flour sifted with baking soda and kosher salt, folded gently into wet to avoid toughness. Divide, color each batch carefully — gel colors preferred to prevent sogginess. Chill for firmness, colors meld during rest. Combine colors minimally, do not over blend or risk dull marble. Roll 5 mm thick, cut 2-inch rounds, bake 7-9 minutes at 390°F until edges just hint golden. Watch dough temp closely to prevent stick or crack. Transfer right off pan, cooling on rack stops carryover baking but firms edges nicely. Focus on tactile and visual cues, not just time. Color, texture, and chew equal parts science and intuition here. This isn’t beginner play — requires feel and timing. Substitutions for dairy, vegan, and troubleshooting color bleed included. This is how to handle tie-dye sugar cookies like a pro.
Ingredients
In The Same Category · Sweet Treats
Explore all →
Strawberry Melon Tres Leches
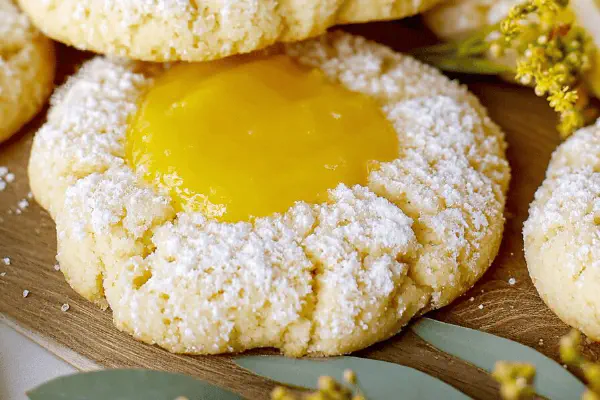
Zesty Lemon Thumbprint Cookies
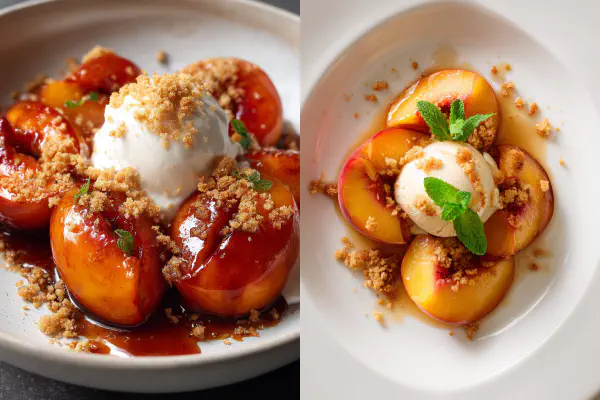
Honey Ginger Roasted Peaches

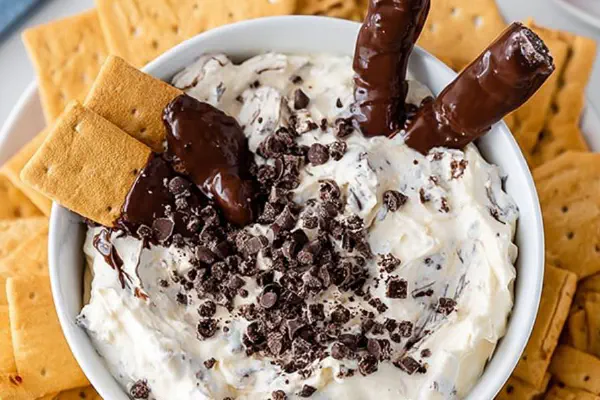
Coco-Choco Brownies Remix
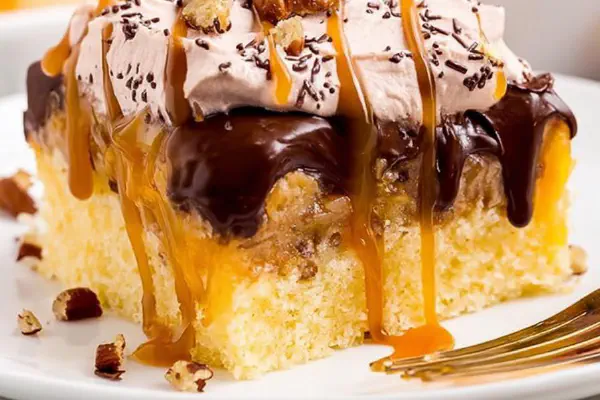
Turtle Poke Cake Twist
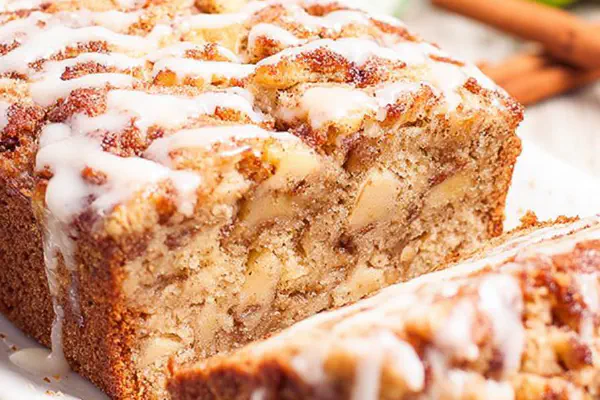
Chunky Apple Bread Twist
Cannoli Dip Remix
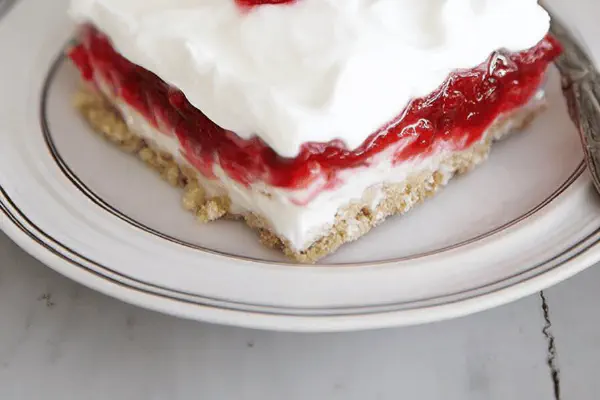
Strawberry Cream Bars
Spiced Cream Cheese Frosting
Chocolate Almond Caramel Crunch
Chocolate Peanut Butter Cookies
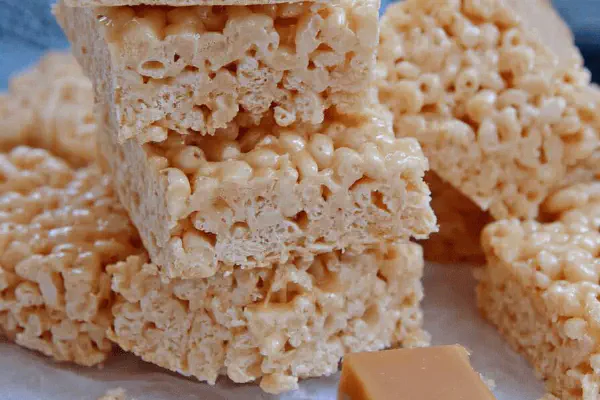
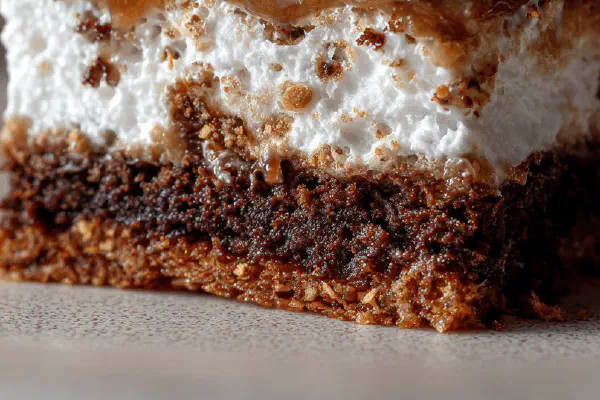
Salted Caramel Crispy Treats
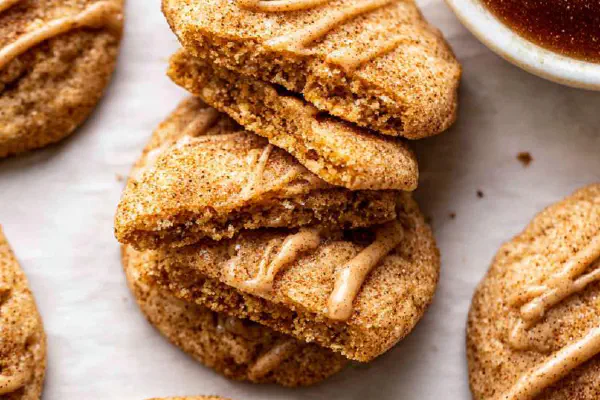
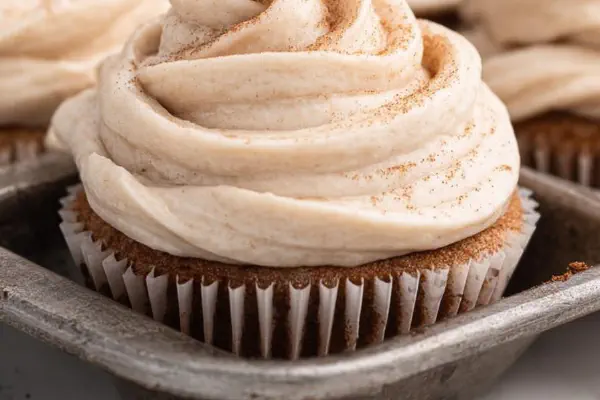
Apple Butter Snickerdoodles

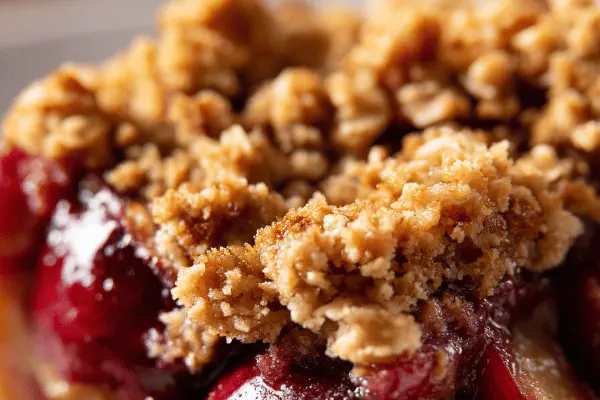
Peach Crumble Bars
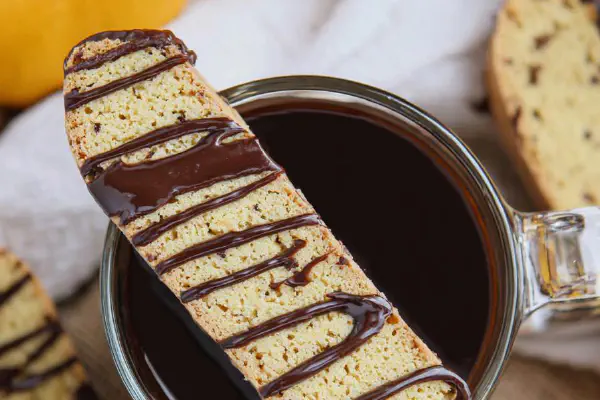
Vanilla Mocha Biscotti Remix
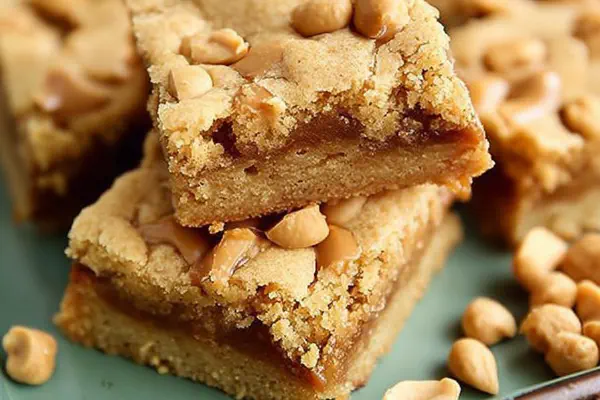
Chunky Peanut Bars
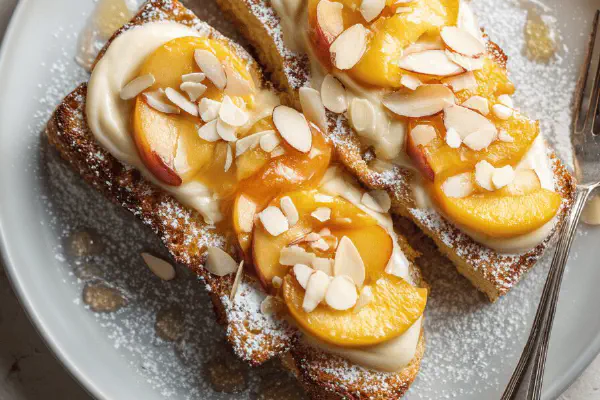
Peach Almond Bostocks
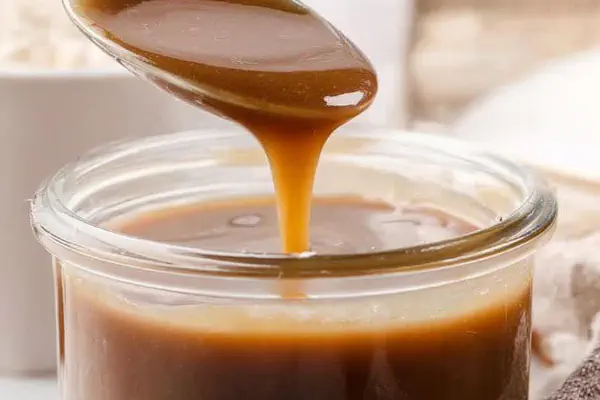
Brown Sugar Cream Sauce

Spiced Layer Cake With Dulce Frosting
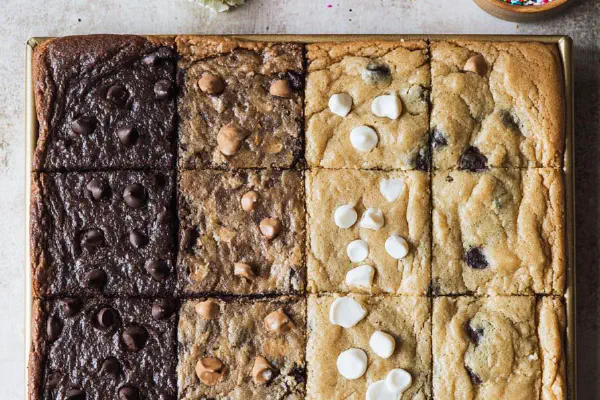
Sheet Pan Mix Cookies
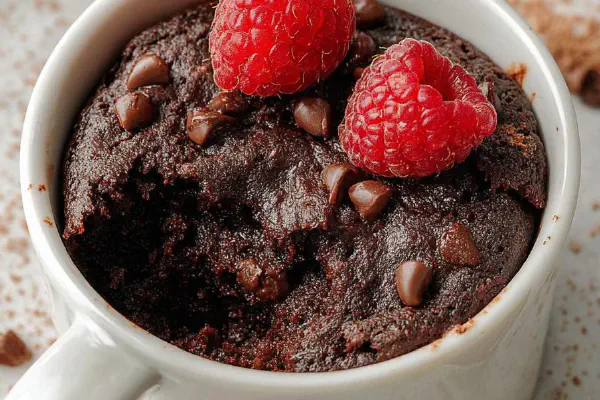
Espresso Chocolate Mug Cake
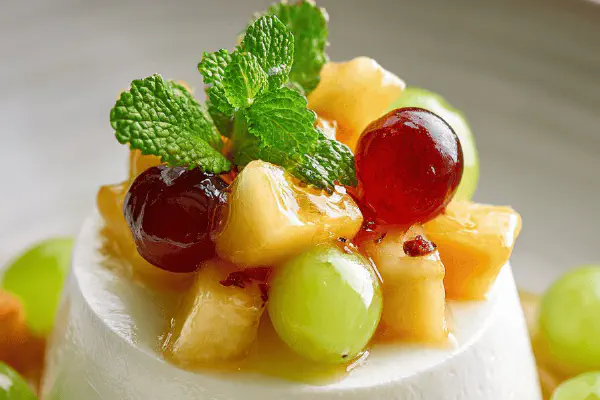
Light Yogurt Mousse with Fruit Salad
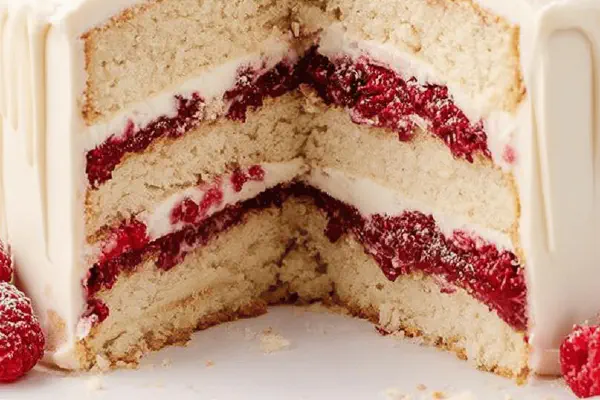
White Chocolate Raspberry Cake Remix
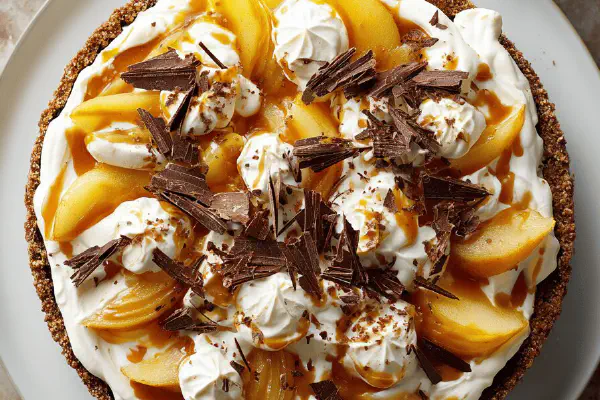
Pear Caramel Cake with Cream Cheese Whip

Molasses Ginger Galettes
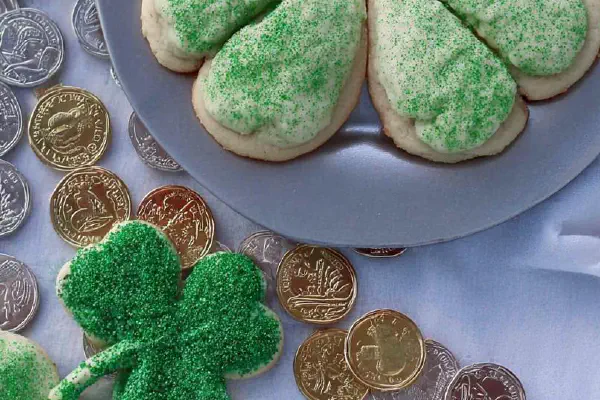
St Patrick Clover Cookies

Slow Cooker Cheesecake Twist
Plum Apple Flax Crisp
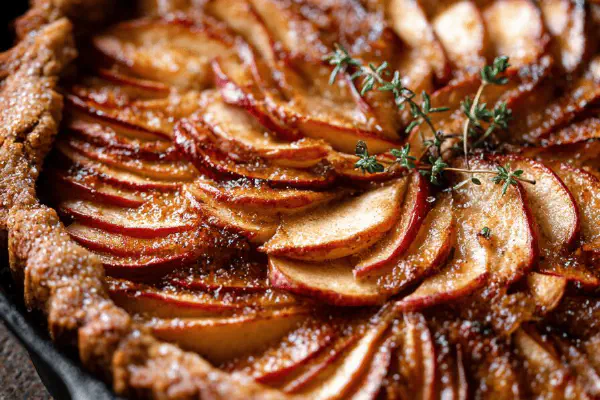
Skillet Apple Tart
About the ingredients
Shortening over butter slows spread and keeps shape crisp. Maple syrup over vanilla adds chew and depth without moisture increase. Distinguished baking soda instead of powder for lean rise, less cake-like. Gel colors control moisture better than liquid, which can make dough sticky and dull colors. Flour amount depends on humidity and egg size — adjust as dough forms, too dry means crumbly; too wet, sticky — too much flour toughens. Salt to balance sweetness and boost flavors structurally during baking. Chilling crucial — firms dough, prevents colors smudging and helps rolling smooth out. Chill minimum 45 min for workable dough, longer times enhance flavor melding. Use gloves for color kneading or accept tinted hands. For substitutions — butter adds flavor but can soften edges too much, coconut oil good for vegan but changes texture and melt point meaning more chill time needed. Important to treat dough gently during shaping to keep color sections distinct and patterns vibrant.
Method
Dough assembly
- Cream shortening with sugar until texture looks grainy but soft. Not fluffy — just blended.
- Add eggs one at a time, mixing fully. Pour in maple syrup instead of vanilla. It adds a subtle depth and slight chew.
- Sift flour with baking soda and salt. Aim for even distribution. Baking soda gives a different crumb than baking powder - slightly more rise but less spread.
- Gradually add dry ingredients to wet, folding carefully. Dough should just pull together, not stiff or crumbly but not sticky.
- Divide dough in 3 or 4 bowls. Work gel colors in with hands — gloves or bare, but knead well for saturation without overmixing.
- Seal each batch under plastic wrap, chill at least 45 minutes, up to 18 hours to firm up and let flavors merge.
- Preheat oven to 390°F. Use parchment or silicone mat to roll dough combined from 2-3 colors. Press or lightly crush together, avoid thorough blending or colors will gray.
- Roll to approx 5 mm thickness, add flour lightly to stop sticky edges but don’t overdo. Dough temperature matters — cold dough cracks, too warm sticks.
- Cut with 2 inch cutters, take care when moving shapes — support from underneath, use a thin flexible spatula if needed.
- Arrange on ungreased baking sheet, close but not touching. You want those edges to brown lightly around shape for texture contrast.
- Bake 7-9 minutes, watch closely. Edges turning pale golden, surface mostly matte but firm to touch.
- Remove, immediately transfer to wire rack to cool completely. Carryover heat firms cookies, helps colors set visibly.
- Keep airtight up to 5 days. For more chew, swap 2 tablespoons shortening for butter. For vegan, use coconut oil and flax eggs but dough rapdily softens - freeze before baking.
- If dough too wet, extra flour in small increments to avoid tough results.
- Avoid metal bowls with acidic colors - can dull hues.
- If colors bleed too much while rolling, chill again before cutting.
- Using gel colors over liquid prevents soggy dough and maintains vibrant hues.
Dry mix
Color division
Rolling and shaping
Baking
Storage and tweaks
Technique Tips
Start with creaming consistency, not fluff — key texture detail. Maple syrup in instead of vanilla shifts moisture balance that requires attention. Sift baking soda and salt, not powder — reason: finer control over rise, smoother crumb. Stir dry gently into wet, mix only until just combined to avoid gluten overdevelopment. Dividing dough ensures even dyeing, use gel colors, mix just enough for saturation; too much mixing kills tie-dye effect. Seal and chill to firm dough, promotes handling ease and color integrity. For rolling, combine at most 3 colors per sheet; pressing lightly to avoid bleaching or muddy blend. Rolling to 5 mm gives sturdy but tender bite, thicker causes dough heaviness and uneven heat conduction. Cutting shapes requires patience—support with spatula to maintain form. Baking times vary—edges pale golden, surface matte, slightly firm to touch marks doneness better than timer. Immediate transfer to wire racks cools cookies evenly and sets texture. Watch dough temp constantly, warm dough sticks, cold cracks—adjust accordingly by brief chill or flour dusting. Notes on storage — airtight to retain freshness, ingredient swaps, and when dough is too sticky or dry with fixes included.
Chef's Notes
- 💡 Always cream shortening and sugar until grainy, not airy. Check texture often — it impacts spread. Adjust moisture balance. More chewy, less dry.
- 💡 Use gloves for color mixing. Colors can stain, and hands become tinted. Knead gently; too much mixing dulls vibrancy. Keep gel dyes ready.
- 💡 When rolling, aim for 5 mm thickness. Too thick? Cookies might not bake evenly. Too thin? Risk of burning edges. Pay attention to dough feel.
- 💡 Chill dough well. If too soft while working, easier to handle. Break process into chunks, let dough firm in fridge. Helps maintain distinct colors.
- 💡 Immediate transfer to cooling rack after baking. Stopping carryover heat sets texture and color. Gingerly support cookies moving. Avoid bending.
Kitchen Wisdom
What's the best way to fix sticky dough?
Increase flour bit by bit. Avoid hard dough. Overdoing it makes tough cookies. Adjust according to humidity.
Can I swap shortening for butter?
Yes, but watch spread. Butter yields more flavor, but tends to make edges too soft. Semi-substitutions work.
Why do colors bleed while cutting?
If dough warms too much, chill first. Helps keep colors separate. It’s tricky with the blending.
How should I store cookies?
Airtight container can last to 5 days. Freeze for long-term, but remember to seal well. Consider texture changes.
You’ll Love These Too
Explore all →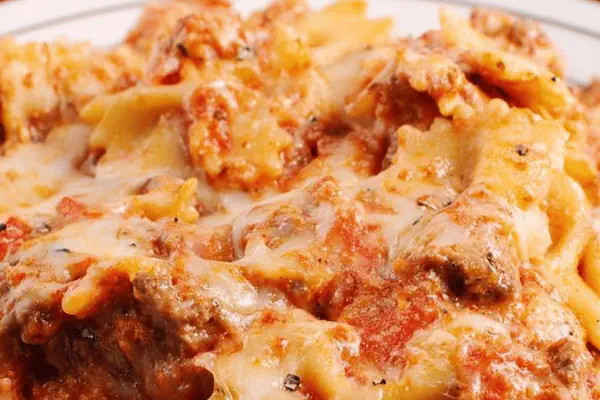
Twisted Bowtie Lasagna
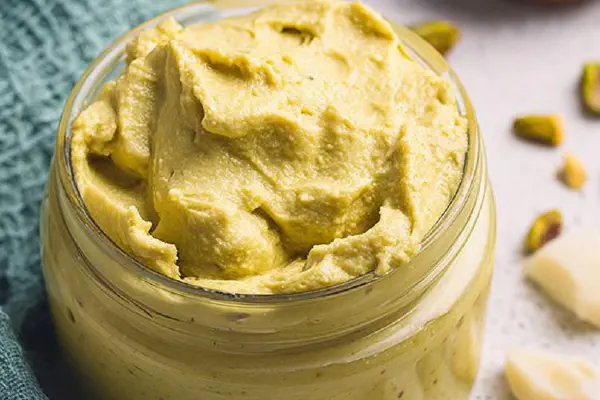
Pistachio White Cream
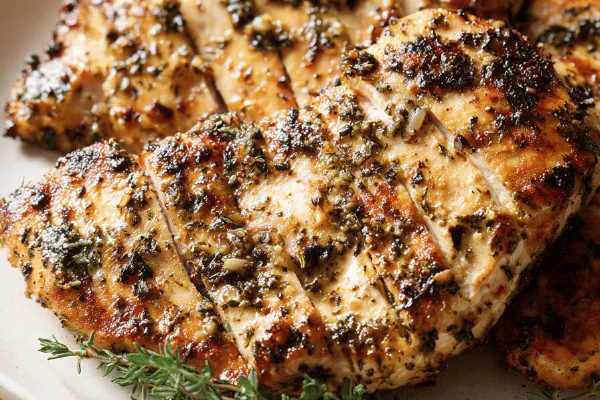
Buttermilk Mustard Marinade

Ham Pimento Egg Cups
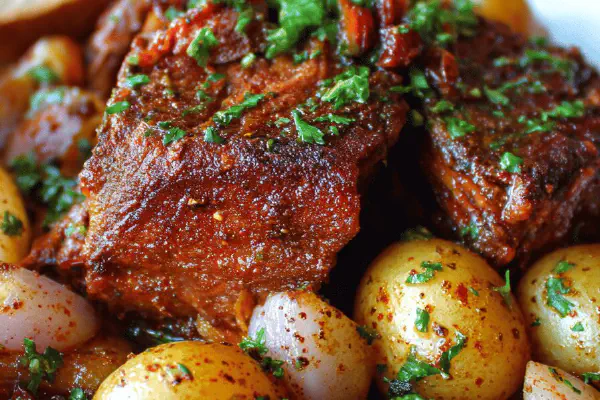
Braised Pork with Dates
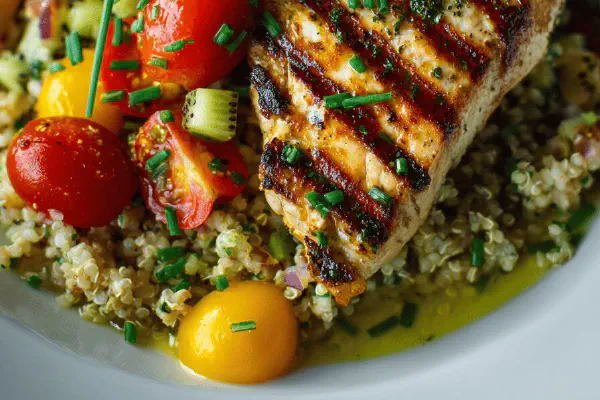
Grilled Swordfish Kiwi Salsa
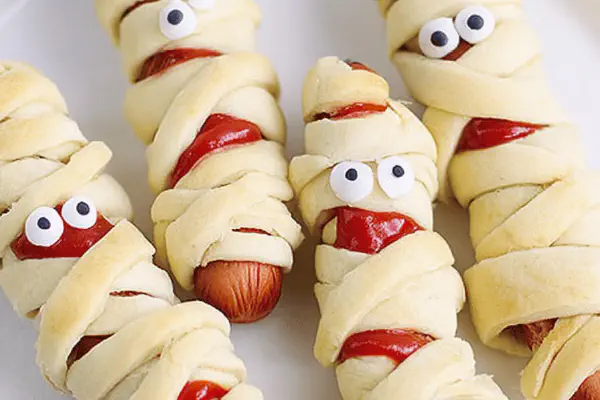
Mummy Dog Wraps
Alabama Tangy White Sauce
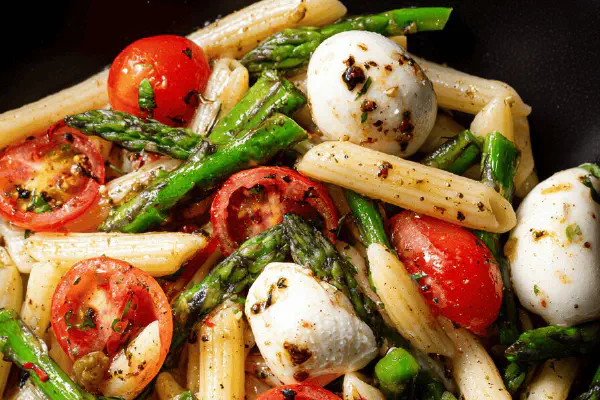
Pasta Salad with Asparagus and Bocconcini
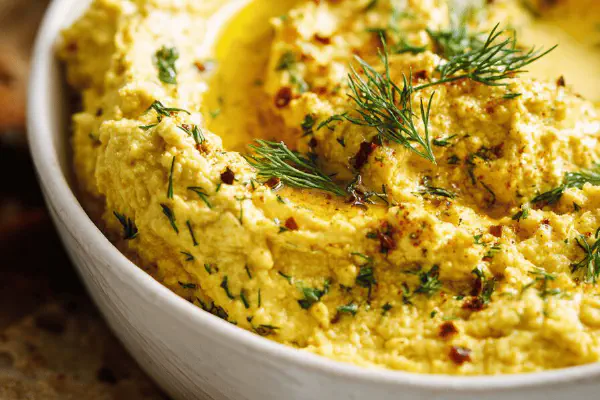
Vegan Cashew Herb Dip
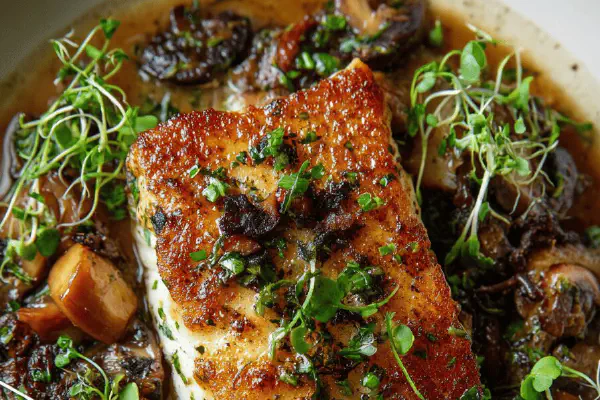
Golden Perch with Caramelized Onion Mushroom Sauce
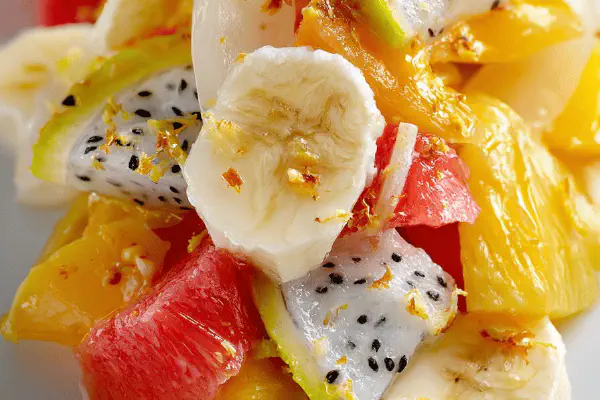
Tropical Yellow Fruit Salad
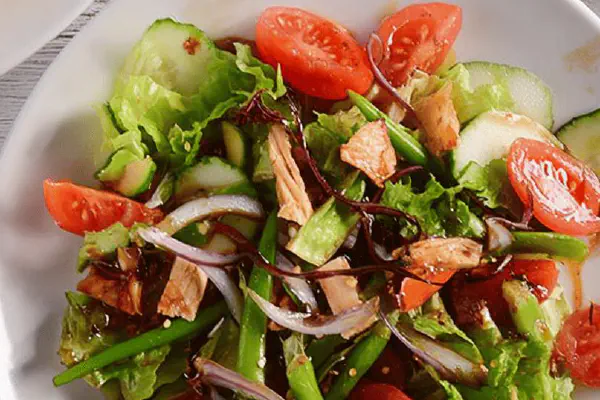
Crunchy Garden Salad Twist

Spiced Fall Sangria

Honeydew Cucumber Punch Remix
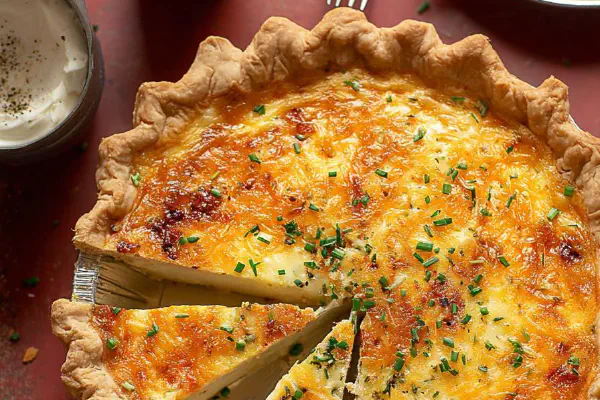
Smoky Ham and Swiss Quiche
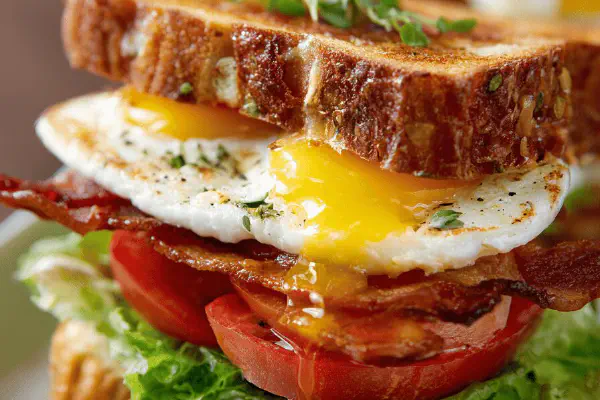
Hearty Club Breakfast

Ricotta Chocolate Sicilian Turnovers
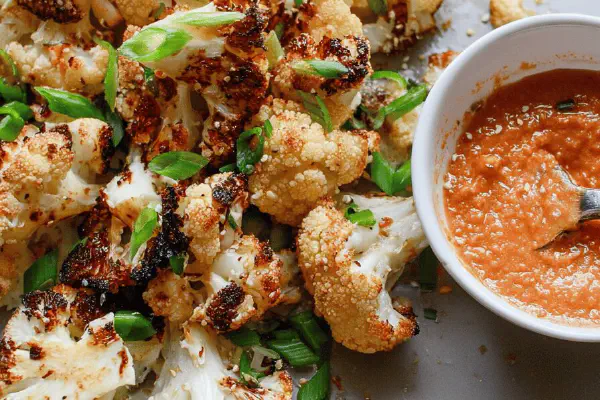
Spicy Roasted Cauliflower Twist
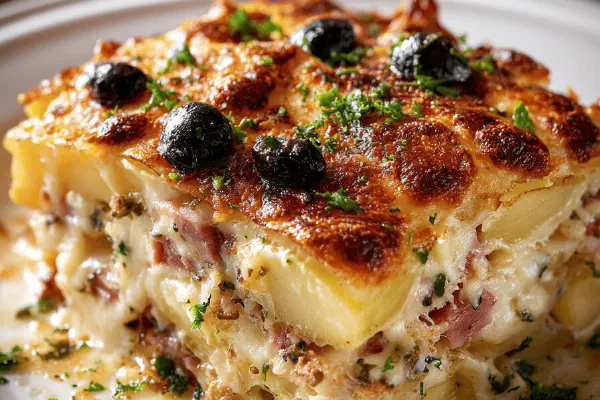
Potato Ham Au Gratin

Chicken Dipper Sauce
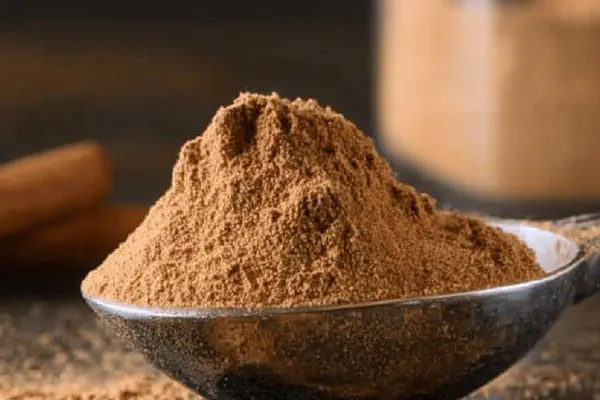
Custom Pumpkin Pie Spice
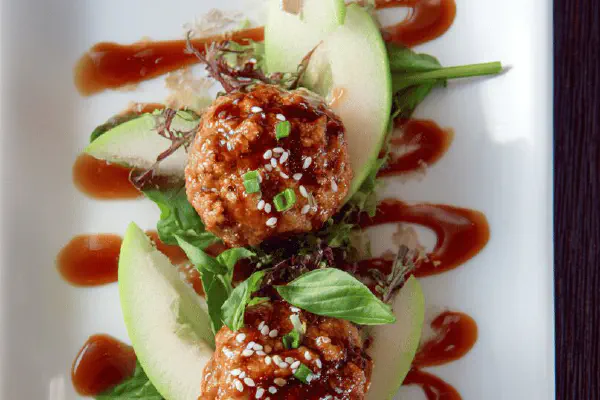
Sticky Pork Meatballs Basil Apple
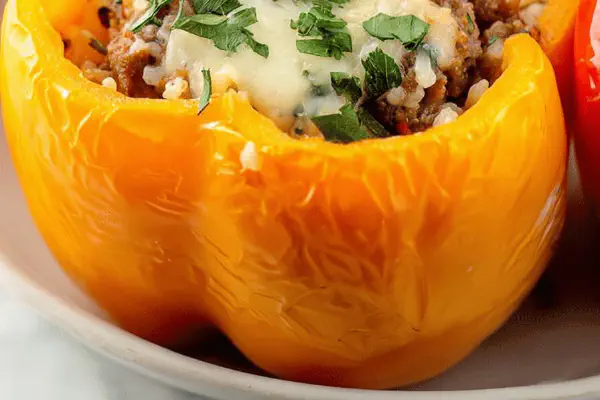
Twisted Stuffed Peppers
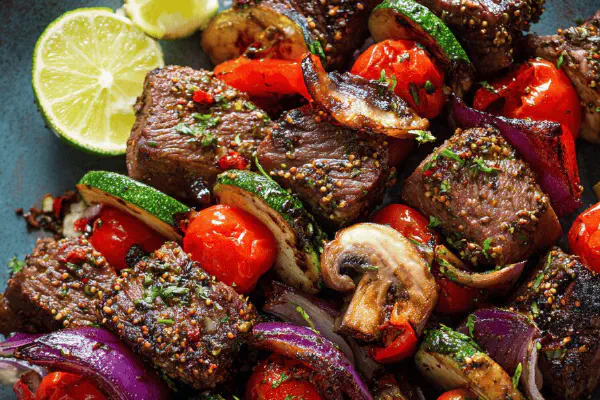
Mediterranean Beef Skewers

Grapefruit Mint Tonic

Buffalo Chicken Cauliflower Bake

Spiced Pita Chips with Smoky Twist
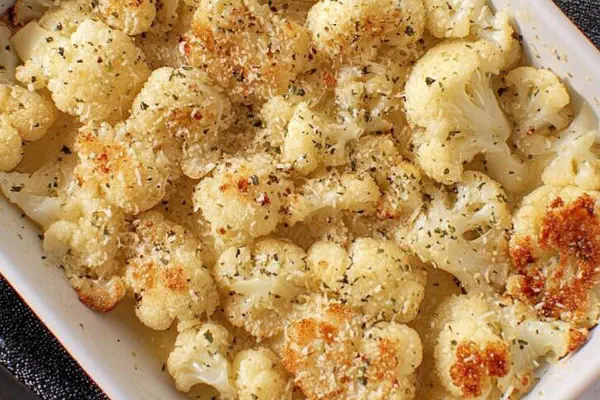
Cheesy Garlic Roasted Cauliflower