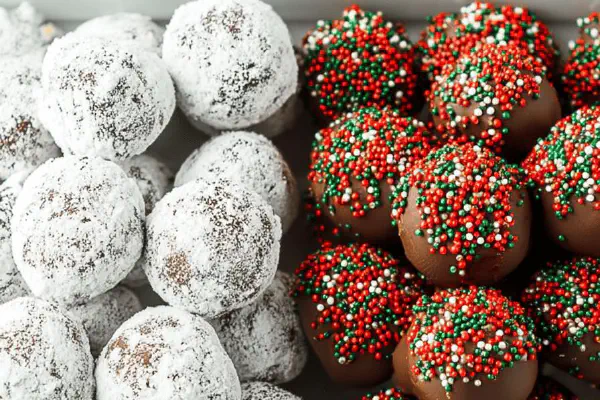
Featured Recipe
Twisted Hot Cocoa Bombs
By Kate
"
Melt dark chocolate at medium-low heat in short bursts. Brush 1¾ teaspoons into silicone molds — swirl up sides to build walls. Freeze 6-12 minutes until firm. Repeat with thinner chocolate layer for sturdiness — do one mold at a time; chocolate seizes rapidly. Half spheres get filled with spiced cocoa mix plus dried hibiscus petals instead of marshmallows. Seal halves with melted white chocolate piped around edges; set sprinkle rim while tacky. Once cold, drizzle with melted matcha white chocolate for contrast. Serve by pouring hot oat milk over bombs in mugs — bubbles and cracking shells signal readiness. Works well with dark or vegan chocolate substitutes. Avoid overheating or grainy lumps.
"
Prep:
30 min
Cook:
0 min
Total:
30 min
Serves:
6 servings
dessert
drinks
chocolate
holiday
Introduction
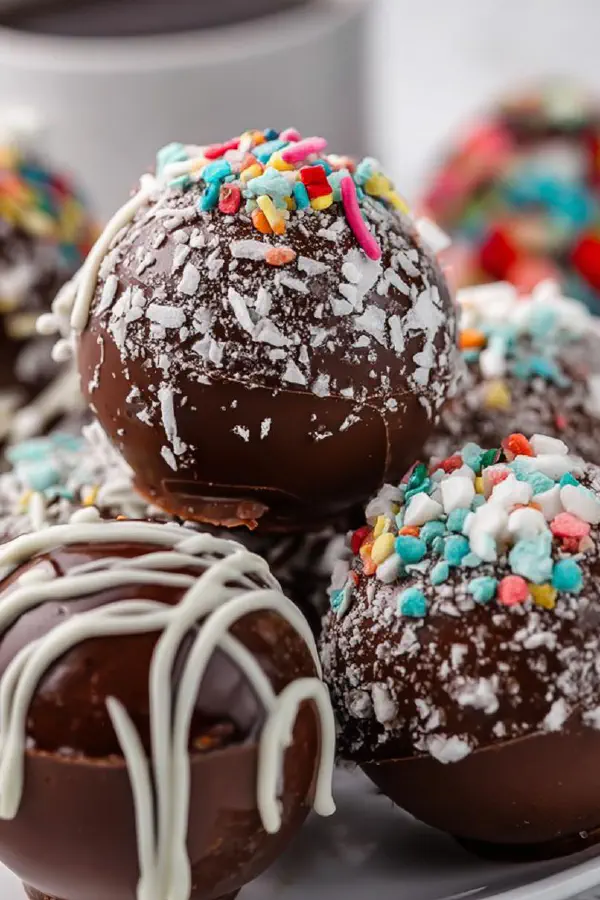
Dark chocolate coaxed into delicate shells, no rushing the melt or the setting — it’s about patience and keen eye. Brushing thin layers spreads the difference between a leaky bomb and a clean pop. No marshmallows; hibiscus dries tartness that wakes up the palate with spice from cayenne in the mix, not just sweetness. White chocolate seals with a silky contrast and a firm grip. Toss in matcha drizzle for a kick. Oat milk steams gently, bubbles rise — pour hot, wait for that satisfying crackle sound, then stir to melt the magic inside. Tweaking temps and times makes or breaks this culinary show. Know your chocolate temper tantrums, gentle heat wins.
Ingredients
About the ingredients
Using dark chocolate chunks or disks ensures uniform melting and smoother shells versus chips, which fragment unevenly. Hibiscus replaces marshmallows to avoid excess sweetness and add natural tart notes. If frozen raspberries, crush slightly before adding to avoid sogginess. White chocolate piped along seams is essential — it bonds unlike the darker base chocolate and highlights finishing touches. Oat milk preferred for creaminess and subtle nuttiness, but any plant-based milk works with similar steaming care. If you don’t have a silicone mold, metal spheres work but set cold longer due to heat conduction. Patience required. Sprinkles optional, but they add texture and hide small seam imperfections elegantly.
Method
Technique Tips
Melting chocolate gradually at medium-low microwave power prevents grainy texture caused by overheating. A spread of 1¾ teaspoons per shell ensures walls that hold but don’t get brittle or thick. Freezing times depend on your freezer’s intensity — look for hardened, not frost-tipped shells. Single-mold second coats stop premature crystallization. Filling with hibiscus and spice mix creates visual interest and flavor quiz, marshmallows are classic but too sweet here — avoid. Melt white chocolate separately; snip tiny tip for precision sealing, don’t rush or bond weakens. Seal quickly; cooling white chocolate seals bubbles trapped inside, ruining pop. Sprinkles pressed while tacky stick better, not later. Let bombs rest fully chilled — pushing too soon causes cracks. Hot milk bubbling just before pouring is the trigger for gooey magic inside popping open.
Chef's Notes
- 💡 Use a microwave, short bursts, 50% power. Stir often. Chocolate grainy? Too hot. Best to achieve glossy, smooth texture. Watch for the melt; small lumps okay. Remove before fully melted, let residual heat work.
- 💡 Silicone molds preferred; they release easily. Thin layers crucial; thick walls brittle, crack when dropped in milk. Consider two coats for strength. Fewer leaks that way. Use small brush for even application.
- 💡 Want vibrant color? Hibiscus petals provide tartness, not just marshmallows’ sweetness. Freeze-dried raspberries work but crush lightly before using. Mix in spices like cinnamon. Flavors pop, balance dark chocolate.
- 💡 Piping white chocolate is essential; it's glue. Control flow, narrow tip helps. Seal quickly. If chocolate cools too much, it won’t bond well. Tacky edges ensure better sprinkle adhesion, so roll when soft.
- 💡 Keep bombs cool, 15 minutes minimum. Hot milk needs bubbles just before pouring. Wait for that crackle sound. Stirring triggers the explosion of flavors. Chocolate chunks or bars instead of chips recommended for smooth melting.
Kitchen Wisdom
How to prevent chocolate from seizing?
Keep temperatures low while melting, stir often. Add a teaspoon of vegetable oil if needed. Better to fix than waste.
Can I use regular milk instead of oat milk?
Yes, any plant-based milk works. Oat milk adds creaminess. Look for something with good frothing qualities. Keep bubbling before pouring.
What if my cocoa bombs fall apart?
Check sealing technique first. If white chocolate too cool, it doesn’t bond. Ensure molds filled evenly. Thicker layers might be too brittle.
Can these be stored?
Yes, in airtight container — cool, dry spot. Can also freeze, but let cool completely. But not for too long, texture may change. Make fresh for best results.