Featured Recipe
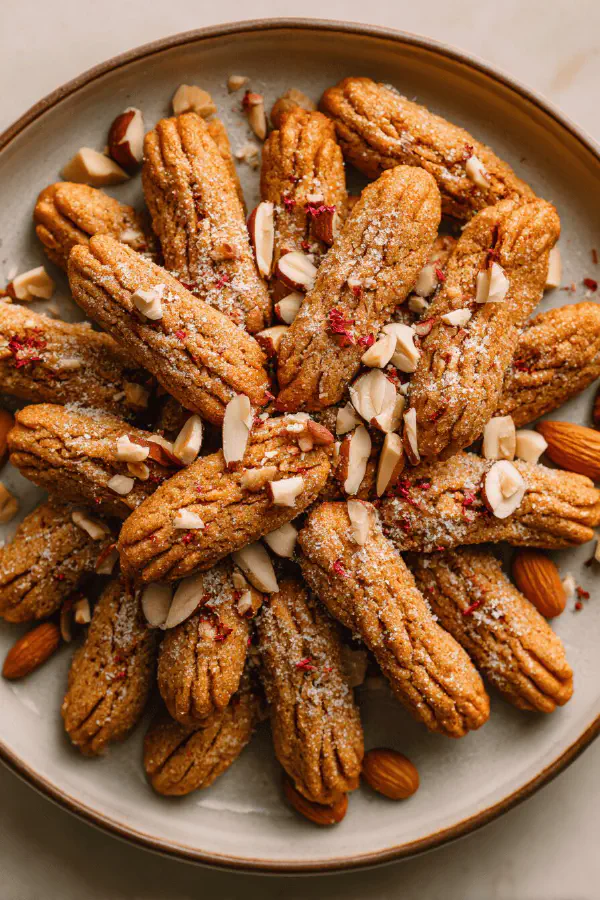
Witch Fingers Cookies
By Kate
"
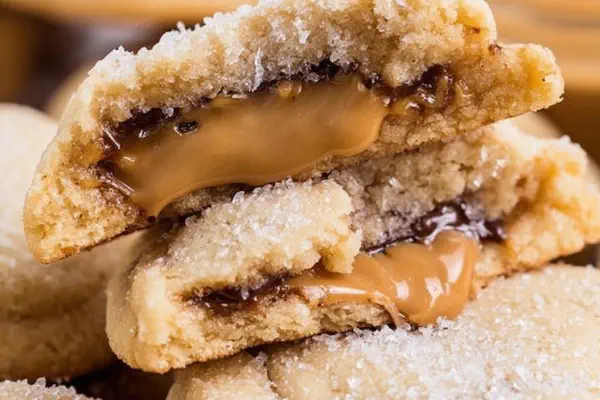
Small spooky cookies shaped like fingers bursting with texture. Made from a butter-sugar base with flour replaced partially by almond flour for chew and richness. Egg yolk binds but keeps it tender. Milk adds moisture—adjustable for dough consistency. Vanilla subbed with almond extract for a nutty twist. Candy ’nails’ replaced by sliced blanched almonds, reddish sugar-coated peanuts swapped for bright red chili-coated peanuts adding heat with sweet. Chill dough to firm up—critical for shaping fingers. Bake until pale golden underneath with subtle crackle on edge. Cool completely before handling; otherwise, they crumble. Great for Halloween or anytime you want to freak out guests. Crunchy, chewy, sweet with a whisper of spice from the chili peanuts. No em dash here. Practical, reliable, worried about dough dryness? Add milk teaspoon by teaspoon.
"
Prep:
22 min
Cook:
14 min
Total:
36 min
Serves:
20 fingers
Halloween
cookies
dessert
spooky
Introduction
Imagine fingertips—twisted, eerie, ready to creep out any gathering. Not just for show though—they snap with crunch, follow with bite into chewy crumb. Butter and sugars whipped until light, tannin-rich almond flour mixed innocent like a ghost hiding. Egg yolk gives body but not toughness. Milk softens just enough; no wet letdowns. Candy nails? Nope. Soft almond slices natural, subtle crunch not plastic fake. Replacing old red peanuts for chili-sugar-coated ones introduces a sting—unexpected with sweet. Worth the chill, that chilling step. No rushing; dough must firm or else, shapes collapse mid-bake. Watch edges, bottom color. Pale golden edge signals done. Crisp but pliant, those fingers break apart under bite, reveal texture. Not just dessert; experience. Calling for black coffee or spicy milky chai to balance sweet, spicy, buttery combo. Clean kitchen timer but keep on feel. Baking is sensory, not exact. Oven quirks differ. Keep eyes peeled. Beware crackly broken fingers before cool. Handle with care—or lose the effect.
Ingredients
About the ingredients
Butter temperature. Softened but not melted—too warm, dough turns greasy, spreads. Sugar choice matters—light brown sugar with mild molasses flavor softens crumb but doesn’t wet dough. Granulated sugar balances tooth snap. Egg yolk holds moisture, binds. Flour mix here altered partially to almond flour—gives chew, nutty flavor without overpowering, keeps gluten low to avoid tough fingers. Milk quantity is variable. Start low; too much makes sticky dough. Better to add very small amounts, pinch test every time. Vanilla replaced with almond extract—more intense, invites curiosity. Candies switched for sliced almonds and chili-sugar peanuts; the latter adds heat and visual punch. Chill step mandatory—avoids spreading into blobs. Terrain between sticky and dry dough must be felt, not just watched. Substitutions possible but some textural tradeoffs. Allergy options include oat flour instead of almonds but dough will be denser and less rich.
Method
Technique Tips
Technique key. Cream butter and sugars long enough—at least 3 minutes. Whipping not swirling. Mix well but no overmixing after flour—developing gluten toughens, breaks delicate finger feel. Alternate flour and milk additions for gradual absorption, prevents dry patches or runny dough. Finger shaping needs precision—pressing nails too hard will crack dough or push candy inside causing burn spots. Use blunt knife tip for knuckle creases; too deep cuts can crack cookies in oven. Chilling time critical for firmness, shape retention. Oven too hot? Fingers spread or brown spots. Monitor bottom color by lifting edges with spatula. Remove when underside is a light tan; top remains pale but set. Cooling on sheet firm up cookie—moving hot cookies causes unwanted breaks. Store airtight but avoid fridge after baking; humidity softens crisp edges. Freezing dough possible but thaw fully before baking for even heat flow.
Chef's Notes
- 💡 Butter? Softened but not melted; greasy dough spreads. Beat until light, 3-4 minutes. Avoid overmixing. Gluten forms; tough texture results. Keep all ingredients at room temperature, prevents cold dough mess. Egg yolk gives richness. Milk too much? Add slowly to avoid sticking dough.
- 💡 Flours make a difference; all-purpose holds structure, almond flour adds chew. Substitute for nut allergies—oat flour alters texture, it’s denser. Consider vanilla extract if almond unavailable; taste shifts. Chill dough for 25 minutes minimum. No rush on this. Firm dough keeps shape.
- 💡 Shape fingers carefully; don’t flatten. Use blunt knife to mark knuckles; deep cuts crack during baking. Press nails lightly; heavy pressure breaks dough. Measure portions evenly, about 15 ml each; uniformity helps bake. Space cookies apart on sheet; slight expand.
- 💡 Baking hints; watch bottoms, they should tan light. If edges darken too fast, turn off oven—residual heat finishes job. Cooling matters—10 minutes on sheet before transferring to rack. Otherwise, risk unwanted breaks. Airtight storage is key; fridge can ruin crispiness.
- 💡 For dough dryness, add milk slowly—5 ml increments, test each time. If too soft, chill longer. Unbaked dough? Freeze well but ensure complete thawing, ensures even cooking. Consider outside temp in kitchen; humid days can mess dough consistency.
Kitchen Wisdom
How to fix dry dough?
Add milk in small amounts; 5 ml works best. Check consistency often. Dough should be slightly tacky; avoid crumbly mess. Too dry isn't good—texture suffers.
What if fingers spread during baking?
Chill dough longer before baking. Heat too high? Monitor closely. Bottom should be light tan, avoid dark spots; lessen oven heat if problem persists.
Storage tips for cookies?
Store in airtight container at room temp. Up to four days. Want longer life? Freeze unbaked dough. Wrap tightly, up to two months expected. Thaw fully before use.
Allergies? Alternatives?
Easy—oat flour instead of almond. Less rich but works. Milk can be substituted for non-dairy alternatives. Adjust as needed; slight texture change possible. Always check ingredient labels.