Featured Recipe
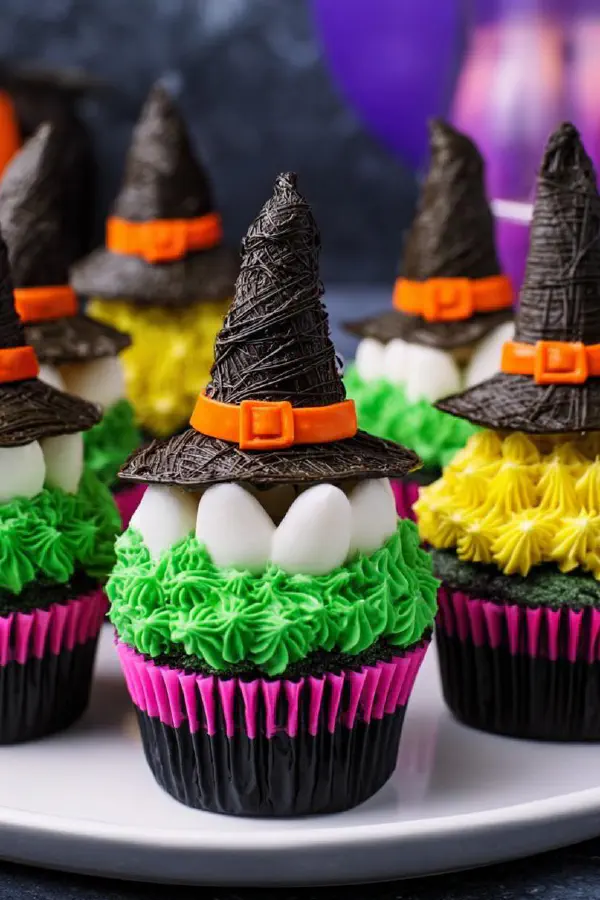
Witch Hat Cupcake Cones
By Kate
"
Cupcakes baked from boxed mix, cooled before topping. Waffle cones sprayed with colored edible spray, black used here; purple, orange, or green also fine. Buttercream frosting made from butter, powdered sugar, heavy cream, vanilla. Two colors tinted with gel food colors, piped side-by-side with star tip. Cones decorated with frosting detail for classic witch hat buckle look. Assembly tops cupcakes with cones. Visual cues emphasized — daylight glaze, frosting thickness, cone crispness. Variations suggested. Serves two dozen. Timing flexible depending on cooling and drying stages. Practical advice on handling colored sprays and piping.
"
Prep:
20 min
Cook:
35 min
Total:
55 min
Serves:
24 servings
Halloween
desserts
cupcakes
baking
festive
Introduction
Boxed cake mix. Not always a no-no if you respect it. Bake it right — no dry sponges here. Line pans well, portion batter correctly. Baking hits when edges pull away with a little spring. The smell wafts up, that sugary hot vanilla — the real test. Cool completely or you’ll melt your frosting and ruin your cone. Cones take a little patience. Spray them light, rotate smooth. Too wet, and cones go sticky or soggy faster. Gloves handy unless you want decorated fingers for the party. Frosting is simple — butter, sugar, cream, vanilla. Beat enough air to hold shape but no grainy sugar mouthfeel. Split colors carefully, gel only — liquid’s thin, ruins piping. Dual tones come alive through striped piping bags, not haphazard mixing. Top cupcakes with cones, set them gently. Immediate blowing scent of sugar and butter, crunchy cone crack once bitten. Avoid soggy cones by serving fresh. Reheat chilled frosting with a quick mix before serving again. All about timing and respect for each component.
Ingredients
In The Same Category · Sweet Treats
Explore all →
Coconut Cream Pie Remix

Almond Cream Cheese Pastry
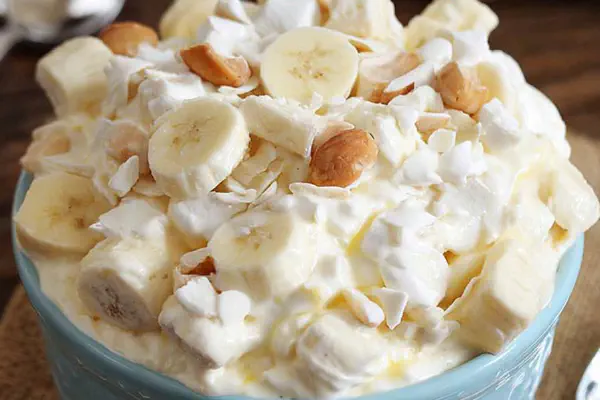
Twist Banana Pudding Fluff
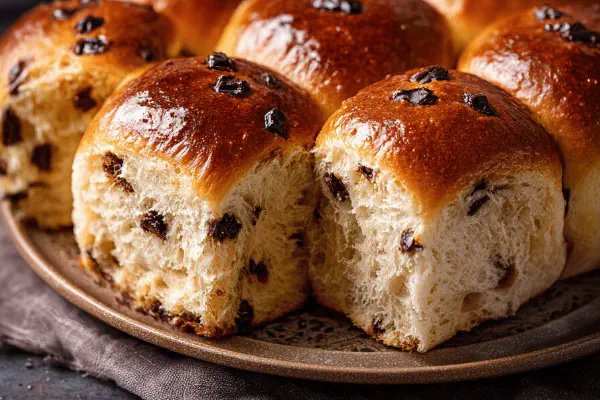
Chocolate Brioche Buns
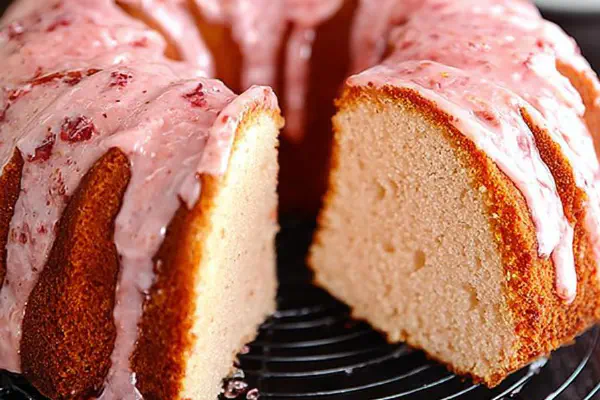
Strawberry Jam Pound Cake Remix
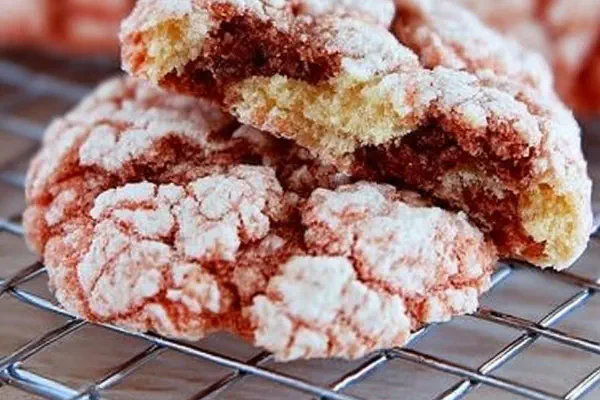
Twisted Cake Mix Cookies
Brown Butter Oat Cookies
Peanut Butter Lava Cookies
No Spread Sugar Cookies New
Brownie Cookie Mashup
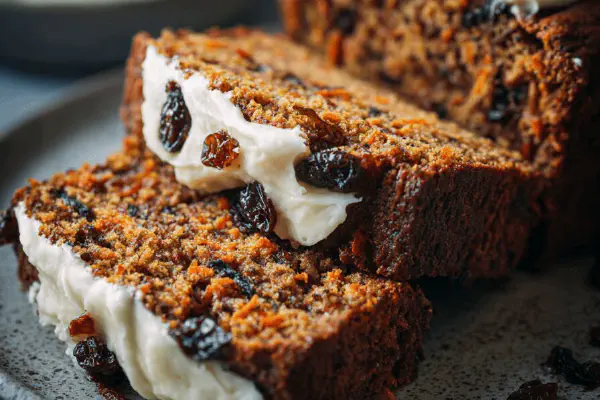
Carrot Cranberry Loaf
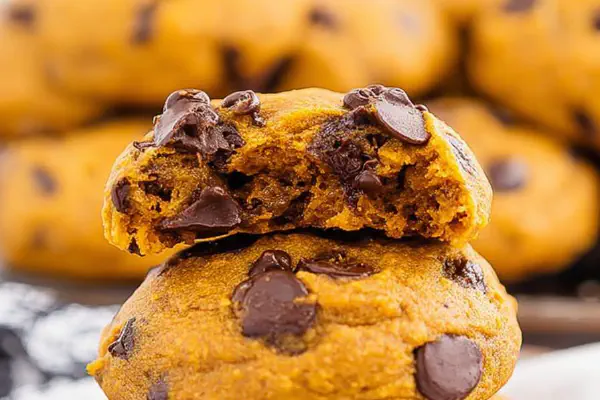
Pumpkin Choc Chip Cookies
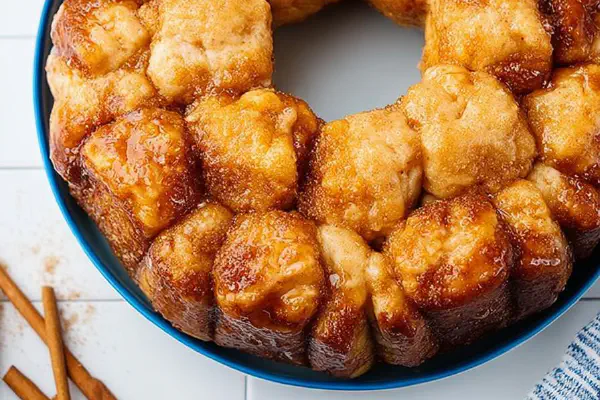
Cinna-Biscuit Monkey Bread
Twisted Bananas Foster Shake
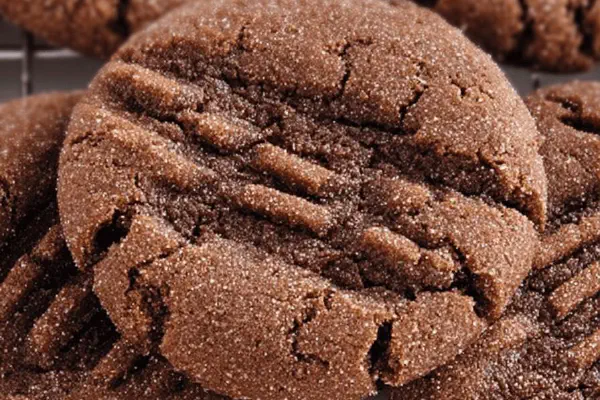
Chewy Spiced Molasses Cookies
Tres Leches Raspberry Cake Twist
Twisted Peanut Butter Chex
Chocolate Spoon Cake Remix
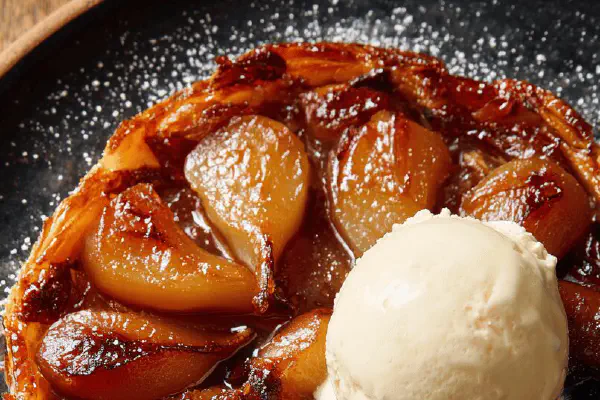
Twisted Tarte Tatin
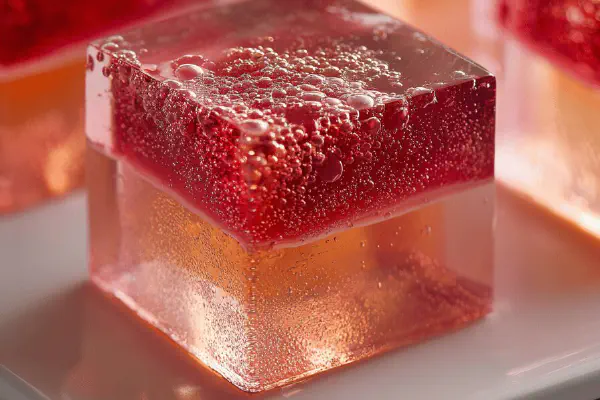
Sparkling Gin Jelly Cubes
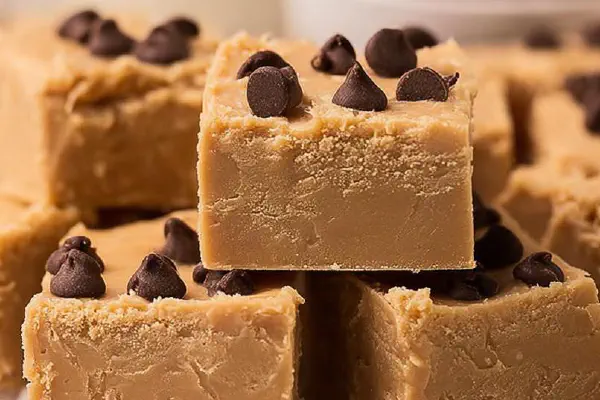
Rich Peanut Butter Fudge
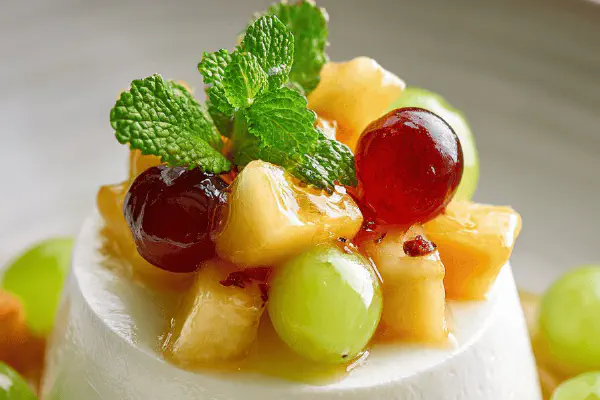
Light Yogurt Mousse with Fruit Salad
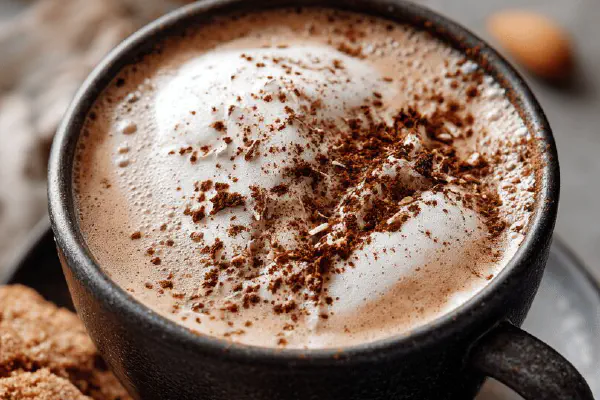
Almond Spiced Hot Chocolate
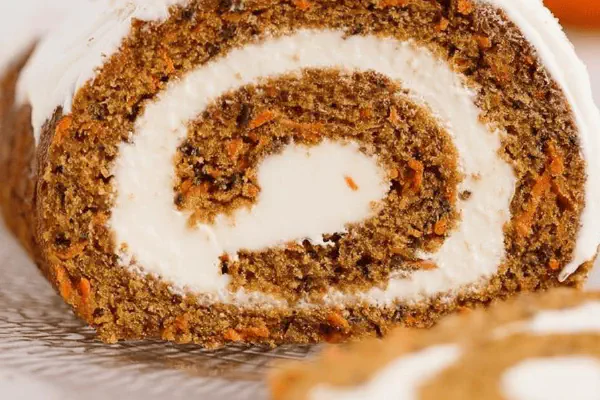
Carrot Cake Roll Revamped
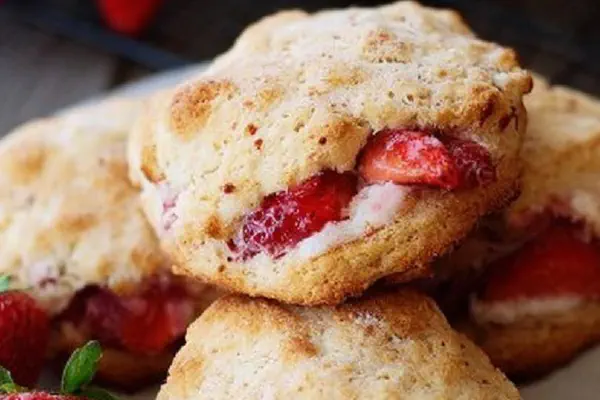
Strawberry Cream Scones
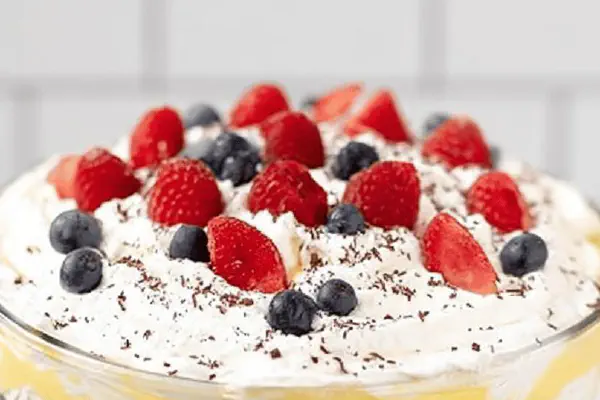
Vanilla Berry Trifle Remix

Chunky Chocolate Fudge Sauce
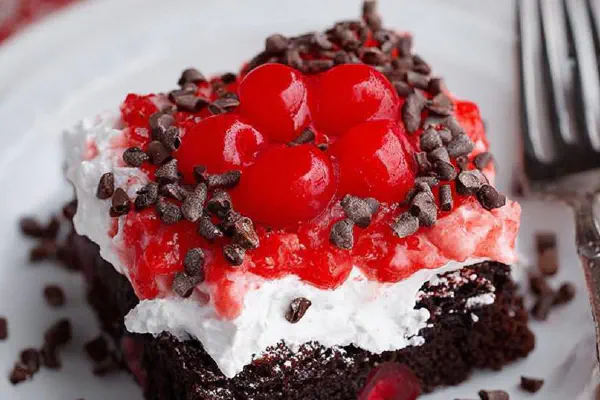
Black Forest Poke Cake Twist
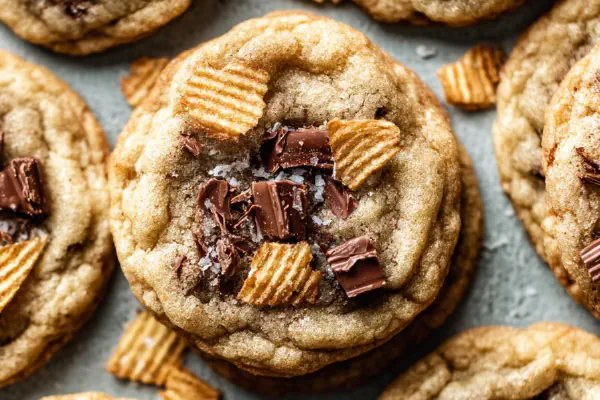
Chocolate Potato Chip Cookies
About the ingredients
Substitutions can save a day. Applesauce for eggs — egg allergy or fresh out? Swap milk for water — richer crumb but slightly slower bake. Olive oil adds slight fruity note but watch for stronger flavor. Pre-sift powdered sugar; clumped frosting is a mess and hard to fix. Gel food colors are stable and keep frosting thick compared to liquid dyes that add moisture and break consistency. Sprays must be food safe — test on paper first to calibrate coverage. Gloves or plastic bags over hands prevent staining. Decorating piped buckles on cones requires steady hand; practice on parchment to get pressure just right. Waffle cones can’t withstand long exposure to moisture, so assemble at the last minute or keep cones separate to preserve crunch. Cones differ — thin vs dense, adjustments in spray technique required.
Method
Cupcakes
- Heat oven to 350°F (or package instruction plus 5 minutes if adjusted batter).
- Line cupcake pan with liners — paper or silicone works. Paper peels easier but silicone reusable.
- Prepare batter: Combine box mix with eggs, oil, and water or milk; whisk just until smooth. Overmixing stiffens crumb.
- Spoon batter evenly, filling liners about two-thirds full to prevent overflow.
- Bake until toothpick comes out with few moist crumbs — roughly 30-35 minutes. Surface should spring back when touched lightly.
- Remove, pan cool on wire rack 10 minutes before removing cupcakes to full cool. Touch test for warmth before frosting.
- Grip waffle cone at wide base firmly on fingertip for control; avoid touching edges sprayed to prevent smudges.
- Spray cones in light, even layers with food color spray of choice; black gives classic look but vibrant hues make fun. Rotate cone as spray to cover uniformly.
- Place cones in cone rack or stand upside down in deep cup to dry completely — 20-30 minutes typical. Tackiness indicates incomplete dryness; risk sticky mess if rushed.
- Use food-safe gloves or plastic bag over hand to avoid staining fingers during decorating. Small steady strokes with fine tip frosting tubes create buckles.
- Add Halloween sprinkles around cone bands for extra visual pop and texture contrast.
- In bowl, cream butter until no lumps remain and it looks glossy. Beat at medium speed to incorporate air for lighter texture.
- Slowly add sifted powdered sugar alternating with heavy cream and vanilla, blending well after each addition. Frosting consistency should hold shape when piped yet remain creamy.
- Divide frosting in 2 or 3 bowls depending on chosen colors.
- Add 3-4 drops gel food color at a time until depth reached; gel gives bright hues without thinning frosting like liquid color.
- To pipe dual tones, place each color on opposite sides inside same piping bag fitted with large star tip. Twist top to avoid air pockets.
- Pipe swirls onto cupcakes with steady pressure; rapid stops cause tearing. Hold bag perpendicular for neat peaks.
- Gently place decorated cone hats onto frosted cupcakes, pushing slightly to secure without squashing frosting.
- Serve soon after topping; cones soften if left too long on moist frosting.
- Store cupcakes refrigerated in single layer with cones unattached.
- Reheat frosting lightly by beating if chilled to restore pipeability.
- Enjoy autumnal aromas of buttery crumb, vanilla cream, and toasted cone notes.
- Clean spray nozzle after use by immediately wiping to prevent clogging.
Cones
Frosting
Serving and Storage
Technique Tips
Cupcakes: measure carefully, do not overmix. Egg substitutions alter texture, so test batter thickness before baking. Watch batter fill level to avoid volcano effect. Bake until tester shows moist crumbs, not wet batter — visual spot check is key. Cones: Use light sprays — oversaturated cones take forever to dry, risk cracking. Hold cone with fingertip to control rotation. Use drying rack or inverted stable cups, no direct heat or fan dryer that might warp cones. Frosting: Beat butter well first to avoid grainy spots when sugar is added. Sift sugar carefully to prevent lumps. Add cream slowly to avoid runny frosting. Color frosting gradually with gel; layering gel color ensures vivid hues. Using dual-color piping bags requires neat side-filling and no mixing. Pipe with steady, slow pressure to maintain star shape. Place cones on frosted cupcakes gently to avoid smearing; set quickly but carefully. Timing in assembly prevents sogginess and maintains textures. Store unassembled cones separately, keep cupcakes covered but un-topped if delaying serving.
Chef's Notes
- 💡 Use eggs but applesauce can substitute. Moisture counts. Opt for milk instead of water. Richer texture, slightly longer bake time. Adjust as needed.
- 💡 Frosting shows when mixed properly. Cream butter well. Avoid grainy bits. Add powdered sugar sifted to avoid lumps. Gel colors? A few drops until bright.
- 💡 Spray cones carefully, light layers only. If too wet, they’ll crack while drying. Rotate as you spray. Hold by base for control. Dry completely or risk a mess.
- 💡 Piping with dual tones? Fill bag carefully, no mixing. Steady pressure piped. Peaks need firmness. Pipe quickly for neat shapes. Frosting can melt.
- 💡 Serve topped right after frosting. Cones soften if left together too long. Best eaten fresh. Separate frost and cones for storage. Keeps texture intact.
Kitchen Wisdom
Can I use different cake mixes?
Yes, swap yellow for chocolate. Adjust baking time if homemade. Test texture before baking. Ensure it holds well.
What do I do if frosting seems too runny?
Add more powdered sugar gradually. Beat in well. Fixing too thin is tricky, but frosting can thicken.
How long can I store these cupcakes?
Unfrosted cupcakes last a few days on counter. Refrigerated, extend a week. Avoid soggy cones by keeping them separate.
What if my cones get soggy?
Dry spray carefully. Assemble last minute. Consider cupcake wrappers to limit moisture exposure. Cones must stay crisp.
You’ll Love These Too
Explore all →
Holiday Candy Blondie Bars
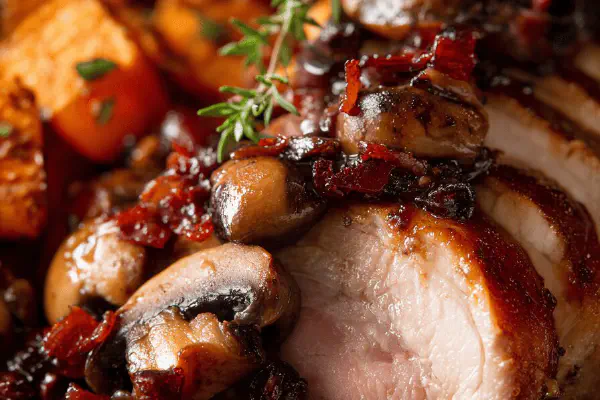
Pork Rack Squash with Mushroom-Cranberry Sauce
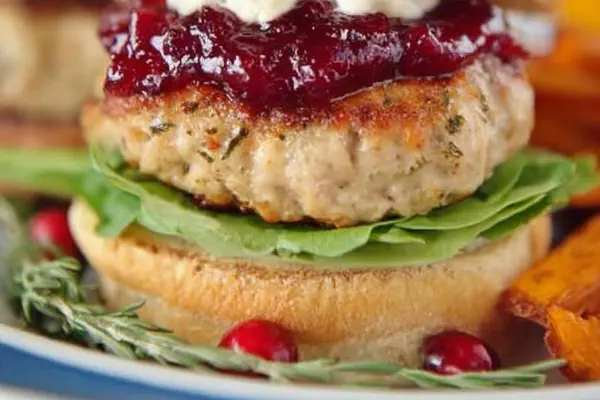
Turkey Burgers with Herbed Mayo
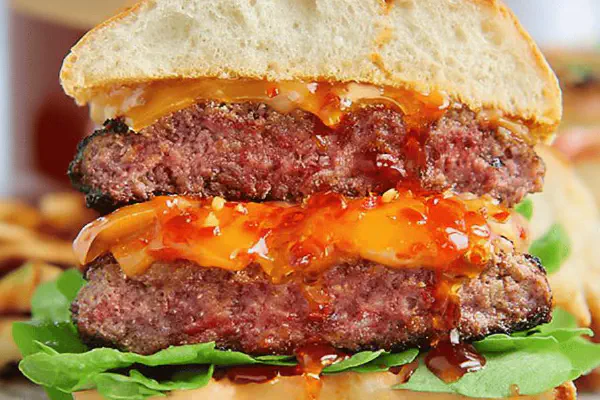
Spicy Honey Smash Burgers
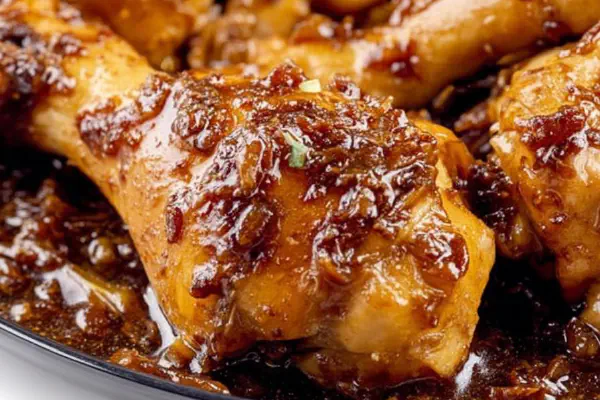
Cola-Glazed Drumsticks

Beef Ramen Bowls with Eggplant & King Oyster Mushrooms
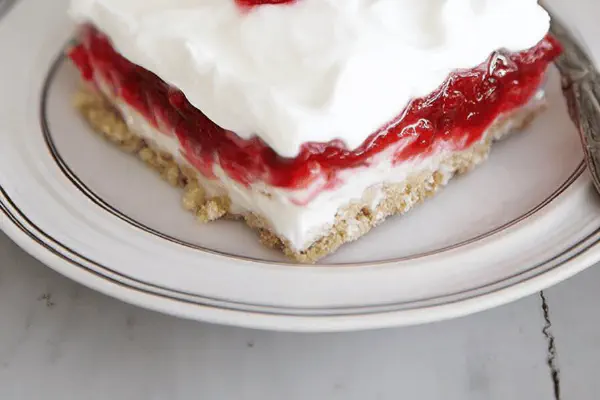
Strawberry Cream Bars
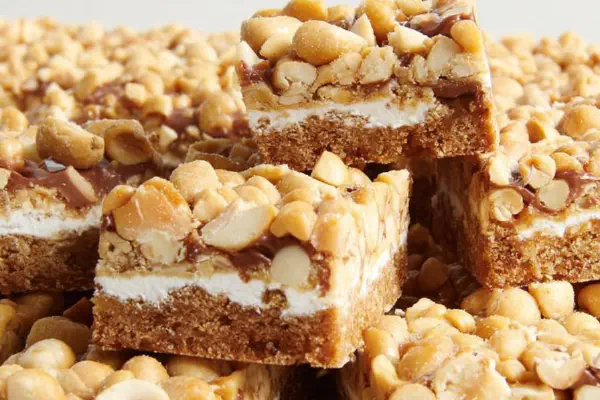
Salted Nut Rice Krispies Bars
Chocolate Peanut Butter Cookies

Endives Stuffed Eggs Bacon

Trio Citrus Vodka Infusion

Modified Citrus Cooler

Crab Tarragon Stuffed Eggs

Everyday Tossed Salad
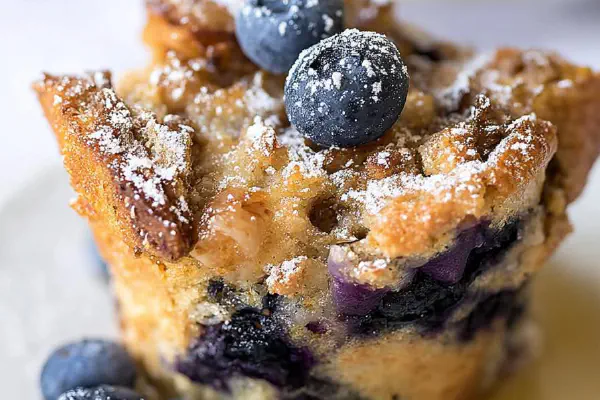
Blueberry French Toast Muffins

Honey Mango White Sangria

Rustic Savory Scones
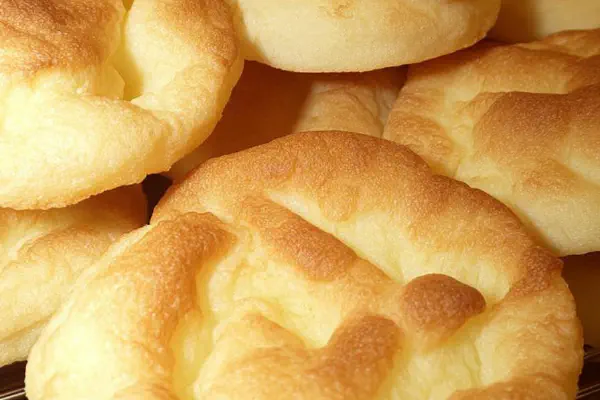
Keto Cloud Bread Twist
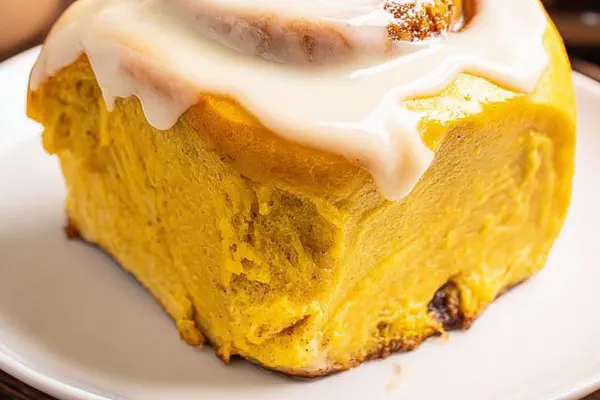
Pumpkin Spice Rolls Remix

Tex-Mex Creamed Corn Twist

Red Wine Pappardelles with Meat Sauce
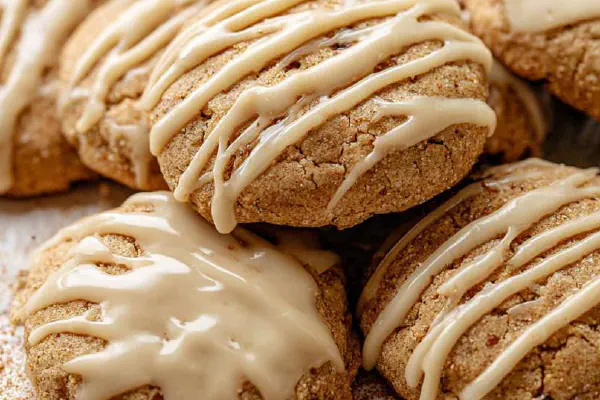
Maple Cinnamon Cookies
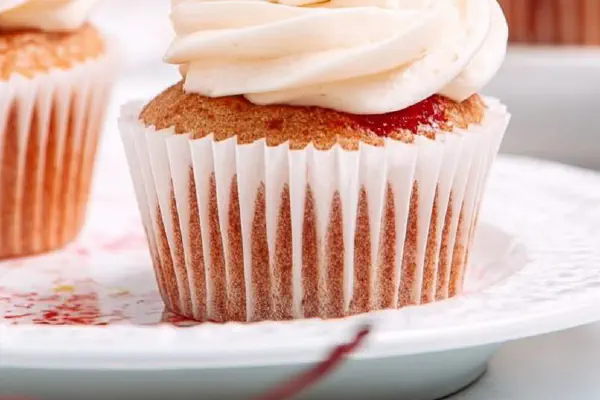
Cherry Almond Cupcakes
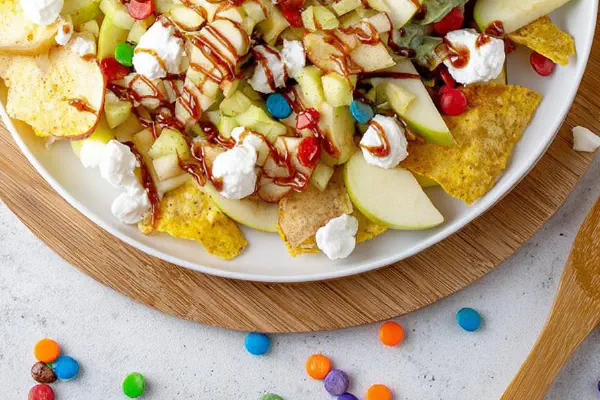
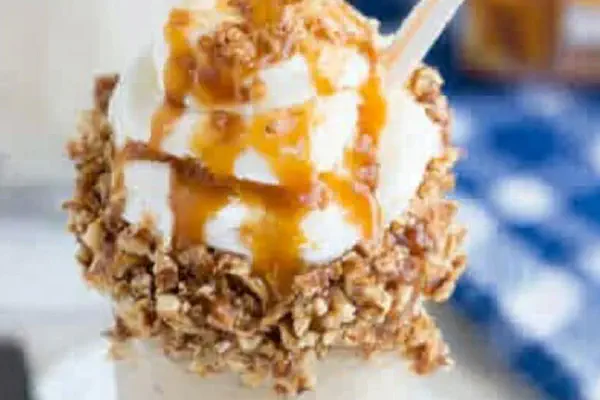
Caramel Apple Nachos Twist

Lemon Chicken Piccata Zoodles

Smoky Cheese Sauce
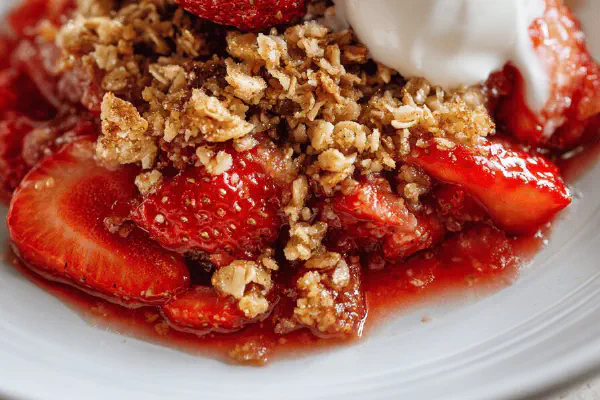
Strawberry Crumble Air Fryer
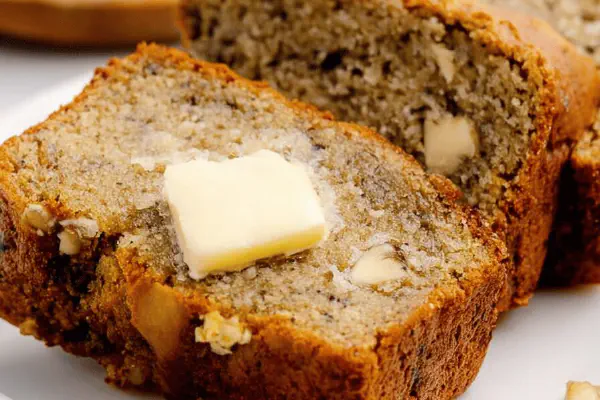
Air Fryer Walnut Banana Bread

Fish Fajitas Remix